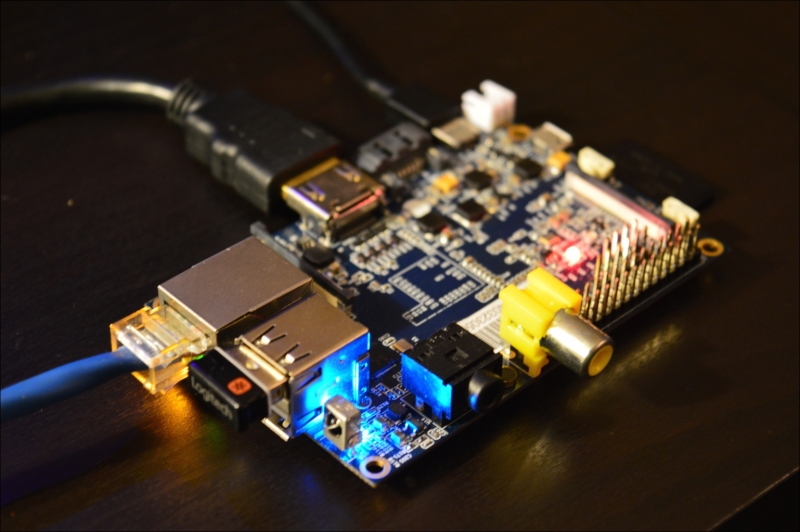
There are a number of ways that you can set up your actual work environment for working with the Banana Pi. Depending on the board you are using, there are various cables that you will need to get started, some of which can later be removed depending on the project you are working on.
As you read earlier, the different boards have different layouts. There are some common cables that you will need to get started. Both versions of the Banana Pi have an HDMI out interface. Generally, no matter what the project, you are going to connect it via HDMI even if it is just to get the project started.

Both boards can be powered over USB, although the M2 does have a 5V power jack slot that can be used to power the board as well. The USB cable needed to power the Banana Pi is a standard Micro USB cable that is similar to, if not exactly the same as, the one you may use to charge your cell phone. You can connect a USB keyboard and mouse to either board, and of course you will need an SD card to hold the operating system. The essential hardware you are going to need to work with the Banana Pi is:
- HDMI cable
- Ethernet cable
- Wi-Fi dongle for the M1 (the M2 has built-in Wi-Fi)
- USB keyboard and mouse
- SD card (Micro for M2)
Once you have set up the initial board, you will be able to downsize some of this hardware. If you plan on using SSH to connect to the board, you won't need a display, keyboard, or mouse, which leaves you with a very small footprint.
