
You may need to interact with all kinds of hardware on the Banana Pi. Whether it is a SATA drive or a peripheral, such as the PiFace command and control over the GPIO, there is a lot of hardware you can add to the Banana Pi. The following image shows the Banana Pi Uno board, an expansion board released by the makers of the Banana Pi to give it the pin out of the Arduino Uno:
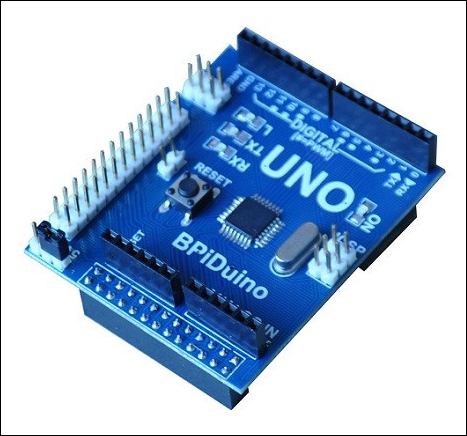
This is one of many expansion boards released for the Banana Pi. These accessories offer different functionalities, such as an LED matrix to additional GPIO pins. In addition to all the Banana Pi accessories, most of the Raspberry Pi accessories are compatible as well, including the PiFace command and control.
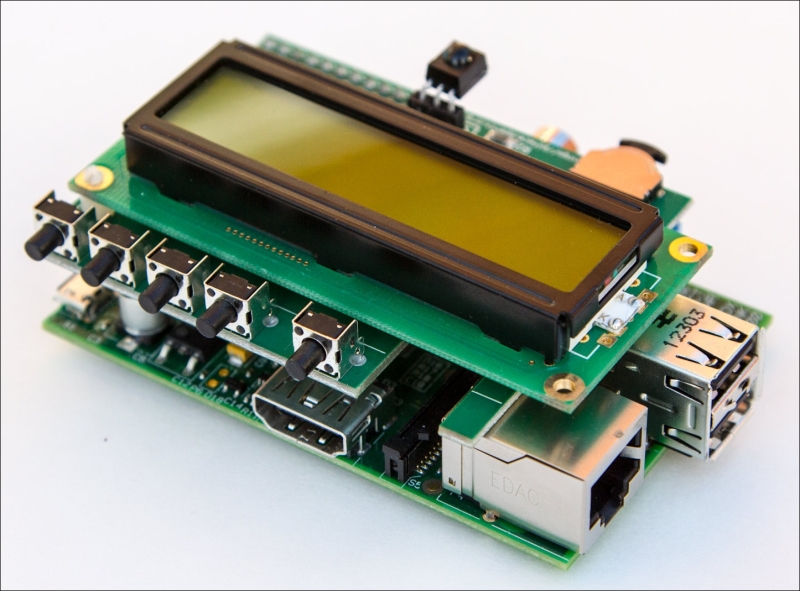
One of my favorite expansion boards is the PiFace command and control board. It is actually intended for the Raspberry Pi, but it works fine for the Banana Pi. The board adds a 16 x 2 LCD Display, five buttons, a toggle, and an IR receiver (the Banana Pi already has one). The following image shows the PiFace:
The point of this section is to show how easy it is to actually set up a piece of Raspberry Pi hardware with our Banana Pi. The first thing we will do is install the CAD software and reboot the system:
sudo apt-get install python3-pifacecad
sudo reboot
After the Pi has rebooted, we will run a script that will display some system information on the LCD display. This will include the IP address and temps for the Pi:
cd /usr/share/doc/python3-pifacecad/examples
python3 sysinfo.py
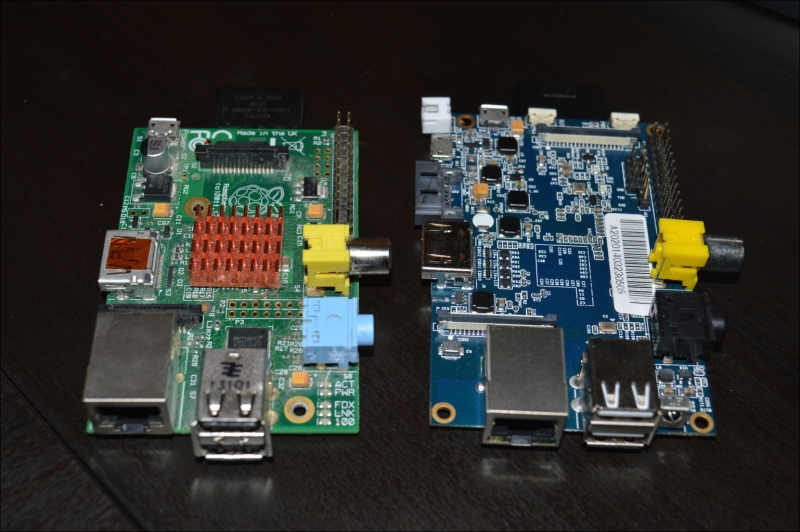
You can press Ctrl + C to exit the program. The following image shows the Banana Pi beside the Raspberry Pi model B. They are similar in size and layout. Thus, you can use the accessories freely between the two boards.
Since the Banana Pi has a SATA port, one of the first things people want to try out is mounting a drive. Unfortunately, you cannot boot directly off SATA. You need a microSD card in order to boot the device (although booting directly would have been the best). The following image shows the connector used to attach a 2.5-inch SATA drive to the Banana Pi:
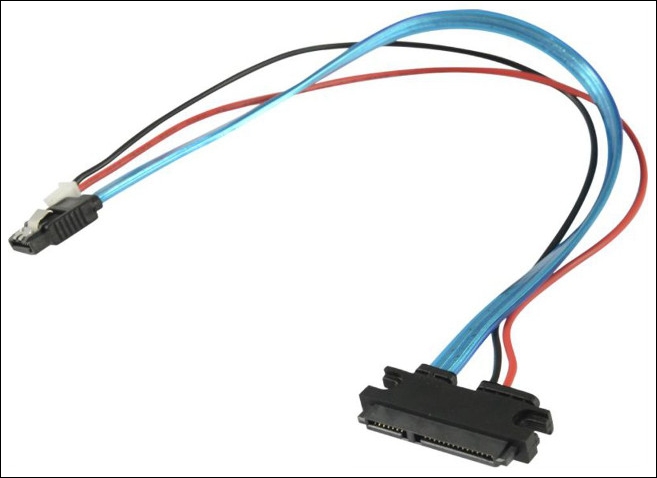
If you connect the SATA drive to the Banana Pi with power and it is already formatted, you will see the drive mount and appear on your desktop as a mounted volume. It is important that you use the cable from the Banana Pi. Some other cables have the positive and negative lines reversed. This should work with any filesystem you are using on the drive. The .ext4 filesystem seems to be the most stable one. Overall, I found the process of mounting drives to the Banana Pi fairly painless, if you are just looking to use it as storage space.