
Now that we have explored working with some of the programming languages that are available to you on the Banana Pi, we can start getting into the hardware side of things. We can write the code now that we will use to interact with LEDs and motors. In this chapter, we will talk about breadboarding your Pi and some of the components that you can use in your projects.
Hardware prototyping is made easy when you have a tool like the Banana Pi. In the previous chapters, we wrote code that interacted with the GPIO pins. Now we are going to use these pins to do some fun stuff. There are some things that we need to cover first, such as what hardware is required for this and how to properly use the hardware. The following screenshot shows a breadboard:
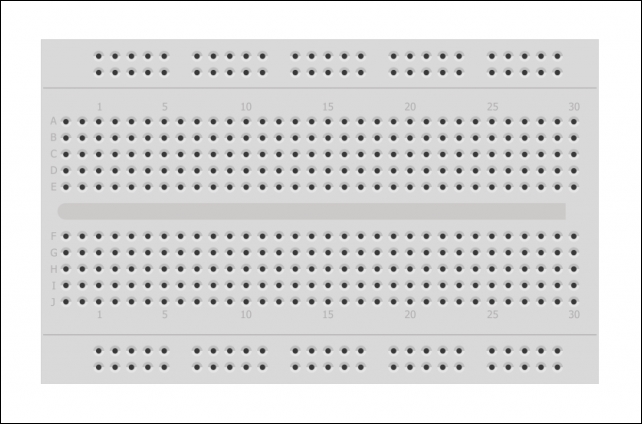
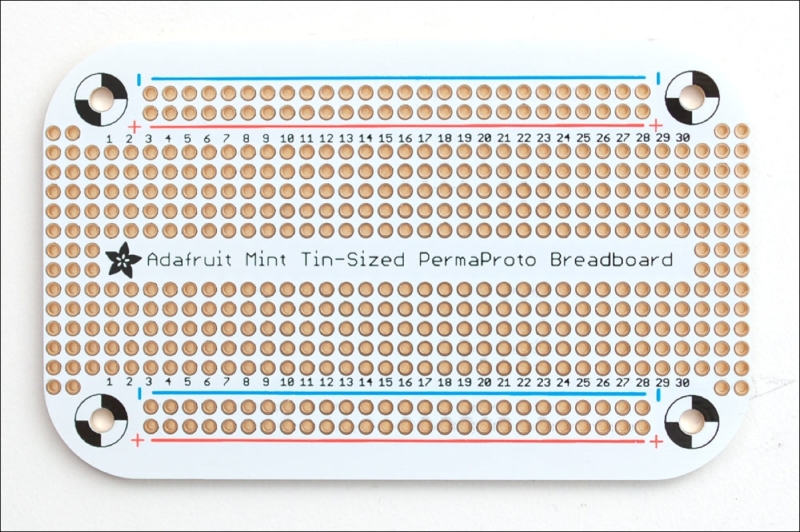
The breadboarding of electronics essentially involves the prototyping of what you will eventually be able to build into a complete product. The breadboard acts as your circuit board. It will have the components attached directly to it. There are multiple kinds of breadboards, but all of them perform the same task. Some breadboards are soldered (as shown in the following picture)—which means that the components added must be soldered to the board—while some are not:
For the purposes of learning, in this book I will use a solderless breadboard. This will allow us to attach components directly to the board without soldering.
So you have your Banana Pi and its shiny GPIO pins, and you have a breadboard. However, now you are standing there thinking, "How do I put these things together?"There are a few ways to breadboard the Banana Pi. There are a couple of accessories available that are intended to breadboard the Banana Pi, but you don't need them.
The following image shows the GPIO breakout for the Banana Pi M1, which is also compatible with the Model B Raspberry Pi:
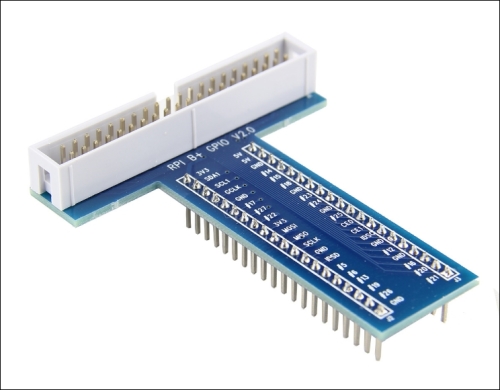
In addition to the breakout, you will need a ribbon cable that will attach to the GPIO pins on one end and the breakout on the other. This will allow you to connect the Banana Pi directly to the breadboard and start working with the components. The M1 board has 26 GPIO pins, while the M2 has 40.
Regardless of your project, you will find yourself working with some common electrical components. There are many different components that you can use in your circuits. We won't cover them all, but we will cover some common ones that you might use when you are prototyping. These components exist in many projects, and you will need to become familiar with them.
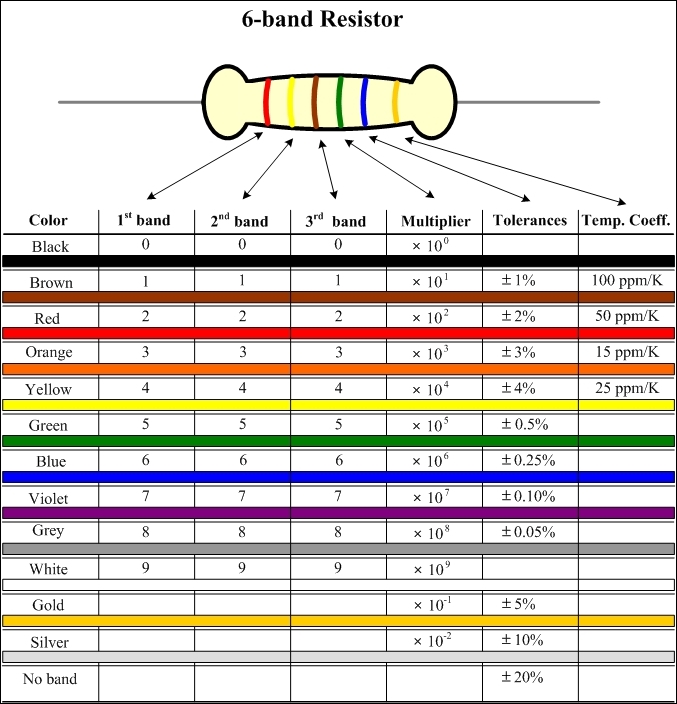
Resistors are components that resist the flow of the current. This is a very basic component that is used in most circuits and is very important. Resistors come in a wide range of values; the value determines how much flow of electricity they resist. The resistance is measured in Ohms, which is represented by the Ω symbol. The amount of power the resistor can handle before burning to a crisp is measured in Watts.
The resistor is shown as a zigzag or a rectangle on a schematic, and it is present in almost every circuit. Resistors can be made out of many different kinds of materials, but they are most commonly made of carbon. The following image shows how you can tell how much resistance each resistor offers:
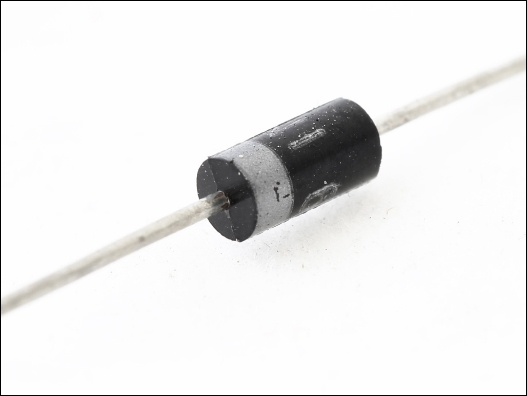
Diodes are components that allow the current to flow in only one direction. The diode has two terminals, called the anode and cathode. The current flows through the diode only when a positive voltage is applied to the anode side and a negative voltage is applied to the cathode. If you try to make the current flow the other way, it will not. The following image shows a diode:
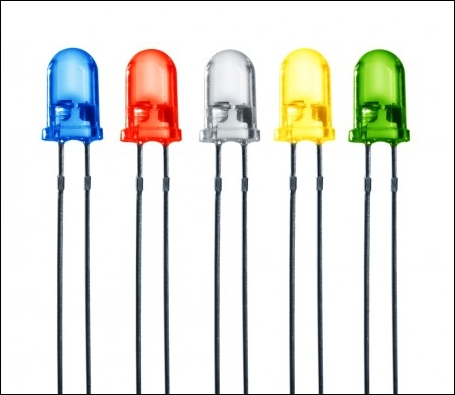
Light-emitting diodes (LEDs), just like normal diodes, are components that allow the current to flow in only one direction. When the current passes from the anode to the cathode, the diode emits light. The following screenshot shows the different types of LEDs:
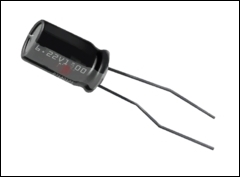
A capacitor is a very common component that is used to temporarily store electricity. The capacitor is used to smoothen the output of power supplies and block direct current. It can also be used to tune radios to frequencies. The following image shows a capacitor:
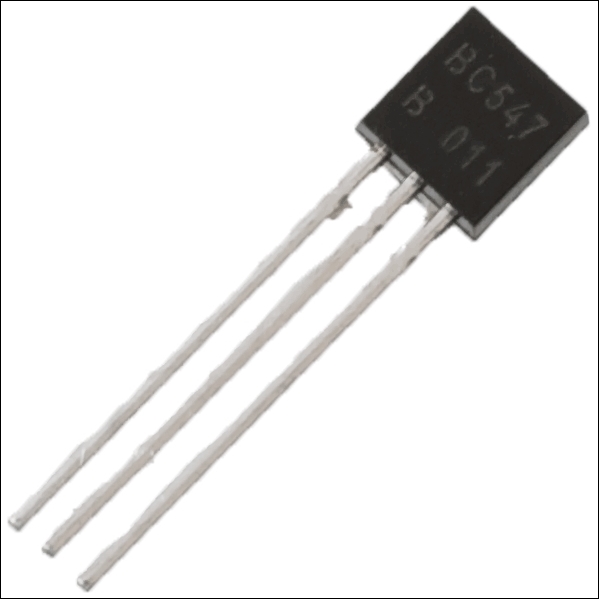
Transistors are three-terminal devices that can control the flow of electricity across two of its terminals when a voltage is applied to one of the terminals called the base. The transistor is one of the most important components in electronics.
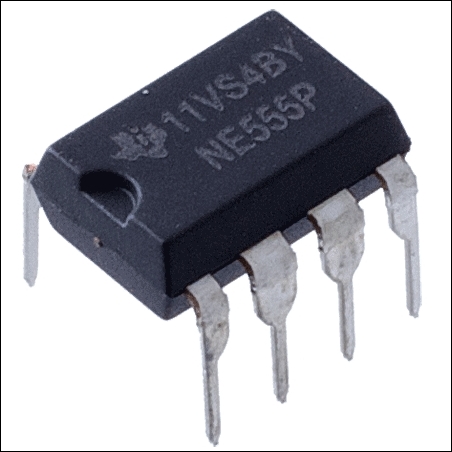
An integrated circuit contains an entire electric circuit. It has its own tiny diodes, transistors, resistors, and so on. These components are one of the most important components in modern electronics. The components are etched onto tiny pieces of silicon and can be used for many different purposes. Sometimes, these chips are referred to as bug chips. The following image shows an integrated circuit:
An integrated circuit can have several billion transistors in them, all the size of a fingernail. This is an impressive piece of technology that has made a lot of innovations possible. Integrated circuits allow you to have a lot of functionality added to your circuit for a fraction of the cost.