
Before we can start working on detection engineering concepts, we need a dev setup that enables us to build and play around with these various tools and exercises introduced throughout the next set of chapters. In this chapter, we go through setting up a new VM, one each for Linux and Windows, that should help you through all the exercises introduced in this part of the book.
Linux VM
Our first dev VM is a Linux VM, which we use for building and playing with two of the tools we are going to introduce in this part: Suricata and APIMiner. We are going to target building Suricata so that we can run it on Linux and rightly, so we have a Linux distribution to compile it on. For APIMiner, the compiled binary is intended to run on Windows, but using the mingw64 packages on Linux, you can cross-compile APIMiner window source code on Linux to build executables that can run on Windows.
Both tools can be built on Linux, and for our purpose, you can use any Linux distribution if you install the tools mentioned in this section. For our setup, we use Ubuntu 16.04. You can also use Ubuntu 18.04 or any other recent version, if the packages install cleanly and the compilation steps work.
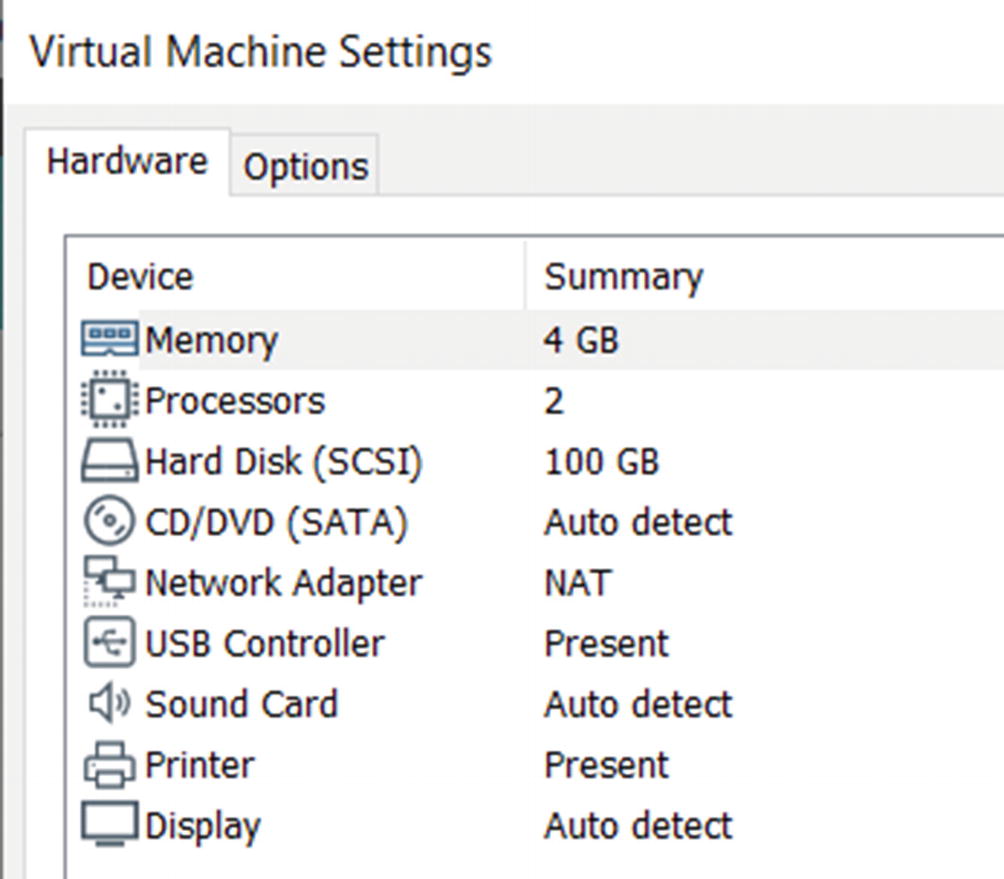
Hardware settings for the dev VM with VMWare workstation
Do note that we have used VMWare Workstation as the hypervisor for all our VMs, both the analysis VM from Chapter 2 and the Linux dev VM here in this chapter. You can use the hypervisor of your choice for the purpose, including VirtualBox. Do note that the hypervisor/emulator tool you use should have the capability to create and restore snapshots, which not all of them provide. Snapshots come in handy, not only when analyzing malware but also in development when we play around with new development packages and tools. And should any of them break our dev setup, we want to move back to the clean development snapshot state that we saved earlier.
We won’t go through the full VM installation process for the Linux dev VM since that’s outside the scope of this book. You can refer to various resources on the web for creating a new VM using your hypervisor. Just make sure you use the right VM hardware settings, like the one we used in Figure 21-1. The next sections are written with the expectation that this Linux dev VM is installed by you. You might also want to test and see if your Linux VM can connect to the Internet. After the installation, you can create a snapshot just in case you want to come back to it later.
Suricata Setup
Suricata is a next-gen intrusion detection and prevention system. We talk more about Suricata in Chapter 23, where we talk about IDS/IPS and how they work internally. Here we install the various packages that are needed to build Suricata. Let’s now compile, build, and install Suricata.
The packages we are installing here work for the latest known stable release of Suricata at the time of writing this book, which is version 5.0.2. You can extend the setup to any future newer version of Suricata if you install any packages it depends on. The rest of the steps remain largely the same. You can also carry out the Suricata setup using the development source code repository of Suricata available via their official GitHub repository at https://github.com/OISF/suricata.
Command to Install Dependency Packages Needed Next to Build Suricata-5.0.2

The output from running the package installation command from Listing 21-1
Commands to Download and Unzip Suricata 5.0.2
Commands to Unzip, Build and Install Suricata

Making sure Suricata is installed correctly by running it from the terminal
That’s pretty much it. We make some other minor tweaks to its config file, suricata.yaml, when we run it in Chapter 23. In the next section, we set up the packages needed to build APIMiner and Cuckoo Monitor.
APIMiner and Cuckoo Monitor Setup
Commands to Install Dependencies Needed to Build APIMiner and Cuckoo Monitor
Command to Build APIMiner Tool from Source
Running this command should build APIMiner related binaries and output them into the folder called bin present in the same root folder as APIMiner from where you ran the make command.
The dependencies needed to build Cuckoo Monitor are the same as the ones needed for APIMiner. You can similarly download the Cuckoo Monitor source from GitHub at https://github.com/cuckoosandbox/monitor.git and use the same command in Listing 21-5 to build its binaries which also goes straight to the bin folder.
Windows VM
In this section, we set up our Windows dev VM, which we use to build various other tools that we introduce in this part of the book, including building ones that use Binary Instrumentation (see Chapter 25).
First, we need to create a new VM with Windows, for which we use Windows 7 32bit as the OS. Let’s call this VM Windows dev VM. While creating the VM, you can use the same hardware settings from Figure 21-1. Installation of the VM with Windows 7 32-bit OS doesn’t require any special steps other than the standard procedures we used while creating our analysis VM from Chapter 2. After installation of the OS, update the OS to the latest update provided by Microsoft.
With the Windows dev VM now ready, the first part of our setup requires Visual Studio (VS) Compiler and its SDK. Notice that we mentioned VS Compiler and not the IDE itself. To be honest, as a beginner a lot of times, it is preferable not to use an IDE since they abstract and hide away the details on how to build and link the source code files of your project. With an IDE, it is Button! Click! Magic!—not something that is recommended while learning. Instead, using a regular text editor to write source code and then using the command line compiler cl.exe, is a much better way to learn all the inner details of various library dependencies, the linking process, and so forth.
In combination with the, you can also use a Windows command line environment like Cygwin, which makes available other small utilities like the make command that help you automate your source code building process using makefiles.
Visual Studio Installation
Visual Studio comes in both paid and community versions. You can download the installer for VS Studio Community straight from https://visualstudio.microsoft.com. For our setup in our exercises and the readers of this book, we install VS Community 2019 edition, but feel free to use other versions, paid or community.

The component to select in VS 2019 community installation

The Developer Command Prompt for VS 2019 available in your Start Menu

Cygwin Installation
Cygwin is a POSIX-compatible tool that provides various Unix-like applications on Windows via a console application. It has been a personal favorite of ours since it allows us to build projects on Windows and use the ever famous Makefiles to automate building the source code from these large projects.
Now the important part is to combine Cygwin with Visual Studio from the previous section so that the VS environment, including the VS Compiler cl.exe, is available inside Cygwin’s console. Before we can do that, you need to install Cygwin.
List of Cygwin Packages That We Should Only Install/Uninstall
Top Level Package List Name | Packages to Install |
|---|---|
Shells | all packages |
Base | all packages |
Devel | make |
Archive | unzip |
All Others | don’t install (select uninstall) |

Cygwin packages window where you can select the packages you want to install
Cygwin + Visual Studio
Now that you’ve installed Cygwin, you want to make the Visual Studio toolchain available from within the Cygwin console. To do this, you must enable/set Visual Studio’s environment inside Cygwin. To help us with this, Visual Studio provides its environment via a batch file, which, up to and including VS 2015, was named vsvars32.bat, and since VS 2015, it is named VsDevCmd.bat. Since we installed VS 2019 Community, the batch file is located at C:Program FilesMicrosoft Visual Studio2019CommunityCommon7Tools folder.
Contents of Our New Cygwin.Bat That Integrates VS Environment into Cygwin

Visual Studio environment available in our Cygwin tool up after we double click and run our custom cygwin.bat that we introduced in Listing 21-6
Other Tools
We also need two more tools inside our Windows dev VM: YARA, BinText, Wireshark, and IDA Pro. We have covered the installation steps for these tools in Chapter 2, where we installed them in our analysis VM. You can follow the same steps to install them here in our Windows dev VM. Alternatively, we have installed these tools in our analysis VM as well from Chapter 2, and you can use these tools in the analysis VM also. Installing the various tools, we installed in the analysis VM in our dev VM comes in handy when you are doing development. But always remember never run any malware inside the dev VM. You have the analysis VM for that.
As and when you play around with new tools and develop new ones, you might have to install more dependency tools, frameworks, and packages to these VMs. Keeping these two base development VMs one for Linux and another for Windows is very useful and handy, and you can keep installing new tools to your dev setups VMs as and when needed. Make sure you create a snapshot of the pristine state for these two VMs. You can revert to them whenever you think you have messed up the environment/setup of your VMs beyond repair.
Summary
The first step in detection engineering is to make sure you have the right development environment and setup that can help you modify and build these detection tools of yours. This chapter helps us achieve this by helping us set up two new development VMs, one for Linux and another for Windows. In this chapter, you learned how to install and configure various development tools on both new dev VMs, that help us build various detection tools that we are going to talk about in the subsequent chapters.