Understanding the Existing Service Applications in SharePoint 2010
This section looks at some important service applications available in SharePoint 2010. You already indirectly worked with some service applications, including the Business Data Connectivity service application in Hour 14, “Understanding Business Connectivity Services,” and the search service application in Hour 18, “Introducing SharePoint Search.” This hour covers three other service applications that you must be aware of.
Understanding Excel Services Application
The Excel Services application enables you to manage the Excel Services. Excel Services supports sharing, securing, managing, and using Excel 2010 workbooks in a SharePoint Server website or document library. Figure 20.4 shows the Manage Excel Services Application screen.
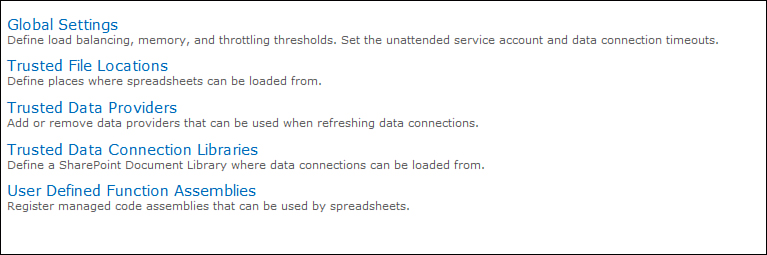
Figure 20.4. Manage Excel Services application
The following are the various screens in the Excel Services application:
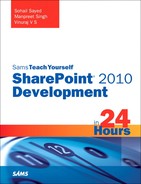
• Global Settings—This screen allows you to configure various settings such as the authentication method used to access the Excel workbook files from nonSharePoint trusted locations, connection encryption, cross domain access, load balancing scheme, and session and cache settings.
• Trusted File Locations—This screen allows you to specify trusted file locations. A trusted file location represents a location such as a SharePoint document library, a UNC path, or an HTTP website from which the Excel workbook can be loaded. Figure 20.5 shows the Trusted File Locations screen. You can see that a trusted location is already added by default.

Figure 20.5. Trusted File Locations
• Trusted Data Providers—Many times you will find yourself accessing external data sources in your Excel workbook. In such cases you need to add the external data sources in the list of Trusted Data Providers.
• Trusted Data Connection Library—You can store the data sources used by an Excel workbook in a special type of document library called the Data Connection Library rather than hard coding in the Excel workbook itself. In such cases you need to add the URL of the Data Connection Library in the list of Trusted Data Connection Library.
• User Defined Function Assemblies—This screen allows you to register .NET assemblies used by the Excel workbook.
Understanding Managed Metadata Service
The Managed Metadata Service in SharePoint 2010 acts as a central store for keywords and a hierarchically organized metadata. It allows organizations to create a taxonomy store as per the organization needs and enables use of this taxonomy in a consistent manner. Users can tag SharePoint data with the terms defined in the managed metadata term store. This also has major benefits for the search system in the form of better search results.
Try It Yourself: Create and Use Managed Metadata
1. Select the Manage Metadata Service Application in Central Administration and click the Manage command in the ribbon. (If the service application is not present create it by clicking on the New command in the ribbon.)
2. You are taken to the Term Store Management Tool screen as shown in Figure 20.6.

Figure 20.6. Term Store Management Tool
3. This screen lists the taxonomy hierarchy. By default there is a single term set group—System. Term set groups are a security boundary. You can assign specific users to manage specific term set groups, though users can normally see all term sets. The System term set group contains two term sets—Keywords and Orphaned Terms—by default. Terms sets group terms.
4. Create a new group named DemoGroup. You can create a new group by moving the mouse pointer to the end of the text Managed Metadata Service. This causes a down arrow to appear that enables you to open the context menu. Click the New Group option in the context menu as shown in Figure 20.7.
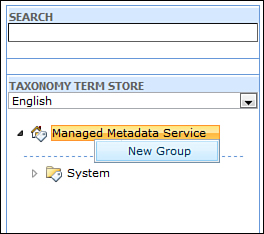
Figure 20.7. Creating a new term group
If the down arrow does not show up, add the current user in the list of Term Store Administrators and click Save. The down arrow and the context menu should appear after that.
5. Add a new TermSet under the DemoGroup named Ticket Priority. To add a new term set move the mouse pointer to the end of the text DemoGroup to open the context menu as shown in Figure 20.8.

Figure 20.8. Creating a new term set
6. Similarly add three terms—High, Normal, and Low—under the Ticket Priority term set.
7. Add another term set called Region and add the terms listed here:
a. Asia
China
India
b. Africa
South Africa
Kenya
c. Australia
d. Europe
U.K.
France
Germany
e. North America
Canada
U.S.A
f. South America
Creating the term set manually can be a tedious task especially if the term set is big. Also you may not want to keep creating term sets manually when creating multiple environments for the same application (such as QA, Test, and Prod). An easier way is to define a CSV file once and import it in whichever environment you need. The Term Store Tool points a link to a sample CSV file for import.
8. The final hierarchy should look as shown in Figure 20.9.
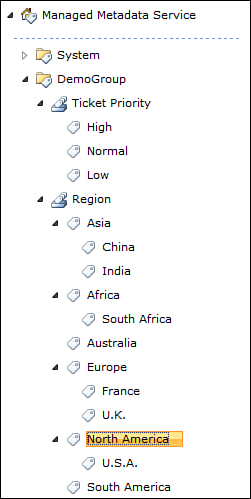
Figure 20.9. DemoGroup term group hierarchy
9. Now browse to your SharePoint site and create a custom list called Tickets. Add a new column called Ticket Description of type Multiple Lines of Text.
10. Add two columns of type Managed Metadata pointing to the new term sets just created. Create a new column named Ticket Priority of type Managed Metadata. Selecting the type Managed Metadata causes various settings to appear related to the Managed Metadata, including the Term Set settings.
11. Select the Ticket Priority term set as shown in Figure 20.10. Leave the rest of the settings as is and click OK.

Figure 20.10. New Managed Metadata column
12. Add another column named Region and point it to the Region term set. Select the Allow Multiple Values check box and click OK.
13. Add a new item to the list. You can tag the item with a single ticket priority and multiple regions for the list item as shown in Figure 20.11.
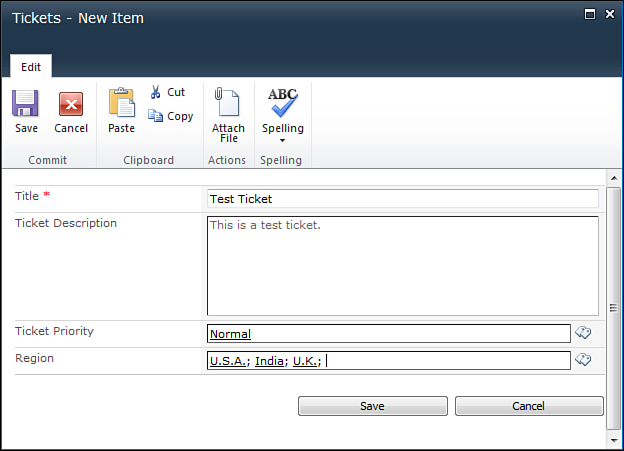
Figure 20.11. New list item
You can tag the region with both a parent and a child region. To avoid this you can uncheck the Available for Tagging property for the specific parent terms.
Understanding User Profile Service Application
The User Profile service application enables you to store information about users in a central location. This information can be accessed by other applications for a variety of purposes. You need to enable the User Profile service application to create My Sites, enable social computing features such as social tagging and newsfeeds, and create and distribute profiles across multiple sites and farms. Figure 20.12 shows the User Profile Service Application page.

Figure 20.12. User Profile Service Application
As you can see this screen is divided into four sections: People, Synchronization, Organizations, and My Site Settings. In addition the right section displays various statistics related to the User Profile and Audiences. The functions performed by the User Profile Service Application can be classified as follows:
• Managing user profiles—User profiles store information about a user. You can view a user profile by clicking on the Manage User Profiles link. Search for the specific profile by entering the username in the Find Profiles text box as shown in Figure 20.13.

Figure 20.13. Managing user profiles
Edit the user profile and you can update the various properties for the user as shown in Figure 20.14.
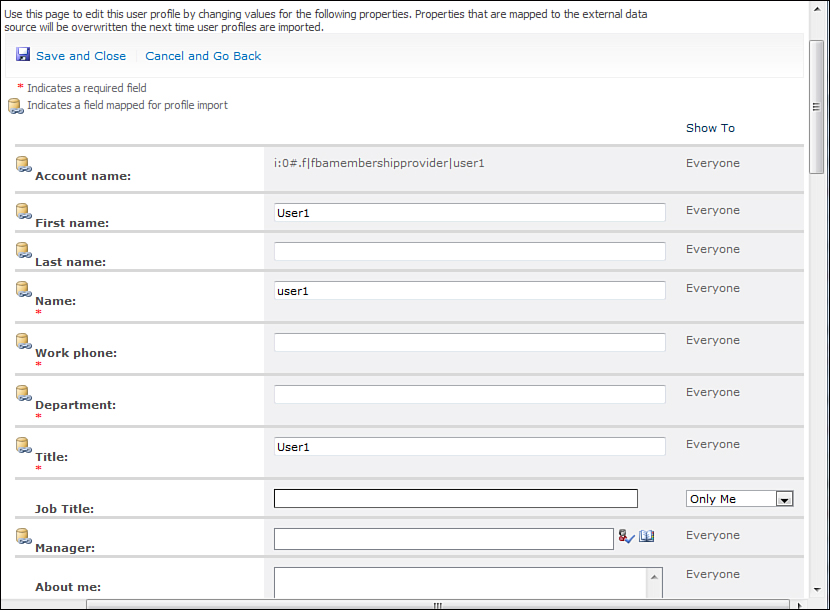
Figure 20.14. Editing a user profile
You can define these properties by going to the Manage User Properties link in the User Profile Service Application page. You can also create a profile manually by clicking on the New Profile link in the Manage User Profile page.
• Audiences—Audiences is a feature of SharePoint that enables targeting of content to a specific group of users. To create a new Audience, go to the Manage Audiences screen and click New Audience. This opens the Create Audience screen as shown in Figure 20.15. Enter the name for the Audience and click OK.
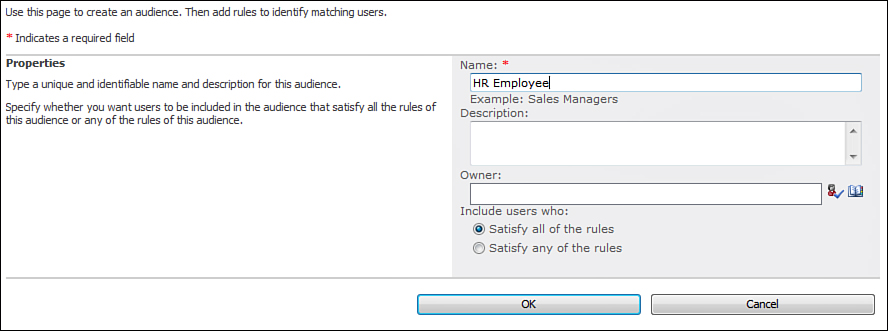
Figure 20.15. Creating an audience
The next screen prompts you to specify rules based on which users are included in this audience. Choose the Property option and select the Department property. Keep the Operator as = and enter HR in the Value field as shown in Figure 20.16. Click OK.

Figure 20.16. Create Audience—Add Rule
Though the audience is now created, no users will be part of it until the audience is compiled. You can schedule the compilation of the audience or manually compile by clicking on the Compile Audiences link in the User Profile Service Application page.
• My Sites—My Sites are personalized sites that can be created for each user and allow the users to share personal information with others much like Facebook or Orkut. The My Site settings are managed through the User Profile service application. The Setup My Sites link enables you to specify various settings for My Sites, which include the URL of the My Site host, Personal Site location, and Permissions as shown in Figure 20.17.
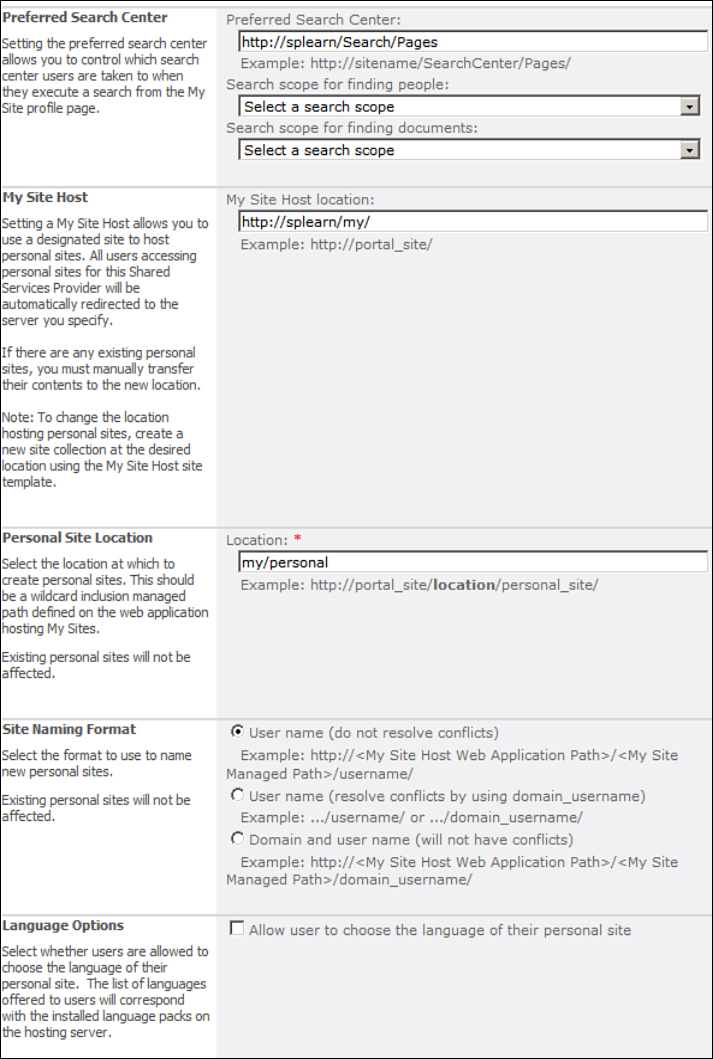
Figure 20.17. Setting up My Sites
The My Site Host site template was covered in Hour 4, “Walking Through the Available Site and List Templates in SharePoint 2010.” You need to use this template to create My Sites.
Another important link is the Configure Trusted Host Locations. There will be scenarios when you will have more than one My Site Hosts created. You can target specific users to specific My Site Hosts by creating audiences and mapping these with the My Site Host URLs in the Trusted My Site Host Locations screen. Here you have two audiences—North America Users and Asia Users. These are mapped to two different My Site Hosts. So when a user who falls under the North America Users audience tries to browse his My Site for the first time, the My Site is created at the location http://splearn/sites/MySite. Similarly, for a user falling under the Asia Users audience, the My Site will be created at URL http://splearn_asia/sites/MySite. This is a powerful feature and enables you to distribute the load of My Sites.