
When creating a transparent or semi-transparent object, we might want to see its internal faces. However, by default, Unity transparent shaders make them invisible. In this recipe, we will edit one of Unity's built-in transparent shaders in order to make those faces visible to the user.
In order to follow this recipe, you will need to download the source code to Unity's built-in shaders from http://unity3d.com/unity/download/archive. You will also need a texture with a transparency channel. We have provided one, named grid.tga, in the 0423_03_10 folder.
To disable culling for a material, follow these steps:
- Open the archive containing the source code to Unity's built-in shaders and extract the file named
AlphaTest-BumpSpec.shader, available within theDefaultResourcesfolder, onto your desktop. - Rename the
AlphaTest-BumpSpec.shadercopy toAlphaTest-DoubleSided.shader. Then, open it in your code editor. - Change the first line to:
Shader "Transparent/Cutout/DoubleSided" {. - Add the following line of code where indicated:
SubShader { Tags {"Queue"="AlphaTest" "IgnoreProjector"="True" "RenderType"="TransparentCutout"} LOD 400 // Line of code to be added: Cull Off // End of code to be added. - Save the file and import it into your Unity project.
- Import the
grid.tgatexture. - Let's create a new material. Access the Project view, click on the Create drop-down menu and choose Material. Rename it to
Grid. - Select the
Gridmaterial and, in the Inspector view, change its shader toTransparent/Cutout/DoubleSided. - Apply the
grid.tgatexture as the Base texture for theGridmaterial. Your double-sided transparent material is ready for use. It can even cast shadows!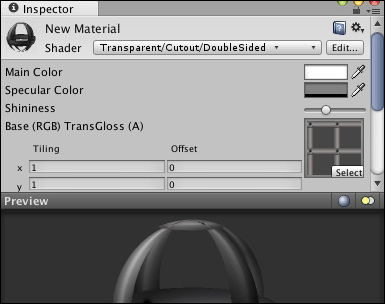
The Cull Off command makes Unity render both front and back faces of the object. Although it works fine for our Cutout shader, using it with other types of transparent shaders might lead to unexpected results.
Here are some additional resources and solutions:
Unity's documentation includes several articles on shader programming. You can check them out at http://docs.unity3d.com/Documentation/Components/SL-Reference.html.