
Using the Messaging App for IM
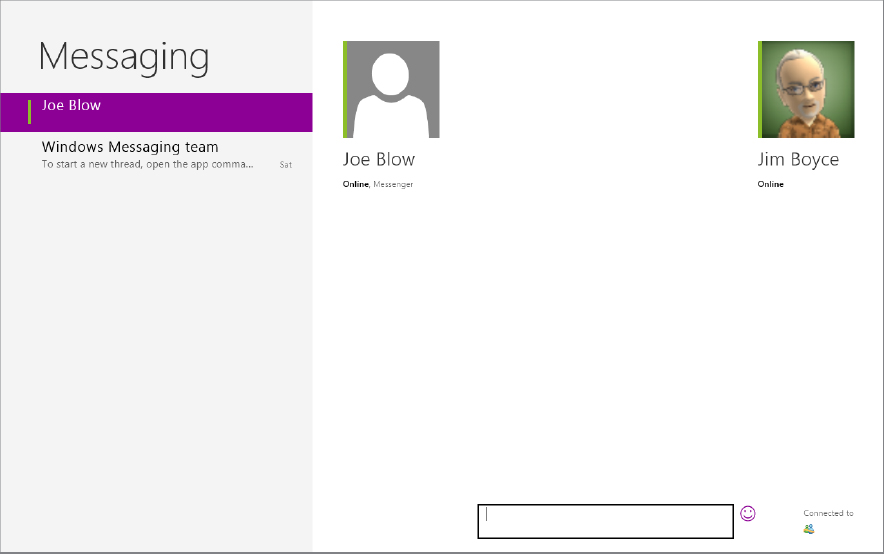
Windows 8 includes a simple app for IM called Messaging. Figure 17.1 shows the Messaging app with a small number of sample messages.
FIGURE 17.1 The Windows 8 Messaging app

If you logged into Windows with your Windows account (formerly Windows Live), Messaging will already be configured to use the app with your Messenger. If not, you can click Add More to add the account. Or you can click the Facebook link near the bottom right corner of the app to add your Facebook account, enabling you to IM with your Facebook friends.
Sending and receiving messages with Messaging
The Windows 8 Messaging app works in conjunction with the People app, enabling you to send and receive messages with the contacts in People. Because both the People app and Messaging app support different types of accounts, the key to successful access to contacts in Messaging is to make sure you’ve connected in People all of the services containing contacts with whom you want to chat. For example, if you want to chat with your Facebook friends using Messaging, make sure to add the Facebook service to People. You’ll then be able to select them when starting a chat session.
To send an IM to a contact using Messaging, first open the Messaging app and right-click in the app or slide up from the bottom to open the App bar. Then, click New, as shown in Figure 17.2.
FIGURE 17.2 The Messaging App bar

Clicking or tapping New opens the People app and shows the first page of your contacts. By default, People shows all contacts, but you can click Online Only to show only those contacts who are currently online. When you find the contact with whom you want to chat, just click or tap the contact to select it, and then click or tap Select. Messaging then shows the contact in the left pane, as shown in Figure 17.3.
FIGURE 17.3 A contact in Messaging
With the contact selected, just type your message and press Enter. Messaging sends the message to the contact. Replies show up in the same window. Figure 17.4 shows a sample message thread.
FIGURE 17.4 A short message thread in Messaging

Although Messaging doesn’t support multiple contacts in a single conversation thread, you can have multiple threads at once. Just right-click or slide up to open the App bar, and then click or tap New and add another contact. The current message threads are listed in the left pane of the Messaging app, and you can switch between them simply by clicking or tapping the contact in the list.
Deleting a message thread
Messaging keeps track of your message threads. So the next time you open Messaging, the conversation thread for a given contact will be shown in the app when you select that contact. Whether for privacy or to unclutter the app, you can delete a message thread. To do so, click or tap the contact to show the thread. Then, right-click or slide up to open the App bar. In the App bar, click or tap Delete. In the pop-up, click or tap Delete Thread. The message thread should disappear from the app.
Setting your status
Generally, when you’re online and available for chat, you’ll want your status to show as Online, letting others know that you are available to chat. Sometimes, however, you might want to remain online but not show as available for chat. For example, maybe you’re working on finishing an important project and don’t want to be disturbed.
To change your status, right-click in the app or slide up to open the App bar. Click or tap Status, and then choose either Online or Invisible.
Inviting contacts
Although you will most likely manage your contacts in the People app or in the web interface for you other services (such as Facebook), you might prefer to manage them from the Messaging app. While Messaging doesn’t let you manage the contacts directly, it makes it easy to access your Windows account, where you can add and remove contacts. To do so, right-click in the app or slide up to open the App bar. Then, click or tap Invite and choose Add A Friend. The Messaging app launches Internet Explorer and opens the Windows Live site. From the site, you can add contacts from Windows Live or from any of the other services supported by Windows Live, such as Facebook, LinkedIn, and others.
Setting Messaging options
Like many Windows 8 apps, Messaging doesn’t offer a broad range of options for you to configure, but you can set a handful of options. With the Messaging app open, open the Charms Bar and click or tap Settings. Messaging offers three sets of options that you can configure:
- Accounts: Use this to add an account for another service so you can send and receive messages to contacts on that service.
- Options: Here you can turn Messaging on or off, which enables you to view existing message threads in Messaging but takes you offline so others can’t send you messages.
- Permissions: Here you can turn on or off your webcam and microphone, making them available for voice and video chat. Use the Notifications option to specify whether Messaging will show notifications when you receive a message and the app is not running in the foreground. Use the Lock Screen option to specify whether Messaging will run in the background and show its status on the Lock screen. For example, if this option is on and you receive an IM when your computer is locked, you’ll see the message appear briefly on the Lock screen. After a short period, the message will disappear and a small icon under the date will indicate the number of messages received.