
Adding Bluetooth-Enabled Devices
Many different types of Bluetooth devices are available on the market. Most have some means of making the device discoverable (visible) to other devices. Whether you have to make your PC discoverable to install a device depends on the type of installation you’re about to perform. As always, you need to read the documentation that came with your device for specifics. But if you do need to make your computer discoverable, it’s simply a matter of choosing the Allow A Device To Connect option, visible in Figure 45.3.
On the shortcut menu for the Bluetooth Devices Notification icon, clicking the Add A Bluetooth Device option opens the PC Settings window with the Devices option showing. Windows attempts to locate any devices available. The sections that follow show you how easy it is to connect Bluetooth devices to your laptop or computer. This example shows you how to set up an Android-based smart phone to your computer. We then walk you through the process of transferring files to and from that device.
Connecting an Android smart phone
To add an Android smart phone to your computer using Bluetooth, you must have an Android device that supports Bluetooth. Also, your computer or laptop must have built-in Bluetooth or a Bluetooth adapter plugged into it.
Use the following steps to connect the Android to your Windows computer:
FIGURE 45.4 Choose to add a Bluetooth device.

FIGURE 45.5 Windows finds the Android phone device.
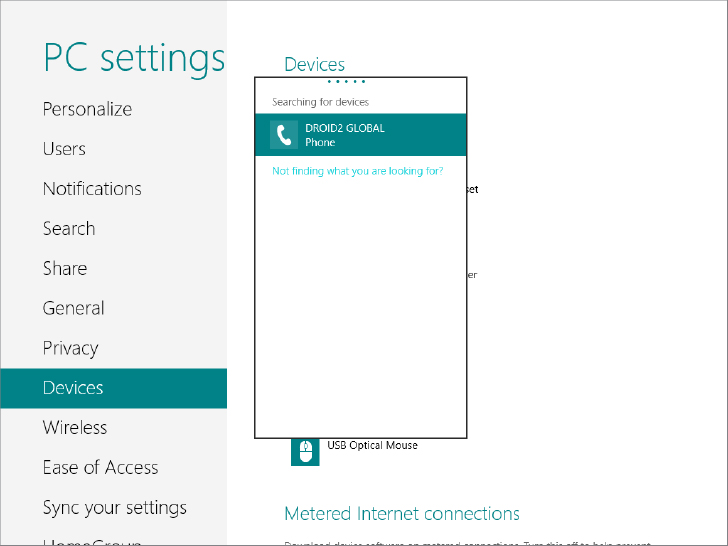
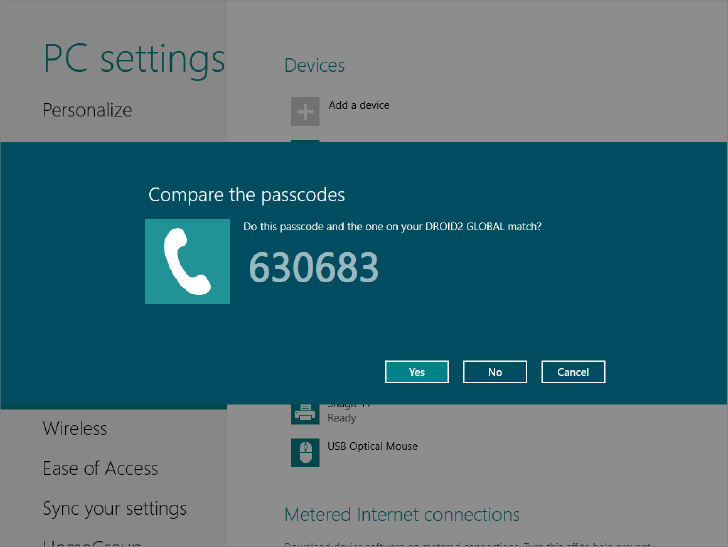
FIGURE 45.6 Windows and your phone display a passcode.
Windows sets up a connection between the two devices.
Joining a personal area network
Once your two devices are connected, you can join them as a personal area network (PAN) so you can transfer files between them using the Bluetooth connection. To do this, use the following steps:
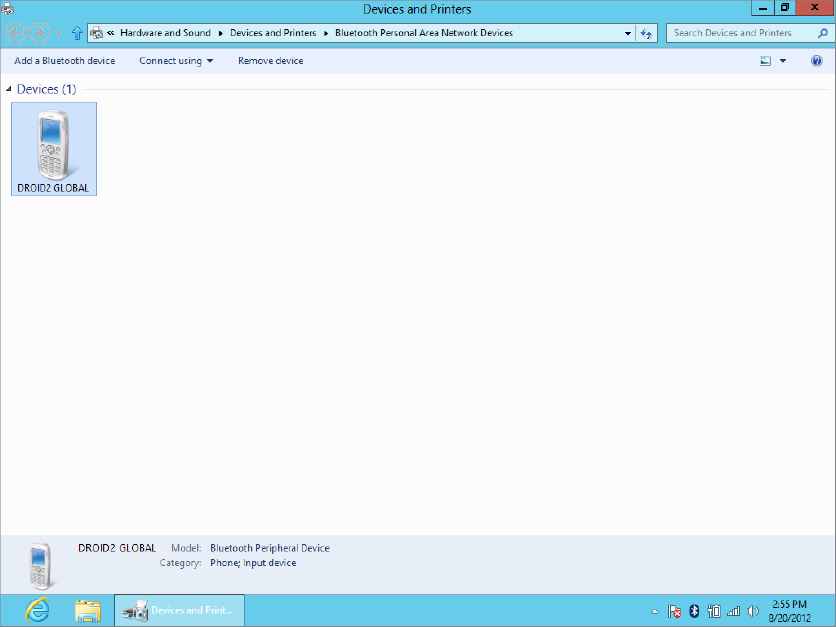
FIGURE 45.7 Setting up a personal area network

FIGURE 45.8 Selecting a device to connect to the PAN
Now that your devices are joined to a PAN, you can transfer files between the two. Read the following two sections to find out how to do this.
Receiving files from a Bluetooth device
There’s not much you can do when you connect a smart phone to a computer via Bluetooth. One feature that is handy, however, is the feature to send files from your phone to Windows. You can, for example, send picture or video files from your phone to your computer. To do this, use the following steps:
FIGURE 45.9 Receive a file from a smart phone

FIGURE 45.10 The Bluetooth File Transfer window
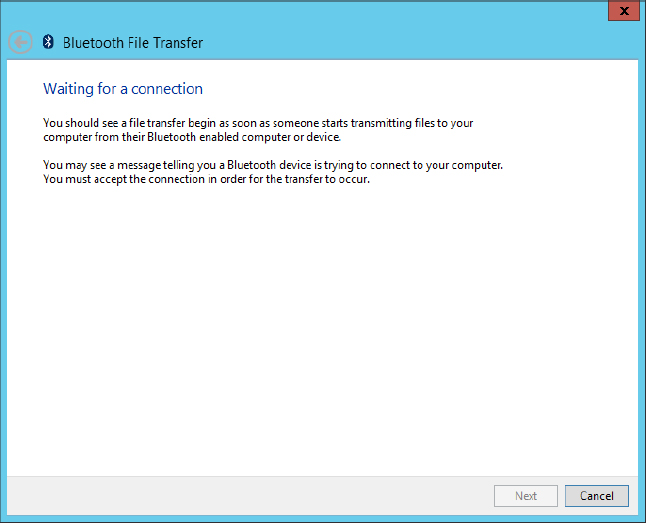
FIGURE 45.11 Receiving a file from a smart phone
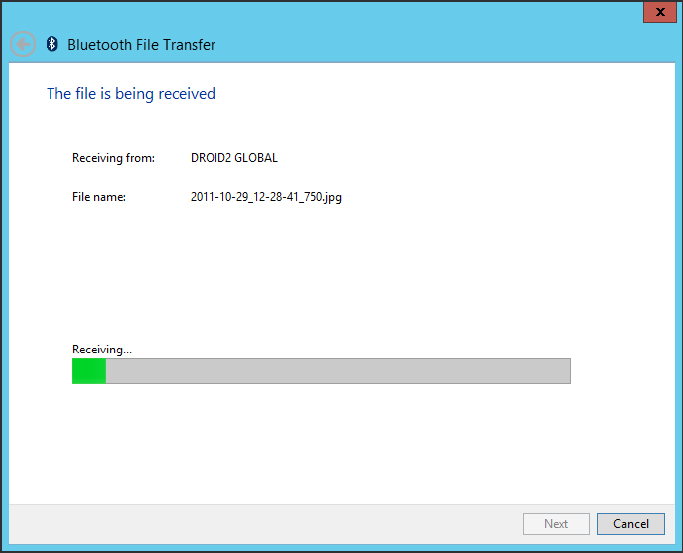
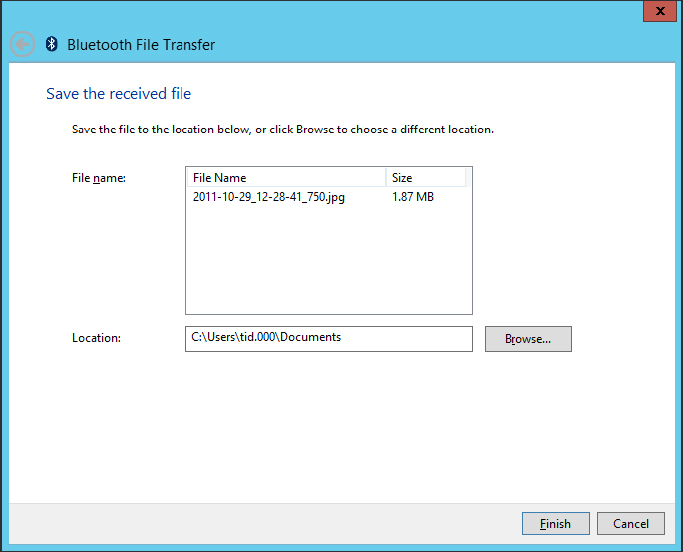
FIGURE 45.12 After Windows receives the transferred file
Sending files to a Bluetooth device
Not only does Windows 8 make it easy to receive files from a Bluetooth device, such as an Android-based smart phone, it also makes it easy to send files to a device:
FIGURE 45.13 Select a device to send a file to.
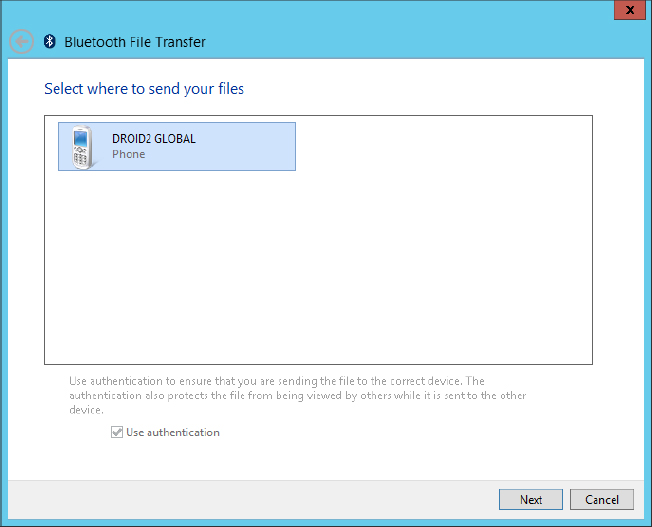
FIGURE 45.14 Select files to send.
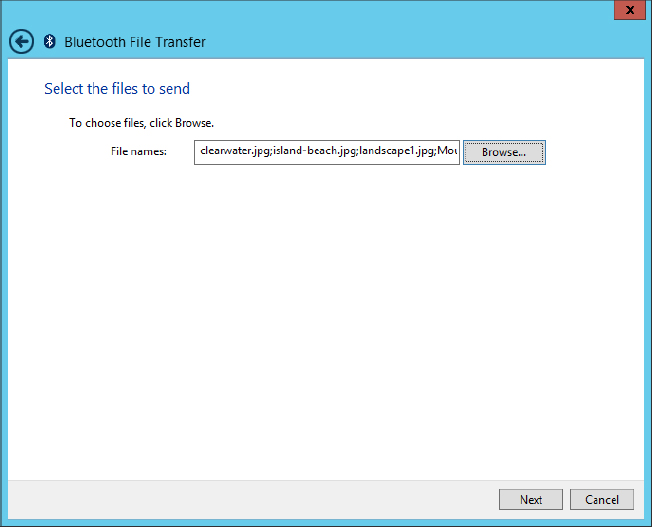
FIGURE 45.15 Sending files from Windows to a smart phone
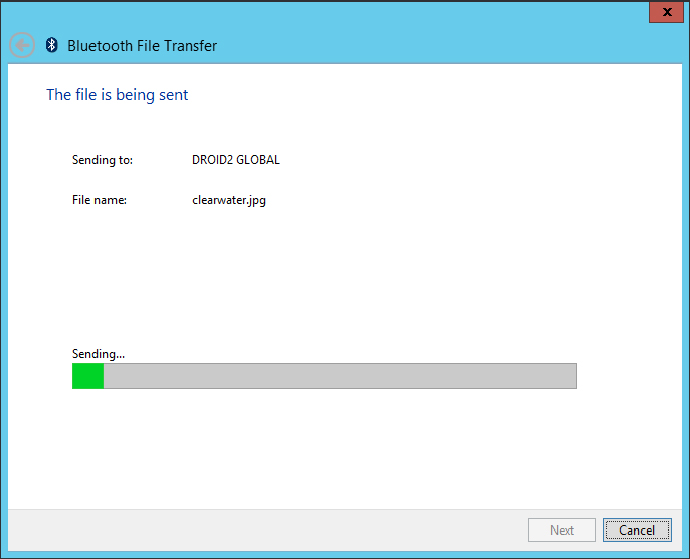
Windows sends the file(s) from your computer to your phone. Depending on the size of the files, the transfer process may take several minutes.
Creating a Bluetooth personal area network
You’ve seen how to create personal area network to allow a smart phone to connect to your computer. You also can create a Bluetooth PAN as a short-range wireless network to connect other types of devices together wirelessly. It’s commonly used to connect a laptop to a desktop PC, although it can be used to connect other types of Bluetooth devices. As a rule, there’s not much to joining Bluetooth devices to a Bluetooth network. Most of the action takes place automatically behind the scenes.
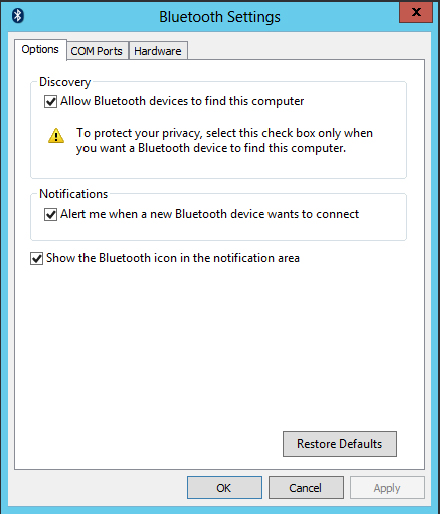
To understand the basic procedure, let’s assume you already have a desktop computer with a functional Internet connection. You’ve already installed a Bluetooth USB adapter on that computer, so it’s now a Bluetooth device. On that desktop computer, click the Bluetooth adapter icon in the Notification area of the Windows desktop. Click Open Settings and make sure Allow Bluetooth Devices To Find This Computer is selected, as shown in Figure 45.16.
FIGURE 45.16 Make sure Bluetooth is set up on both computers.
On a laptop computer (or second computer), activate Bluetooth or, if necessary, plug in a second Bluetooth USB adapter. You want to connect the laptop to the desktop in a personal area network. To do so, starting from the laptop computer, follow these steps:
Once the connection is established, you should have Internet access on both computers. You can share printers and folders, and move and copy files between computers using the techniques described in Chapter 28, “Managing Files and Folders,” and Chapter 32, “Installing and Managing Printers.”
Note, however, that if you made the Bluetooth connection to only one computer in an existing LAN, you’ll have access only to the shared resources on the Bluetooth-enabled computer, not all the computers in the LAN.
Troubleshooting a Bluetooth network connection
If you can’t get any connectivity at all using Bluetooth, try the following remedy:
By the time you complete the wizards on both screens, you should have a connection. The Network and Sharing Center folders on each PC should have similar Bluetooth network entries.
Sharing an Internet connection
If you’re unable to get Internet connectivity from the computer you are connecting to the PAN that already has Internet connectivity, go to the computer that’s connected to the cable modem or router. Open Network and Sharing Center and click the network item next to the Connections label. In the Activity area, click Properties and click the Sharing tab. Choose Allow Other Network Users To Connect Through This Computer’s Internet Connection and click OK twice to save your settings.
If you still have problems connecting to the Internet, check the settings for the Windows Firewall:
With these settings, you should now be able to connect to the Internet from the other computers in the PAN.
Remember that many different Bluetooth devices are available on the market. If none of the techniques described here help you make the connection between two computers in a personal area network, be sure to refer to the instructions that came with your Bluetooth device.