
Creating Contact Groups
A contact group is any collection of contacts that have something in common. It could be people who go to the same church as you, members of the same club, work colleagues, or just pals. You might also think of a contact group as a mailing list (or distribution list). The beauty of a contact group is that you can send or forward an e-mail message to everyone in the group in one fell swoop.
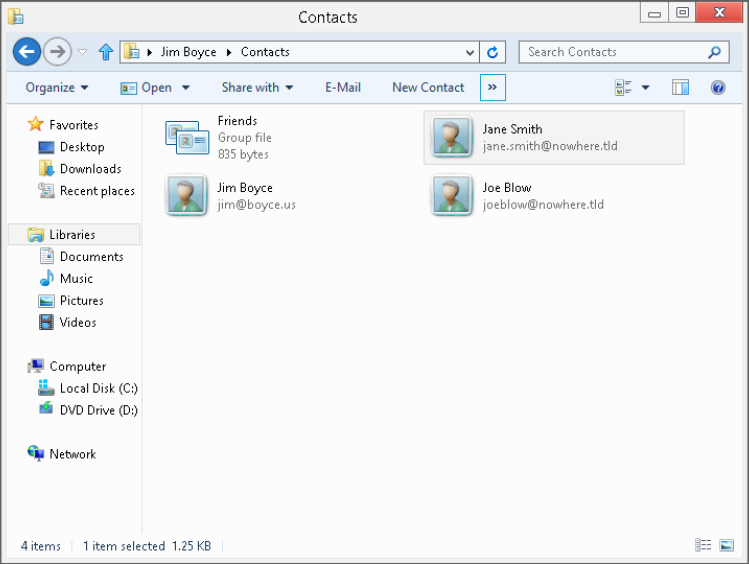
Visually, a contact group is just a collection of contact names. For example, Figure 21.4 shows a contact group named Friends.
FIGURE 21.4 Sample contact group
To create a contact group in your Contacts folder:
- To add existing contacts, click Add To Contact Group. Click the first person who should be in the group. Then hold down the Ctrl key as you click everyone else who belongs in the group. Then click Add.
- To add a new person to the group as well as create a contact for that person, click Create New Contact. Fill in contact information for that person and click OK.
- To add a person’s name and e-mail address without creating a contact icon for that person, fill in the Contact Name and E-mail boxes near the bottom of the window and click Create For Group Only.
The group window closes and appears as an icon in the Contacts folder. You can use and treat the group in much the same way as you do an individual contact:
- To send an e-mail to the group, right-click the group icon and choose Action
 Send E-mail.
 - To change the group, double-click the group’s icon in Contacts.
- To delete the group, right-click its icon and choose Delete. Contacts within the group will remain. Only the group icon and noncontacts are deleted.
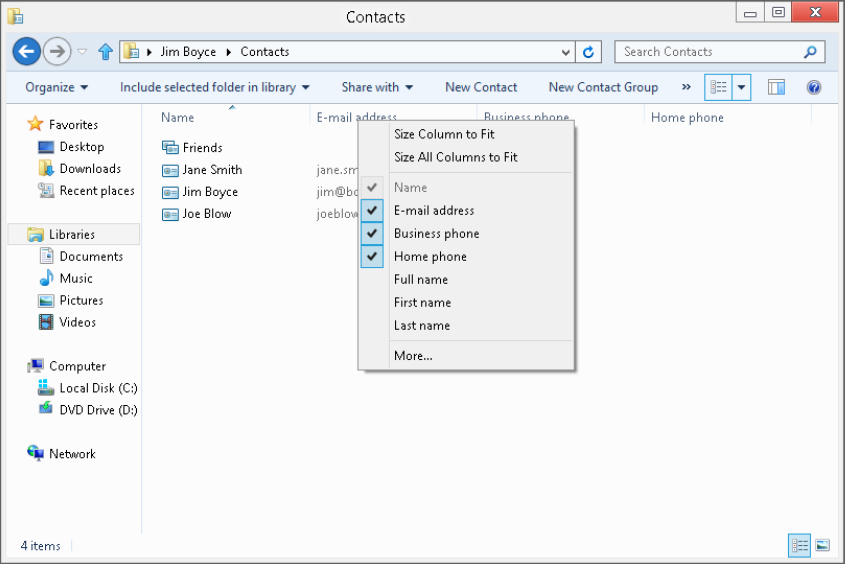
Don’t forget that you have much leeway in how you view the contents of folders. For example, to view and organize your contacts as a list or table, choose Details from the Views menu. To choose columns to display, right-click any column heading, as shown in Figure 21.5. If the drop-down menu doesn’t show a column you want to include, click More for a more complete list.
FIGURE 21.5 Choose columns to display.
After you’ve selected the columns you want to view, you can arrange them however you like. Just drag any column heading left or right to place it where it’s easy to see. You can sort, group, and filter contacts as you would files in any folder. For more information on how that works, see Chapters 27–30.