
Now that the hardware is connected, you'll need to supply the control signal to make your servos move. To control your servo, bring up the Arduino IDE. Make sure that the proper Arduino and port are chosen. Then enter the lines of code as shown in the following screenshot:

This code uses the Servo library that is installed with the standard Arduino IDE. The three sections of code that you'll need to understand are as follows:
- The global variables
servo,servoPin, andangleare used by the program. TheServodata type adds a set of functions so that you can control your servo. This includes theservo.attach(servoPin)andservo.write(angle)functions, which you will use in this program to send the servo to a specific angle. To find out all the different functions that are available, visit http://arduino.cc/en/reference/servo. - The
setup()function connects the servo functionality to the proper pin and then initializes the serial port. - The
loop()function reads the serial port, and then uses that data to send the servo to the proper angle by usingservo.write(angle).
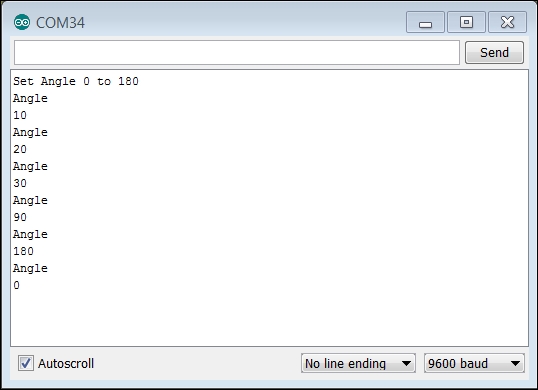
When you have entered the code, upload the program. When it runs, navigate to Tools | Serial Monitor. You can then enter the desired angle, as shown in the following screenshot:
Now you can imagine adding a whole set of servos, one controlled by a different digital output pin on Arduino. However, Arduino itself will soon run out of the ability to supply enough current to control more servos. So if you have projects that require more than just one or two servos, you'll probably want to go with a servo motor shield.