
Let's start with Arduino that will receive the RF signal. You'll need to plug it into the host computer via a USB cable in order to upload a program. In order to debug both of these devices, you will also need two computers, one to run an Arduino IDE for both the transmit and receive device. You can also do this with a single computer and two USB ports (for more information on how to do this, visit http://forum.arduino.cc/index.php?topic=407.0). However, once you've created the program, you can disconnect the remote Arduino from the computer and power it from a battery. In this example, you'll use the example programs from the library to send data from the client (Arduino connected to the PC) to the server (the standalone Arduino) and then have it echo back.
As you did earlier, you'll first need to install the library. There are a couple of possible libraries, but the one that is the most full featured is the RF24 library, which is available at https://github.com/maniacbug/RF24/. To get the full library, select the Download ZIP button on the right side of the screen. Unzip the archive into a directory and then copy the directory to the libraries directory of your Arduino installation. You'll also need to rename this directory; I renamed mine RF24. To do this demo, you'll need two host computers, one for each RF device.
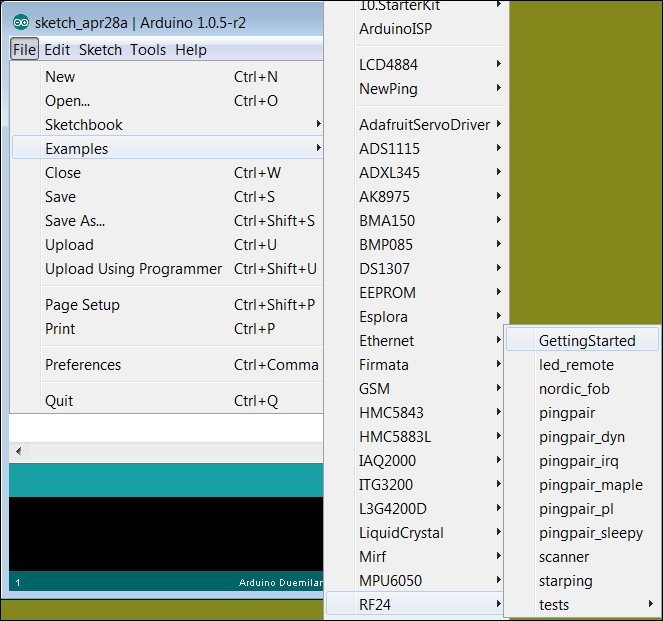
On both computers, open the Arduino IDE and bring up the server code by navigating to File | Examples | RF24 | GettingStarted, as shown in the following screenshot:
This Arduino will now have the code to configure the interface. When you bring up Serial Monitor, you should see something like the following screenshot:
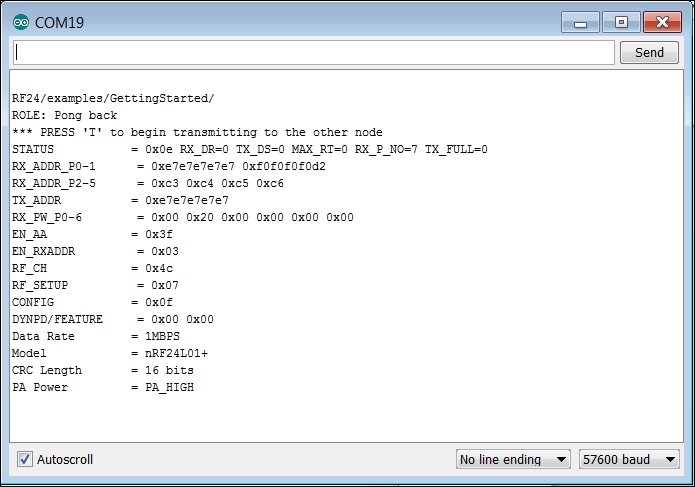
This shows the configuration of the first device. If you receive 0 for all values, you probably have your device connected incorrectly. Initially, this first device will be in receive mode, listening for a message, and when it receives one, it will send this message back to the sender.
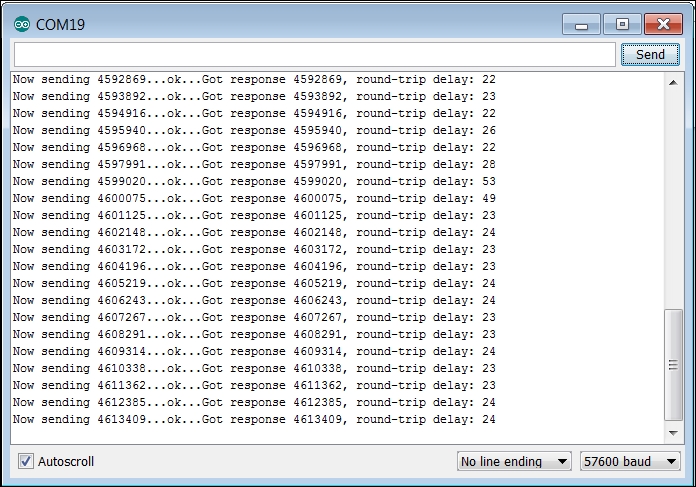
Now, do the exact same thing on the second Arduino. The code you have will run and will also be waiting to send some information. On this second device, type the character T in the input field at the top of Serial Monitor and then hit Send. Now, you should begin to see the results on the send Serial Monitor, as shown in the following screenshot:
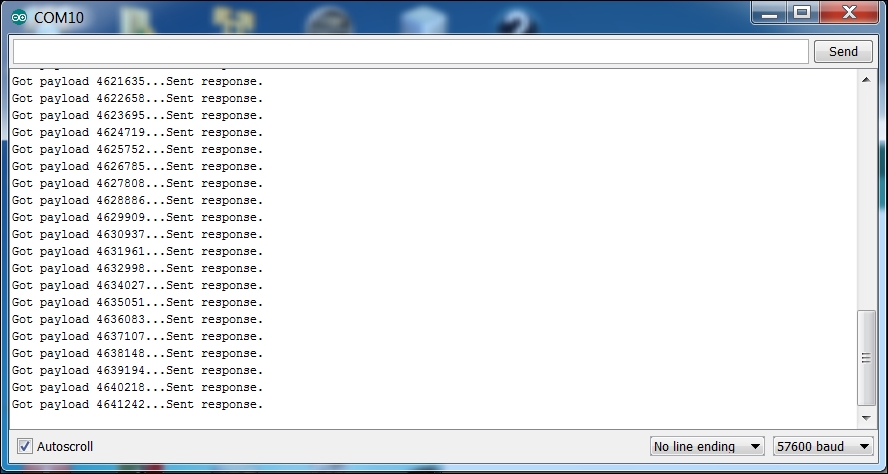
If you check the first device's Serial Monitor tab, you should see that it is now receiving the sending device's message. It should look something like the following screenshot:
Now, you can disconnect the receive Arduino; it will retain this program and run it each time the unit is powered on. Connect this Arduino to a battery by plugging the battery GND and VCC to the GND and VIN pins on this receive Arduino. If you are using a cell phone's USB charger, you can connect it to the USB port on Arduino, as shown in the following image:
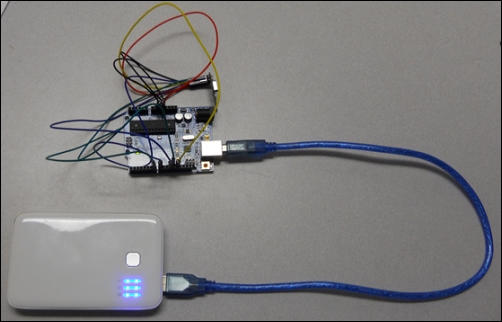
The LED on the receive Arduino should be flashing, indicating that the two Arduinos are communicating.
Note
To change the code to send a command byte, look for the following code that gets the milliseconds from the time function and sends it out to the other Arduino:
// Take the time, and send it. This will block until complete
    unsigned long time = millis();
    printf("Now sending %lu...",time);
    bool ok = radio.write( &time, sizeof(unsigned long));
Now, change the code on the sending Arduino so that instead of sending the time, it sends a command byte that you define. Then, on the receive Arduino, look for the following code:
// Grab the response, compare, and send to debugging spew
      unsigned long got_time;
      radio.read( &got_time, sizeof(unsigned long) );
      // Spew it
      printf("Got response %lu, round-trip delay: %lu

",got_time,millis()-got_time);
Finally, change this code to take the command byte that you defined and then trigger some action.