
Now that your hardware is ready, you'll need to program Arduino to send the proper control signals. To control this shield, you'll need to download a library from Adafruit.
Note
The library for the motor shield can be downloaded from https://learn.adafruit.com/adafruit-16-channel-pwm-slash-servo-shield/using-the-adafruit-library.
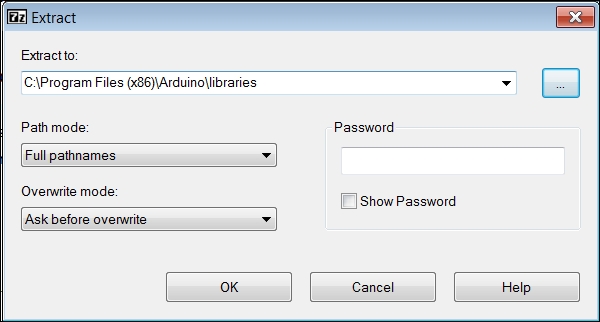
Once you have downloaded the library, you'll need to rename it to install it into the IDE. Look for the Adafruit-PWM-Servo-Driver-Library-master.zip file in the directory you downloaded the file from, and unzip this to the directory where your Arduino library is stored, as shown in the following screenshot:
The Adafruit-PWM-Servo-Driver-Library-master directory should now be in the library directory. You'll need to change the name of this directory to AdafruitServoDriver. The library and its examples are now available. You can open the servo example by navigating to File | Examples | AdafruitServoDriver | servo, as shown in the following screenshot:

Then, you should be able to see the code snippet as shown in the following screenshot:
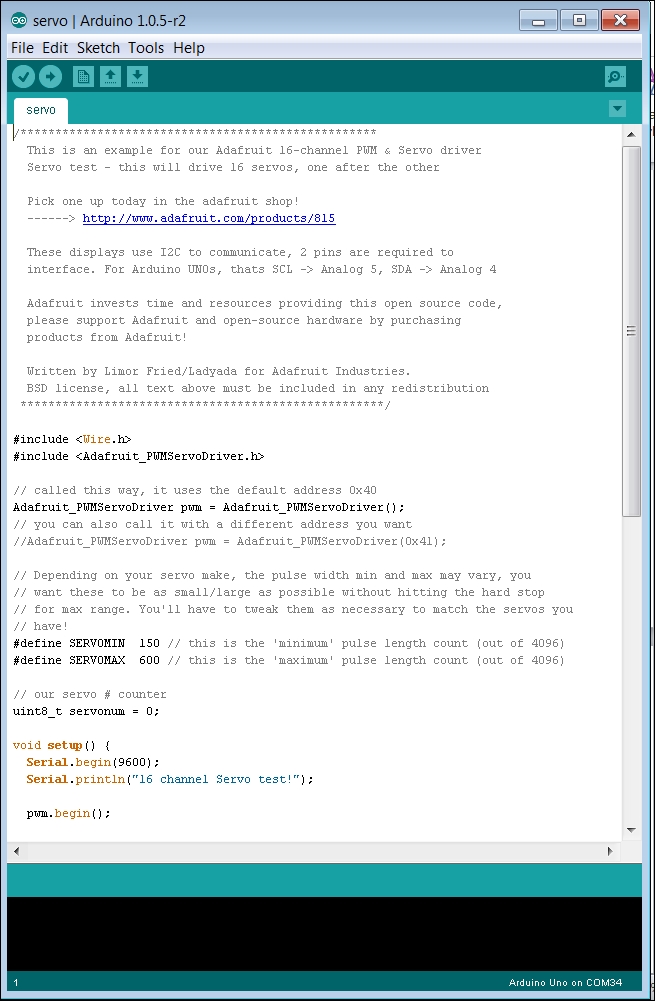
This code is well documented, and shows you how to drive each individual servo. However, this isn't the most exciting application. What you really want is to build a legged quadruped robot to exercise all of these servos.
To complete this project, you'll first need to buy some parts so you can build your quadruped robot. There are several possibilities out there, but one set I personally like is a set of Lynxmotion parts available from the online retailer robotshop.com. To build your quadruped robot, you'll need two sets each of the two leg parts, and then one set each of a body part. The following table illustrates the parts as they are listed on the website:
|
Quantity |
Description |
|---|---|
|
1 |
Lynxmotion Symmetric Quadrapod Body Kit-Mini QBK-02 |
|
2 |
Lynxmotion 3'' Aluminum Femur Pair |
|
2 |
Lynxmotion Robot Leg "A" Pair (No Servo) RL-01 |
|
4 |
Lynxmotion Aluminum Multi-Purpose Servo Bracket Two Pack ASB-04 |
Once you have these parts, you'll also need 12 standard size servos. I personally like the Hitec servos; they are a very inexpensive servo that you can get at most hobby shops and online electronics retailers. You may need quite a powerful servo, so buy at least the HS-422. When you get the parts, perform the following steps:
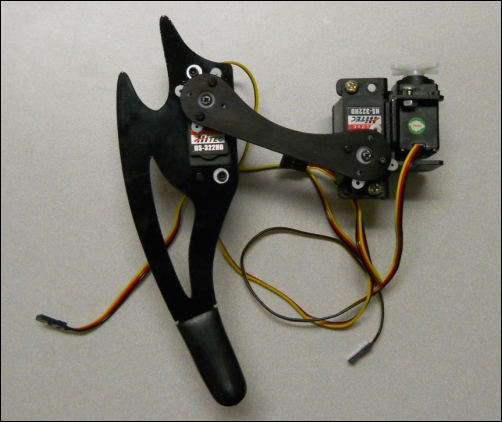
- Put two right legs together, as shown in the following figure:
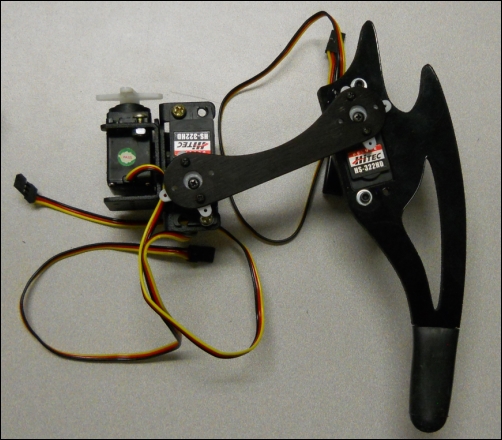
- Now, put two left legs together as shown in the following figure:
- The next step is to build the body kit. There are some instructions at www.lynxmotion.com/images/html/sq3u-assembly.htm, but it should look like the following figure:

- And then connect each leg to the body kit. The important part of this step is to make sure you use a bearing on the underside connection of the leg, as shown in the following figure:
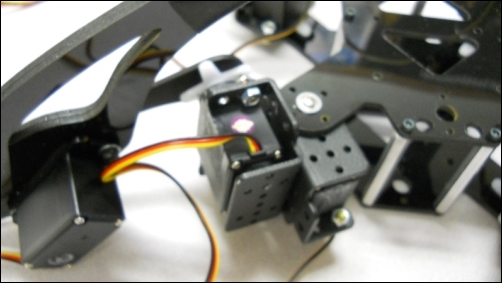
- The final step is to mount the batteries and Arduino to the body kit, as shown in the following figure:

I like to use an RC LiPo battery for my robotic projects; they are available from most RC stores or online. You can certainly use standard alkaline AA batteries, but they are not rechargeable and don't last very long. Using rechargeable AA batteries solves the rechargeable problem, so it is certainly a better choice. I find the RC LiPo batteries last the longest and recharge quickest. If you are going to use a LiPo battery, choose a 2S battery; this will provide 7.4 V, which will then be regulated by the Arduino and can drive both Arduino and servos. Your kit is now ready to move. Let's start with a simple program that sets all of the servos to their middle position, and then takes in a command to move just one of the servos to a specific angle. This will help you understand how your robot is configured, as shown in the following screenshot:
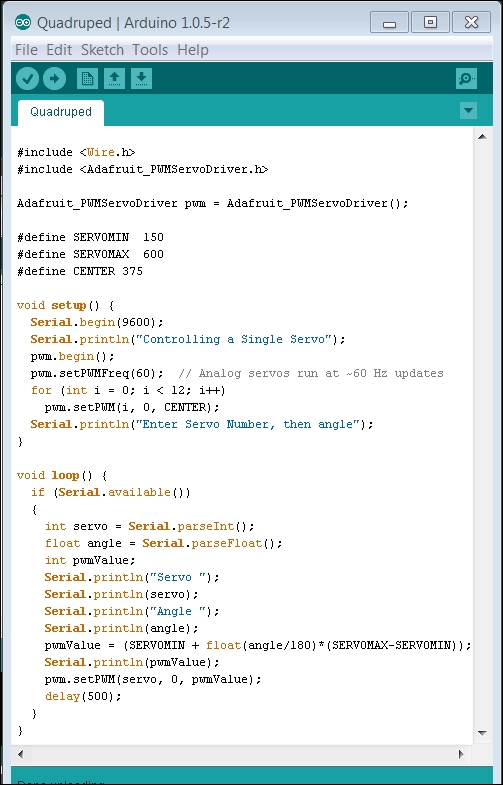
The preceding code includes a significant number of Serial.println() functions; these are there to show you what is happening. The key statement for servo control is pwm.setPWM(servo, 0, pwmValue);. This statement sends out a PWM signal that the servo motor uses to determine the desired angle. The servo variable selects the servo to control, the 0 variable sets when the PWM pulse starts (you'll use 0 for this application), and the pwmValue variable sets the length of the pulse. You can now see how your robot can be programmed to be moved by performing the following steps:
- One step you'll probably want to do is adjust the mechanical position of your servos. To do this, run the program so that all of the servos are set to their middle location.
- Then, unscrew the screw at the center of each horn connected to the servo, and turn it so that it is now in the middle location on the robot for that particular servo.
When your robot is centered, you can now begin to program your robot to do things. First, let's add a command that waves one of the front legs. From the Arduino sketch, change your loop() function, and add the home() and wave() functions, as shown in the code snippet in the following screenshot:
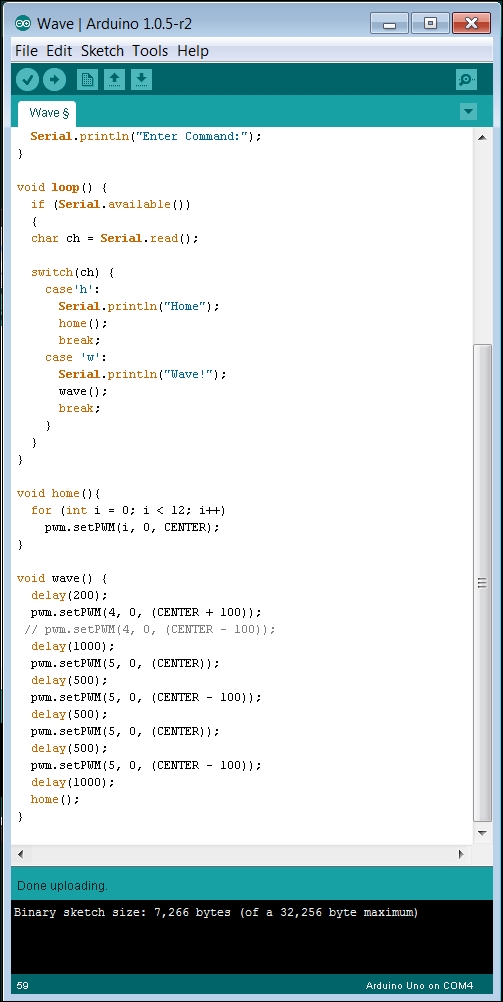
The code is very simple; the setup() function establishes your access to the servo shield and the loop simply takes in a command from the serial port, and when it sees from the Serial Monitor tab, it moves the front leg up and down three times.
You can really take advantage of the SW that is available out there, as there is a set of SW capabilities that have been created by enterprising individuals that will allow your quadruped robot to do a number of different actions based on the input from the serial port. One example is at letsmakerobots.com/node/35354 and another at blog.oscarliang.net/arduino-quadruped-robot-stalker/.