
When you return to symbols.bmml, you will see that Balsamiq has placed both the header and the footer symbols on the same page. While it may look crowded, this is actually a useful feature.
To demonstrate, I am going to share with you a very cool website that I am sure you will thank me for later. Please type the following address into your web browser:
https://mockupstogo.mybalsamiq.com/projects
Once at this web address, in the All Public Projects section, scroll to the section titled Social. Once there, perform the following steps:
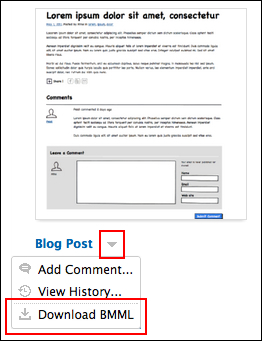
- On the Social page, find the wireframe called Blog Post. This wireframe has been created by Michael Angeles using Balsamiq Mockups.
- Click the small, downward-facing arrow next to the title.
- Select Download BMML, as shown in the following screenshot:
- Place the
.bmmlfile you just downloaded,Blog Post.bmml, into your project'sassetsfolder.
Let's take a closer look at your new symbol library by adding it to a page in your wireframe project. Perform the following steps:
- Select
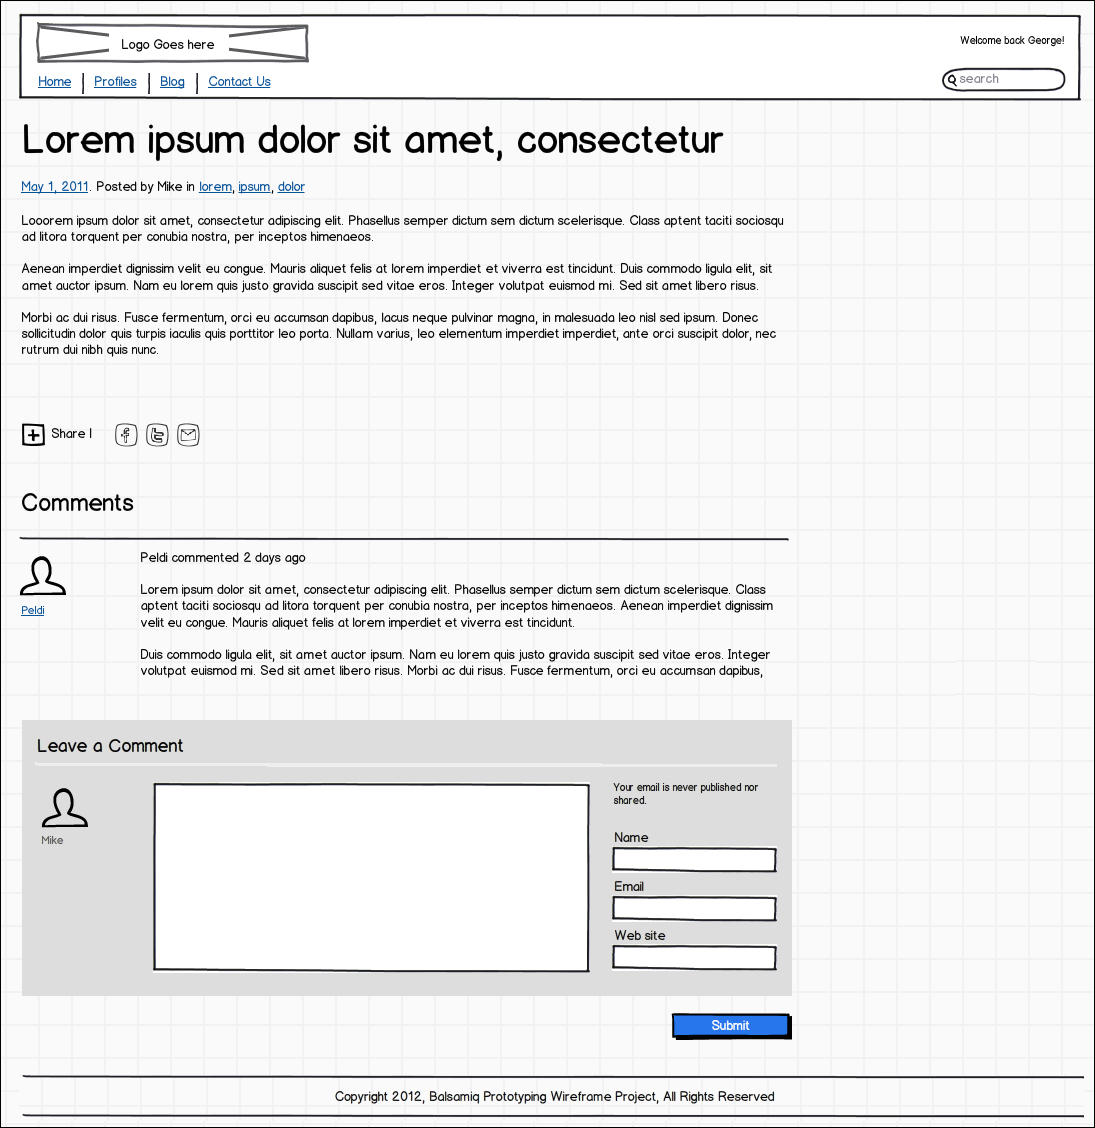
project_mockup_3.bmml. - Drag the Blog Post symbol from Project Assets onto the canvas.
- Position it as Pos:
79,117. - If it's not already there, drag a header symbol onto the page.
- Position it as Pos:
79,12. - Drag a footer symbol onto the page.
- Position it as Pos:
79,1072. - Save your work!
The following screenshot shows what your page should look like:
To reuse only some of the elements of a symbol library, either copy and paste the items you need from the master page, symbols.bmml, or override the symbol library on an individual page and delete or edit from there.