
Now let's add some additional interactivity to your wireframes.
Perform the following steps:
A new page is created called New Mockup and is identical to project_mockup_2.bmml. Press Command +
S/Ctrl +
S
to save it. Name it project_mockup_2b.bmml.
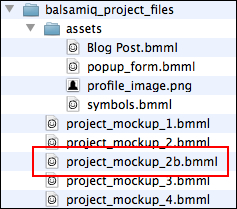
Make sure to save this new file in the same folder as the rest of your project files. If you have been using the files provided with this book, then you would place it in the balsamiq_project_files folder, as shown in the following screenshot:
Now let's take it up a notch and create some additional interactivity.
Perform the following steps:
- Make
project_mockup_2b.bmmlthe active page. - Double-click on the text in George's ToDos to make it editable.
If the component is grouped, please ungroup it.
- In the second row, next to Schedule meeting with Sid, type an
xinto the empty brackets, as shown in the following screenshot: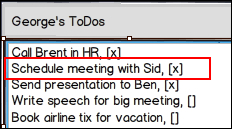
- Save your work.
- Return to
project_mockup_2.bmmland place a Rectangle/Canvas/Panel widget on the canvas. - Set Size:
15x17. - Set Pos:
223,80.
The widget should now look like the following screenshot:
With this new widget selected, perform the following steps:
- In the Property Inspector, slide the Opacity slider all the way to the left.
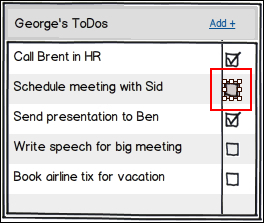
- In the Border Style section, click on the first icon to remove the border, as shown in the following screenshot:
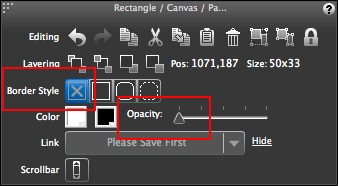
You should now have a totally transparent widget over the checkbox.
We will now create some more Balsamiq prototype magic.
Perform the following steps:
- With the transparent widget still selected, press the Link menu in the Property Inspector.
- Select project_mockup_2b from the drop-down list, as shown in the following screenshot:
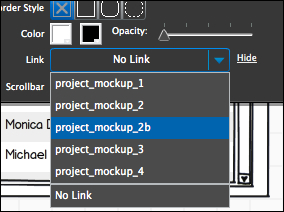
- Save your work.
A red arrow should now appear within the transparent box. This is to let you know that it has been linked to this new page. With project_mockup_2 selected, go into the presentation mode and click your newly linked checkbox.
If you did this correctly, it will appear as if you clicked on the page and a check was automatically inserted into the checkbox. You and I know that you went to a new page, but the person viewing it will just see an interactive prototype. Nice work!
In this exercise, we are going to add a brand new row of text to George's ToDos, via an interactive form.
In the scheme of our design, we are going to use the Add + text in George's ToDos to launch a form popup dialogue box that allows users to add a new row of text to the component. Of course, to do this, we need to create a new page with the form, and another to show the added row of text. Let's do this now.
Perform the following steps:
- Open
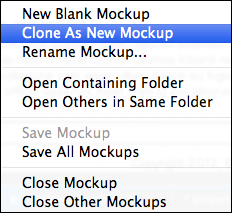
project_mockup_2.bmml. - Right-click on the page tab and select Clone as New Mockup.
Repeat this step to create a total of two new pages.
- Name the new files as:
project_mockup_2c.bmmlandproject_mockup_2d.bmml. - As always, save these to your project folder.
- Open
popup_form.bmml, which resides in your project'sassetsfolder. - Select the grouped form and copy/paste it into
project_mockup_2c.bmml. - Set Pos:
304,142.Be sure it sits at the very top layer on the page.
- Ungroup the form, and link the Save button to
project_mockup_2d.bmml.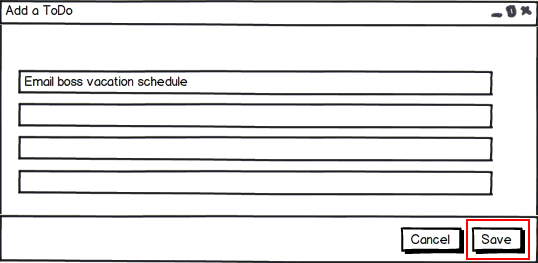
- Save your changes.
- Open
project_mockup_2d.bmml. - In George's ToDos, make the data table editable.
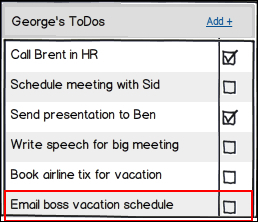
- In the bottom row, type:
Email boss vacation schedule, [ ].Be sure to include the empty brackets.
Your list should now look like the following screenshot, with the new row added at the bottom:
If you notice, back in
project_mockup_2c.bmml, the form has been pre-filled with this same text in the form text field. The idea is to show that whatever the user types into the form will be added to George's ToDos. - Return to
project_mockup_2.bmmland select Add + in George's ToDos, as shown in the following screenshot: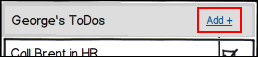
- Using the Property Inspector, link the text to
project_mockup_2c.bmml. - Go into the presentation mode.
- Click on Add +.
- When the form appears, click on the Save button.
When you click on Save, the last row of George's ToDos adds a new row containing the text from the form. Sure, you used two separate pages to make this work, but again, to the viewer you added a line of text directly from the form. Remember, with prototyping, how you get to the desired result behind the scenes is secondary to the results themselves.
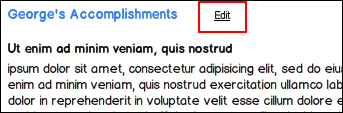
Now that you know how to create some interactivity, have some fun with it. See where else you can add interactivity and creativity. For example, return to project_mockup_2.bmml and add some interactivity to the Edit link in the body copy, next to George's Accomplishments, as shown in the following screenshot:
Perhaps clicking on this link changes the page to display an interactive form for editing the text. Maybe it looks something like the following screenshot:
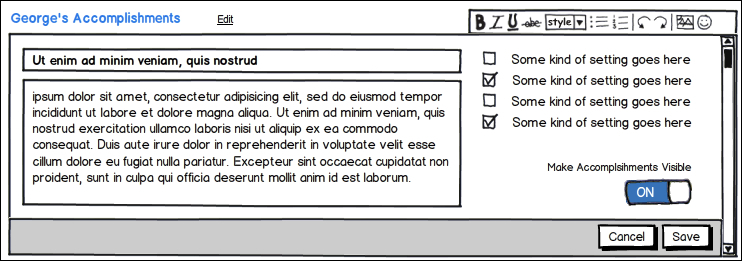
The best part is that with Balsamiq it is totally up to you and your creativity. Explore! See what you can dream up.
Tip
If you want to take a closer look at the wireframe above or the completed versions of any wireframe used in this book, you can do so by going to http://www.packtpub.com and downloading the project files from the Downloads section of the book.