A great new feature in Expression Web 2 is the ability to import a .psd (Adobe Photoshop) file. Not only can you simply import the file, you can also convert it to a Web-ready .jpg, .gif, or .png file, open the original file in your default .psd editor, and easily re-import changes made to the source file.
In this exercise, you will use a Photoshop file in your site, and become familiar with the new features in Expression Web 2.
Note
USE the CH5 sample site you modified in the previous exercise.
OPEN the CH5 site if it isn’t already open.
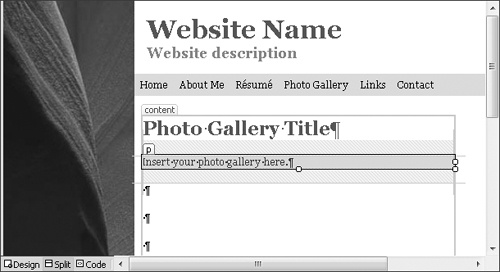
Open the photo_gallery.htm page, and select the paragraph that contains the sentence Insert your photo gallery here.
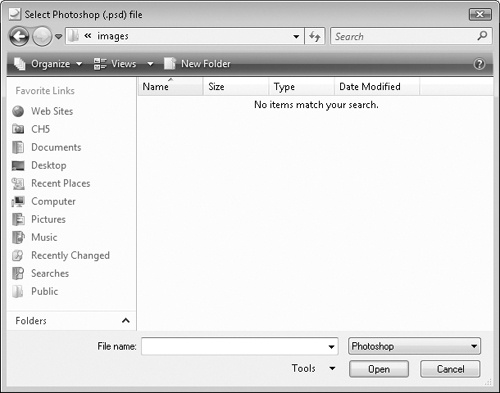
With the paragraph selected, on the menu bar click Insert, pause your mouse pointer over Picture, and then click From Adobe Photoshop (.psd) to open the Select Photoshop (.psd) file dialog box.
Browse to DocumentsMicrosoft PressExpression Web 2 SBSFilesPSImport.psd, and then click Open to open the Import Adobe Photoshop (.psd) file dialog box.
Tip
Expression Web 2 can import Photoshop .psd files that have all the following properties:
The color is 8 bits per channel (24 bits of color per pixel).
The color mode is RGB Color, Grayscale, or Indexed Color.
The resulting image size is 200 MB or less.
The file is saved with the Photoshop Maximize Compatibility format option turned on.
The file extension is .psd.
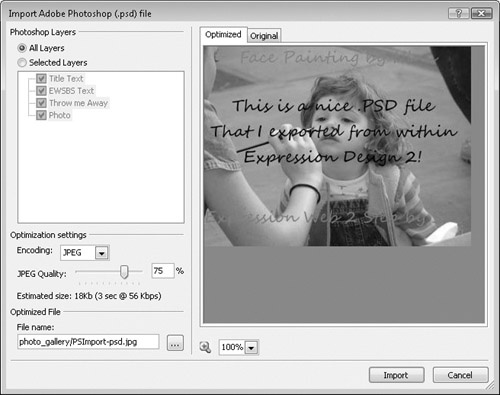
The file doesn’t need to be created in Adobe Photoshop. In this example, the .psd file was created in Expression Design 2 and exported as a .psd file.
In the Import Adobe Photoshop (.psd) file dialog box, under Photoshop Layers, click Selected Layers. Clear the Throw me Away check box to exclude this layer and its text. Leave the default encoding and quality settings as they are, and then click Import.
The Accessibility Properties dialog box opens.
Give the image a description, and then click OK.
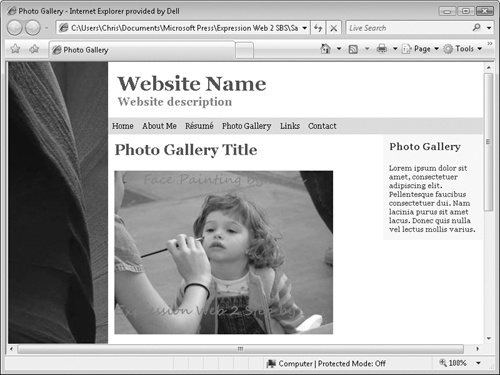
The image is now inserted into the page, as specified in step 4. Save your changes and preview the page in a browser.
Switch to the Expression Web 2 interface. Right-click the image you just imported, point to Adobe Photoshop (.psd), and then click Edit Source or Update from Source.
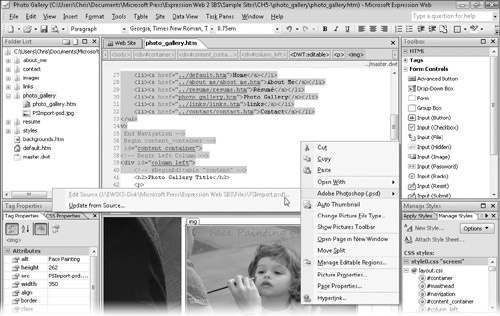
Consider the results of this exercise; without leaving the Expression Web 2 interface, you were able to use the Import Adobe Photoshop file feature to create a Web-ready, lightweight .jpg image and insert it directly into your page. You also retain the ability to quickly open the source file in your default .psd editor from within Expression Web 2 and easily update the resulting Web-ready image in your page, based on the changes made to the original Photoshop file.
Tip
If you elect to keep original files within your Expression Web site you may find it useful to right-click the files in the Folders List pane and then click Do Not Publish. Although you may find it convenient to keep original artwork and other files within your Web site, you’ll most likely not want to waste hosting space or publishing bandwidth by publishing the original files to the live Web site.