In this chapter, you will learn to | |
✓ | |
✓ | |
✓ | |
✓ | |
✓ | |
At their most basic level, Web pages show information to visitors. Although this appears to be a simple concept, the modern Web adds some complexity. Page design should include considerations for accessibility regarding browsing devices of varied capability, for search engines, for best practices, and for maintainability.
Although it’s beyond the scope of this book to provide an in-depth compendium on accessibility and search engine friendliness, the following exercises will help you form a good base of understanding of these considerations.
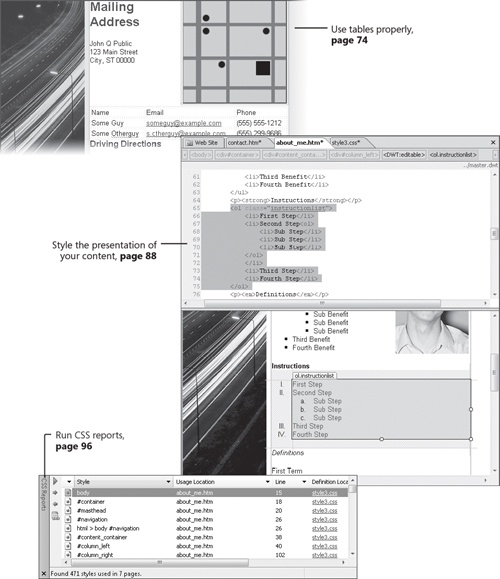
In this chapter, you will learn to use tables effectively on your Web page, and you will also learn to use lists. Then, you will learn to use semantic markup; and, finally, you will learn to use style sheets to control the presentation of the content on your page and check the compatibility of your style sheets with modern browsers by using the reporting features in Microsoft Expression Web 2.
Important
Before you can use the practice files in this chapter, you need to install them from the book’s companion CD to their default location. For more information about practice files, see "Features and Conventions of This Book" at the beginning of this book.
Troubleshooting
Graphics and operating system–related instructions in this book reflect the Windows Vista user interface. If your computer is running Windows XP and you experience trouble following the instructions as written, please refer to the "Introducing Expression Web 2" section at the beginning of this book.
To improve the readability of the graphics in this book, Expression Web 2 was set to use the Windows color scheme instead of the default Expression Studio 2 color scheme.
Now that Web developers are consistently using cascading style sheets for layout, check any of the templates that came with Expression Web 2. You won’t find a single one that uses a table for layout. In the not so distant past, elements of a Web page were nested into a table or group of nested tables. Although that method provided a fair amount of precision, it was never the intended purpose of the <table> tag. As an unfortunate by-product of "table heavy" design, the source code of the page is always much more complex, which makes it less than ideal for screen readers to search engines, not to mention additional download time for browsers. The big question seems to be whether it’s still acceptable to use tables. The answer is a definite Yes. Tables seem to have fallen out of favor for laying out pages; however, there are still plenty of good reasons to use tables, the most obvious of which is to present data in clear, tabular form.
In this exercise, you will use a properly coded and valid table structure to display some tabular data on your Web page.
Note
USE the CH4 sample site. This sample site is located in the DocumentsMicrosoft PressExpression Web 2 SBSSample Sites folder.
BE SURE TO start Expression Web 2 before beginning this exercise.
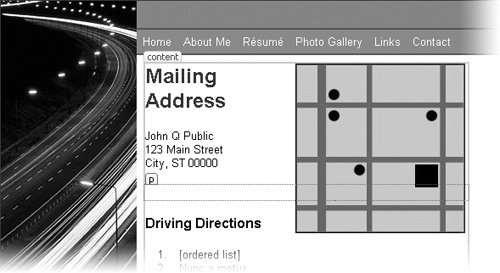
OPEN the CH4 site by clicking Open Site on the File menu, and display the contact.htm page.
On the View menu, point to Visual Aids, and then click Show. Ensure that Block Selection is the only selected visual aid.
Visual Aids can help you see the various elements in a table.
In the Design pane, set the insertion point at the end of the ZIP Code in the address, and then press
 to create a new paragraph.
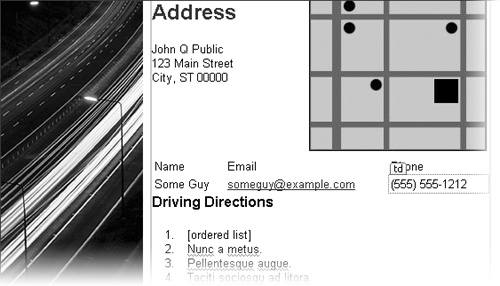
On the Table menu, click Insert Table. In the Insert Table dialog box, configure the table to have two rows and three columns, and accept the default settings.
Click OK to insert the table. In the upper-left table cell, type Name. Tab to the next cell and type Email. Tab to the next cell, and type Phone. Press
 again to move the cursor to the first cell in the next row. Type a name, an e-mail address, and a phone number into the cells in the second row.
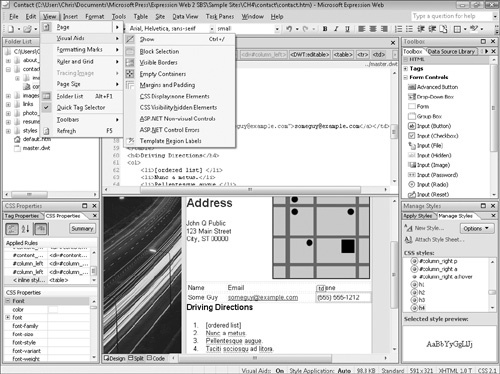
On the View menu, point to Visual Aids, and then click Visible Borders and Empty Containers.
After you type a phone number in the last cell of the second row, press
to create a new, third row. Type a name, an e-mail address, and a phone number into the cells in this row.Save the page, and preview it in a browser to make sure that the page appears as you want.