
The ability to draw information from a database and display it on a Web page has previously been a fairly complicated task. Not so with ASP.NET. Because ASP.NET uses providers and has the ability to deal with data natively, you don’t need to write any programming code to display data from a database on your Web pages.
ASP.NET can work with Microsoft Office Access databases, Microsoft SQL Server databases, XML files, Microsoft Office Excel files, and even Oracle, IBM DB2, and MySQL databases.
In this exercise, you will display information from a Microsoft Office Access database in your Web page.
Note
USE the CH11 sample site you modified in the previous exercise.
OPEN the CH11 site if it isn’t already open.
In the Folder List task pane, expand the DotNetVersion folder, expand the contact folder, and then double-click default.aspx to open it for editing. In the Design pane, click ContentPlaceHolder1, and then click the small arrow button in its upper-right corner. Click Create Custom Content.
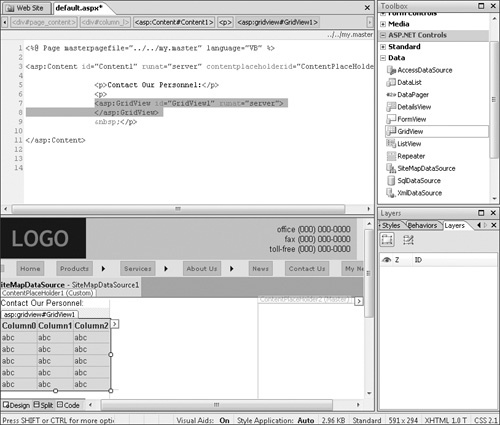
Click inside the ContentPlaceHolder, delete any existing text from the area, and type Contact Our Personnel:. Then press
 to create a new paragraph.
In the Toolbox task pane, expand ASP.NET Controls, expand Data, and then double-click GridView to insert an ASP.NET GridView control.
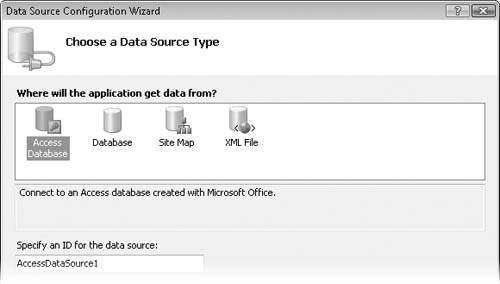
In the GridView Tasks pop-up window, in the Choose Data Source box, click New data source. In the Data Source Configuration Wizard, click Access Database.
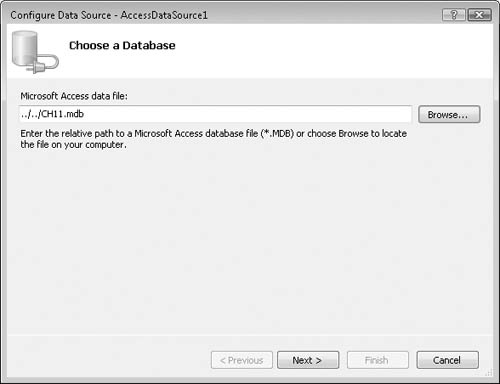
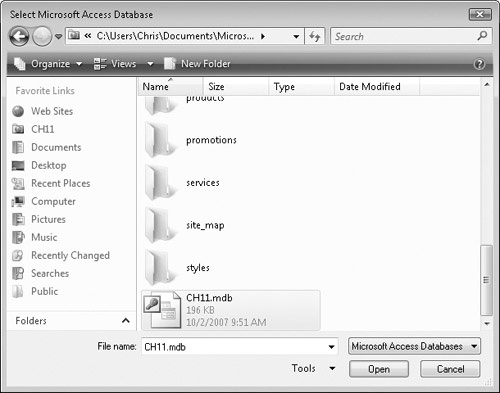
Click OK in the wizard. In the Configure Data Source dialog box, click Browse, click the CH11 database in the root of the site, and then click Open.
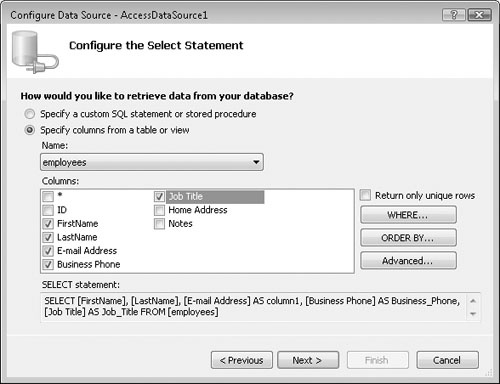
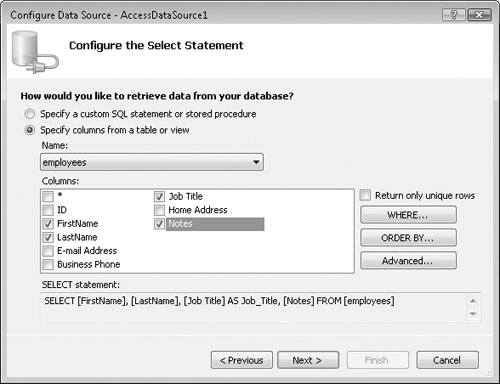
Click Next. This part of the wizard helps you select the data you want to display. In the Name list, click Employees. Under Columns, select the FirstName, LastName, E-mail Address, Business Phone, and Job Title check boxes.
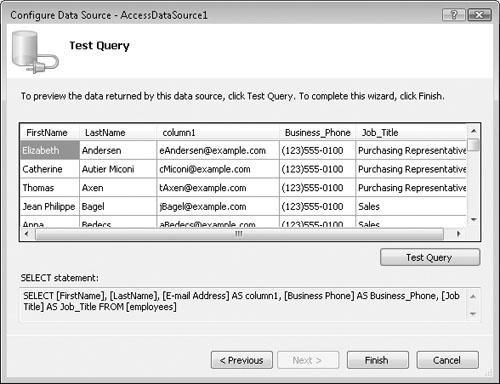
Click Next. On the Test Query page, click Test Query to ensure that you are connecting to the database.
If the query functions properly, you will see a table of the data that you selected in step 6.
Click Finish to close the Configure Data Source Wizard.
You now have a GridView control in your page.
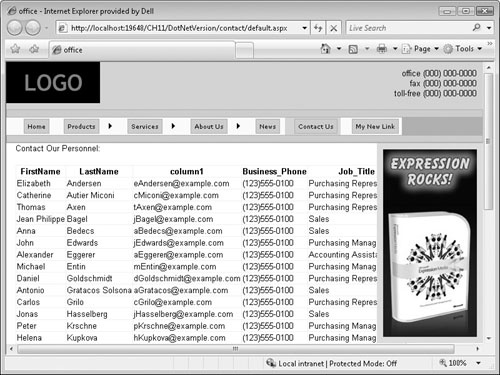
On the toolbar, click Save, and then click the Preview button to view the page and its grid view in a browser.
Close the browser window, and switch to Expression Web 2. Examine the grid view that you inserted into the page.
Notice that there are now more options on the GridView Tasks pop-up window.
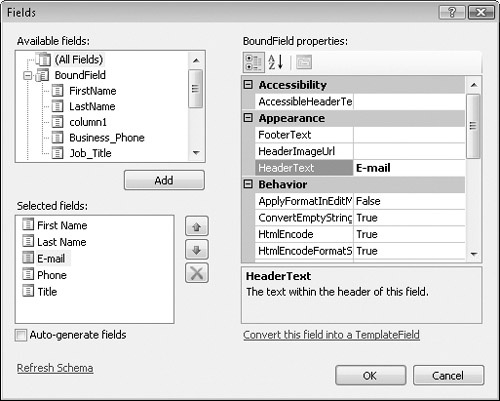
Click Edit Columns to open the Fields dialog box.
In the Selected Fields list, click Business_Phone, and then under BoundField properties, in the HeaderText box, replace Business_Phone with Phone. Repeat the process to replace Job_Title with Title, FirstName with First Name, LastName with Last Name, and column1, with E-mail.
Click OK in the Fields dialog box. In the GridView Tasks pop-up window, select the Enable Paging and the Enable Sorting check boxes.
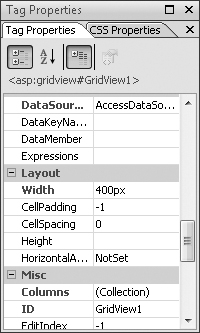
With the GridView control still selected, in the Tag Properties task pane Layout group, type 400px in the width box.
On the toolbar, click Save, and then click Preview to preview the page in a browser.
The column headers are now hyperlinks that sort the rows below them, in addition to having different text. If you scroll to the bottom of the page, you’ll see that numerical paging is also set up on the employee list.
Close your browser and return to Expression Web 2. Expand the About folder within the DotNetVersion folder. Double-click staff.aspx to open it for editing.
In the Design pane, click ContentPlaceHolder1, and click the small arrow in its upper-right corner. Then click Create Custom Content.
Click inside the ContentPlaceHolder, delete any existing text from the area, and type Our Staff:. Then press
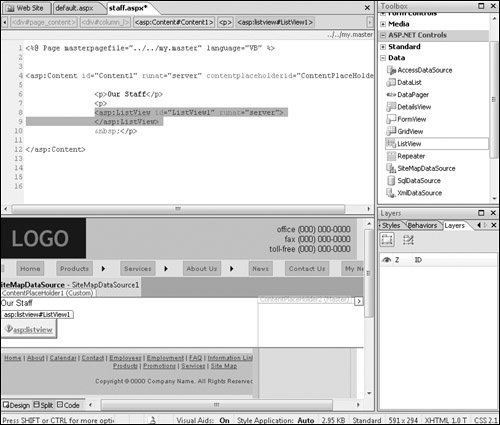
to create a new paragraph.In the ASP.NET Controls group of the Toolbox task pane, double-click ListView to insert an ASP.NET ListView control.
Click the red warning (asp:listview) link in the design pane.
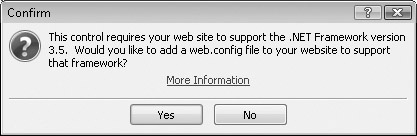
The Confirm message box opens.
The message informs you that the ListView control requires the .NET Framework version 3.5, and asks whether you’d like to add a web.config file to your site in order to support that framework.
Click Yes in the message box. Then on the toolbar, click the Save button.
Click the ListView control arrow to reveal the ListView Tasks pop-up window, click the Choose Data Source arrow, and then click New Data Source.
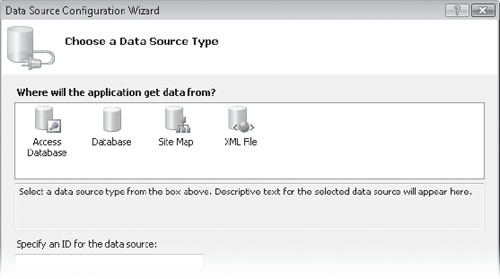
The Data Source Configuration Wizard opens.
Click Access Database, and then click OK to open the Choose a Database dialog box. Browse to the CH11 Access database file in the root of this site.
Click CH11.mdb, and then click Open. In the Choose a Database dialog box, click Next to open the Configure the Select Statement dialog box. Select the FirstName, LastName, Job Title, and Notes check boxes.
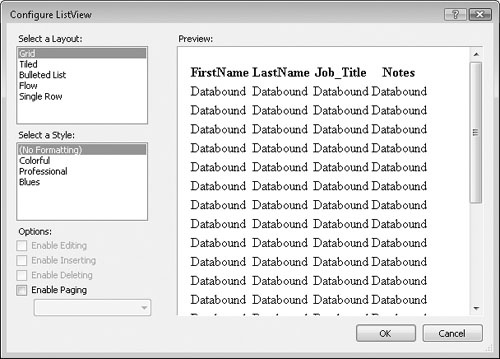
Click Next, and then Finish. In the ListView Tasks pop-up window, click Configure ListView.
The Configure ListView dialog box opens.
Under Select a Layout, click Bulleted List. Select the Enable Paging check box and ensure that Next/Previous Pages is in the list below it. Then click OK.
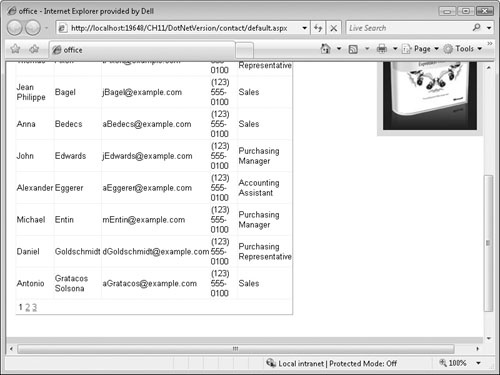
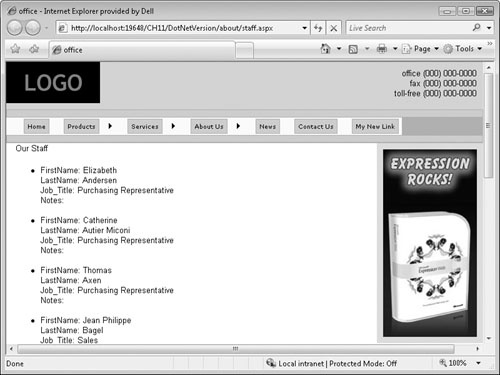
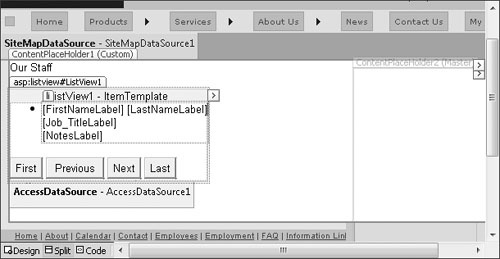
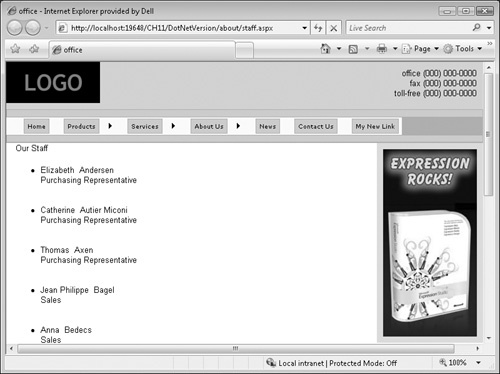
On the toolbar, click the Save button, and then click the Preview button. Staff.aspx opens in a browser.
Examine your bulleted list. Notice the paging buttons at the bottom of the list.
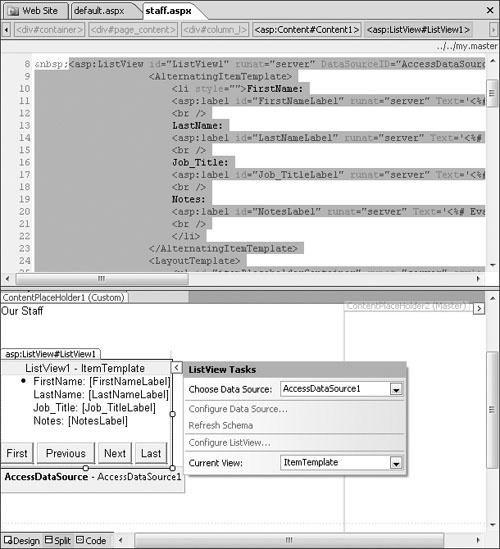
Close your browser, and return to Expression Web 2. In the ListView Tasks pop-up window, change Current View to ItemTemplate.
Set your cursor inside the list in the template, and delete the text FirstName: and LastName:. Then set your cursor just in front of [LastNameLabel] and press
 so that [FirstNameLabel] and [LastNameLabel] are on one line, with a space between them, and then delete the text Job_Title: and Notes:, leaving each of those labels on separate lines.
In the ListView Tasks pop-up window, change Current View: to AlternatingItemTemplate, and modify it exactly as you did in step 30. On the toolbar, click Save and Preview to check your list in a browser.

Note
CLOSE the CH11 site and any open browser windows. If you are not continuing directly to the next chapter, exit Expression Web 2.
Creating a connection to a database, and then selecting the data you want and writing it into a page was a fairly technical and difficult task in the past. With Expression Web 2 and ASP.NET, you can do all that, and more, without writing a single line of code. Consider also that when ASP.NET renders this data to the page, it’s just (X)HTML code, so you can style it by using CSS to limitless different appearances.
It’s more impressive as you dig deeper into the capabilities provided by these data source controls and data views. If you’ve ever had to write code by hand, you will undoubtedly appreciate the added, advanced features that are available, such as Enable Sorting, and even editing the data in a browser.