Now that you have a collection of pages that are attached to a Dynamic Web Template, it’s time to create some navigation to link them together and some basic text and links for the footer, and to clean up leftover pages and unnecessary files.
It’s easier to keep unused files out of your site on an ongoing basis or at key milestones than it is to allow them to accumulate and then try to clean it all up at the end of the project.
In this exercise, you will create basic navigation, delete unnecessary pages, and organize your site.
Note
USE the CH7 site that you modified in the previous exercise.
OPEN the CH7 site, if it isn’t already open, and close any open pages.
Open the main.dwt file in Split view.
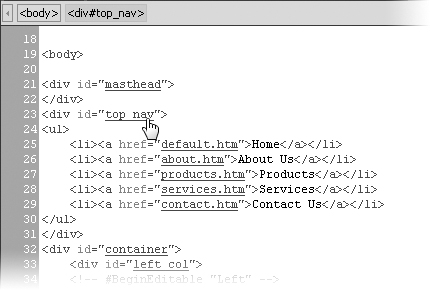
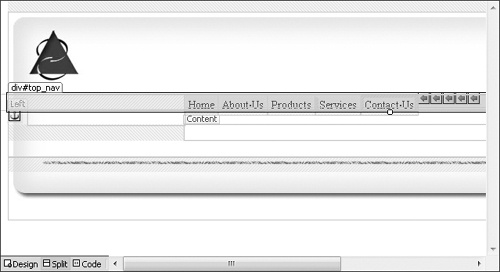
To make a navigation bar for this site, you’ll use an unordered list and place it in the top_nav DIV element of the main.dwt file.
Open the CH7CSS text file located in the CH7template folder you imported earlier, and copy its contents to the Clipboard. Then, switch to Expression Web 2 and the main.dwt file. In the Code pane, find the underlined style ID top_nav, hold down the
 key, and click top_nav.
This is called a code hyperlink and the effect is that it opens the style sheet it’s linked to with that particular class or ID highlighted.
Right-click the highlighted code, click Paste, and then save the CSS file. Switch to main.dwt.
Tip
Rather than running through one more exercise on building cascading style sheets in Expression Web 2, you can simply copy and paste the code from the sample disk. If you’re interested in seeing what happens in the Expression Web 2 interface, you can use the Manage Styles task pane to explore it within the Modify Styles dialog box.
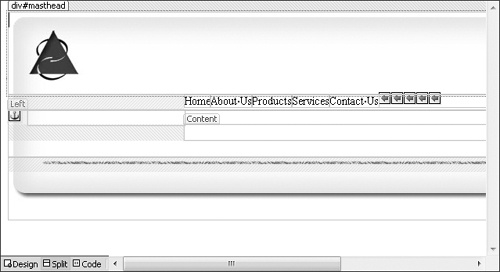
In the Design pane, click the top_nav DIV element. On the toolbar, click the Bullets button to set an unordered list, and then type: Home, About Us, Products, Services, and Contact Us, pressing
 between each to make each of these entries a new list item.
In the Design pane, for each of the list items you entered in the previous step, select the text, right-click the selected text, and click Hyperlink. Then in the Insert Hyperlink dialog box, click the appropriate page, and click OK.
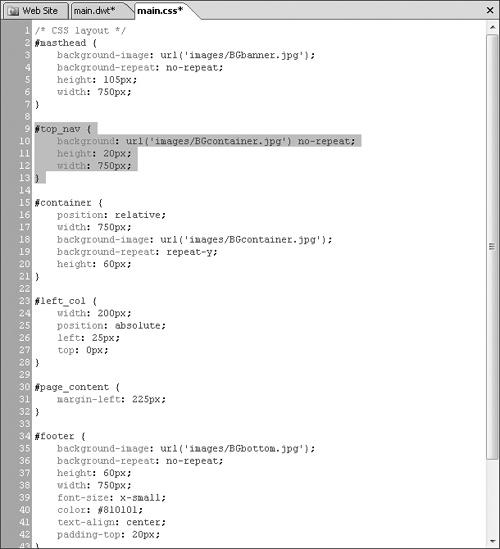
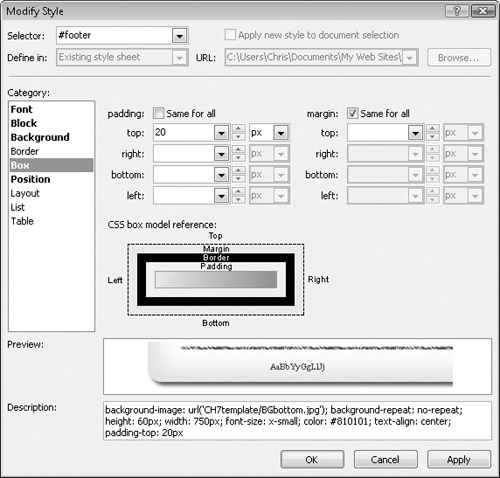
Click the footer DIV element in the template. In the Manage Styles task pane, right-click #footer, and then click Modify Style. In the Modify Style dialog box, under the Font category, give the font-size a value of x-small, click the swatch next to color, pick up the eyedropper tool, select the burgundy color in the logo of your Dynamic Web Template, and then click OK.
In the Category list, click Block. Set the text-align value to center.
In the Category list, click Box. Clear the Same for all check box for the padding, and then set the padding’s top value to 20 px.
Click OK to close the dialog box and save your changes.
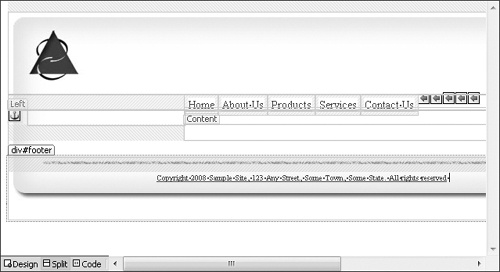
In the Design pane, type a copyright statement such as Copyright 2008 SampleSite, 123 Any Street, Some Town, Some State. All rights reserved into the footer DIV element in your main.dwt file.
Select the entire line that you typed in the previous step, right-click the highlighted text, click Hyperlink, click legal.htm, and then click OK to close the Insert Hyperlink dialog box.
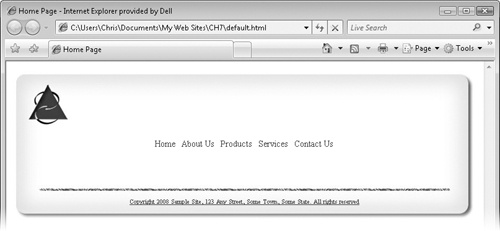
Notice that when you set your hyperlink on that line of text, it loses its burgundy color and becomes the default blue of a normal hyperlink.
In the Manage Styles task pane, click New Style. In the New Style dialog box, give the Selector a value of #footer a. In the Font category, give the color entry a value of #810101, and then click OK to close the dialog box.
Save your page. When prompted, allow the CSS file to save, overwrite, and allow the Dynamic Web Template to update all the pages it’s attached to.
Preview default.html in a browser and check your work. Click the navigation links and footer link to make sure they’re all correct.
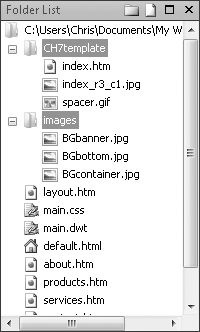
Switch to Expression Web 2, and expand the CH7template folder in the Folder List that you imported earlier in this set of exercises. Hold down the
key, and click the three files you used: BGbanner.jpg, BGbottom.jpg, and BGcontainer.jpg. Drag these files to the images folder in the Folder List.Expression Web 2 updates the references to those files throughout the site and in the CSS file.
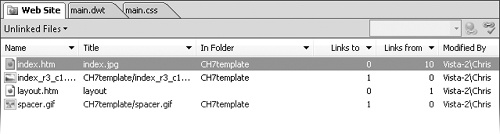
On the Site menu, point to Reports, and then click Site Summary. Click Unlinked Files, and delete each of these unlinked and unnecessary files.
In the Folder List, delete the CH7template folder because it’s now empty and also unnecessary.
That wraps up the organization of your site template.
Note
CLOSE the CH7 site, and any open browser windows. If you are not continuing directly to the next chapter, exit Expression Web 2.
This chapter and its exercises provided you with a foundation for how to make a template in Expression Web 2. There are many fine points that you’ll need to know, or need to learn, in order to produce professional-level work—that’s not the purpose of this book. As you become comfortable with the general concepts that are outlined in this book, you should also learn the basics of cascading style sheets and many other techniques that, when combined, can be used to enable you to create top-level professional designs.