As a wrap-up of the presentational work you started by modifying the Dynamic Web Template in the previous exercise, you will likely want to make some changes to colors, backgrounds, and other presentational elements of the template, which are controlled by the site’s cascading style sheets.
In this exercise, you will modify the background of the top banner in order to provide a more visually appealing logo. You will change the behavior of the links in the lower navigation bar, and you’ll experiment with the additional style sheets you will find within the site’s styles folder that are provided by Expression Web 2.
Note
USE the CH6 site you modified in the previous exercise.
OPEN the CH6 site if it isn’t already open.
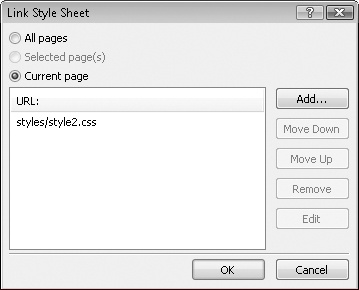
Open the master.dwt file located at the root of the site. On the Format menu, point to CSS Styles, and then click Manage Style Sheet Links.
The Link Style Sheet dialog box opens.
By default, this site’s Dynamic Web Template is linked to style2.css in the styles subfolder.
Click styles/style2.css, and then click Remove. Next, click Add, navigate to the styles folder, and then click the style1.css file. Click OK to close the dialog box and switch to your page.
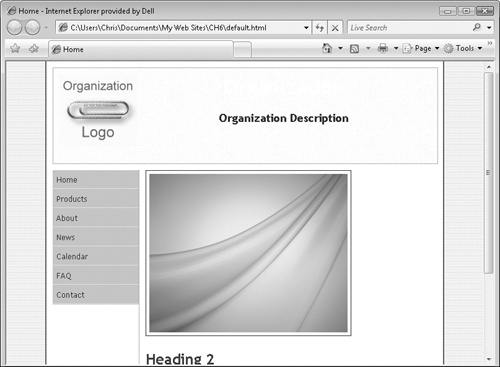
On the File menu, click Save All. Accept the updates to the Dynamic Web Template’s attached pages, and then preview in a browser the default.html file from the root folder.
Notice the radical change that is present in the page visually.
It’s amazing that you can change the entire presentation of every page in a Web site without changing one single line of HTML code in the pages.
Close the browser window and switch to Expression Web 2 and the Dynamic Web Template. Repeat steps 2 and 3. However, this time, attach style3.css.
After you’ve examined the site when it has style3.css attached, close the browser, switch to Expression Web 2, and change the style sheet back to the style2.css file that was originally attached.
Tip
Every one of the templates that come with Expression Web 2 contains multiple style sheets. When you use one of these templates, make sure to check these alternate style sheets. They’ll always be in the styles folder. If you’re interested in seeing what other site developers can do with a style sheet, go to www.csszengarden.com. There, you’ll find a single HTML file and dozens of user-submitted cascading style sheet files that style the HTML file. Some of the cascading style sheet files are incredible, but they all exhibit the variety of design effects style sheets can have on HTML files.
In Design view, click the logo image that you inserted in the previous exercise, and press
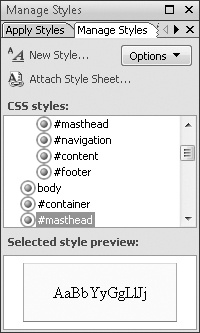
 . On the quick tag selector bar, click <div#masthead>.
In the Manage Styles task pane, right-click the second <#masthead> entry, and then click Modify Style.
The Modify Style dialog box opens.
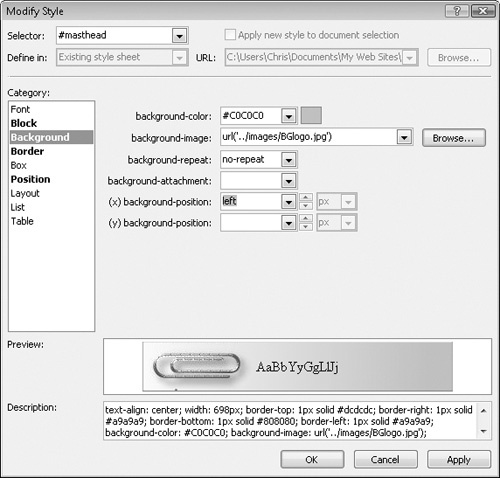
In the Category list, click Background, and then change the background-color value from #fafaff to #C0C0C0. Next to the background-image box, click Browse, locate the images folder, and then double-click the BGlogo.jpg image. In the background-repeat list, click no-repeat. In the (x) background-position list, click left.
In the Category list, click Position. Type 115 into the height box, and then click OK to save your changes and close the dialog box.
Save the master.dwt file.
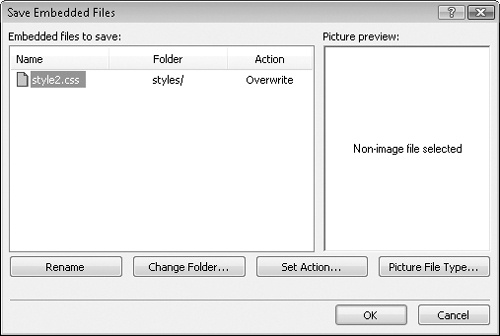
You will be prompted with the Save Embedded Files dialog box.
Accept the default Overwrite action, and click OK to save the file and close the dialog box.
When you are asked whether to save the changes to all the files in the site that this Dynamic Web Template is attached to, click Yes, and then click Close in the Update Confirmation message box.
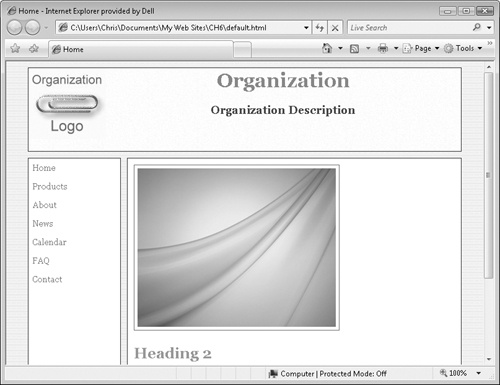
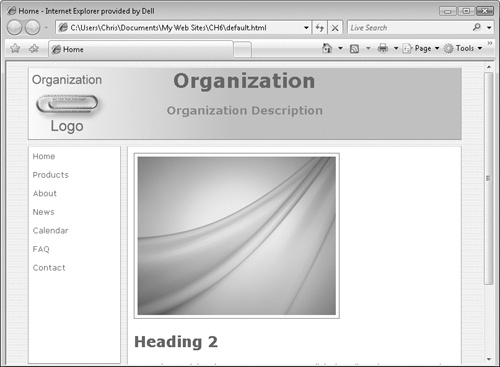
Preview the default.html page from the root folder in a browser, and look at the presentation of the top banner.
Notice that a logo has floated to the left and has a gradient that blends into the DIV element’s background color on the right. Notice also that the header elements are not skewed to the right as they were in the example in the previous exercise.
Close the browser window and switch to Expression Web 2 and the Dynamic Web Template.
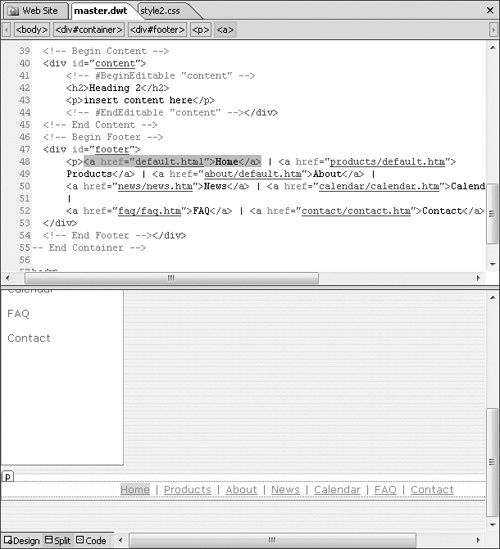
In Split view, double-click one of the links at the bottom of the site’s Dynamic Web Template.
In the quick tag selector bar, notice that an <a> tag is inside a <div#footer> tag.
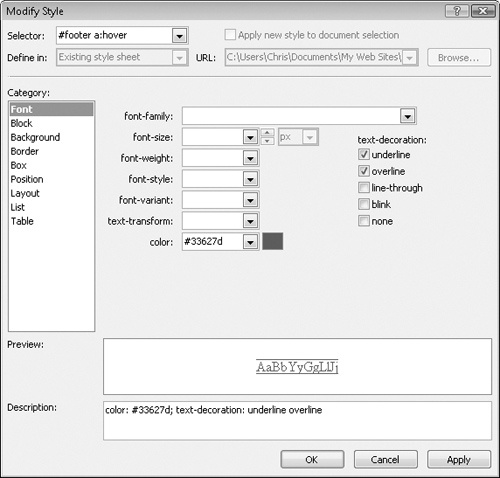
In the Manage Styles task pane on the lower right of the workspace, right-click the entry for #footer a:hover, and then click Modify Style.
In the Modify Style dialog box, click Font in the Category list.
Notice that the None check box is selected under text-decoration.
Select the underline and overline check boxes, which automatically clears the none check box.
Click OK to change the style and close the dialog box.
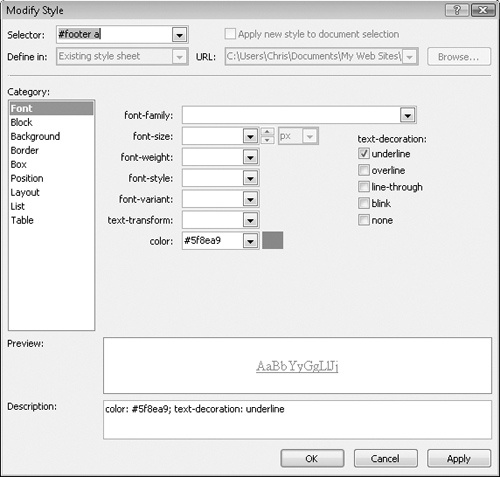
Return to the Dynamic Web Template, and click one of the links in the footer again. In the Manage Styles task pane, right-click #footer a, and then click Modify Style to open the Modify Style dialog box.
The Underline check box is selected under text-decoration.
Select the none check box, click OK to save and close the dialog box, and then save the Dynamic Web Template. At the prompt in the Save Embedded Files dialog box, accept the default settings to save the file. Then accept the updates to attached pages, and click OK in the Update Confirmation message box.
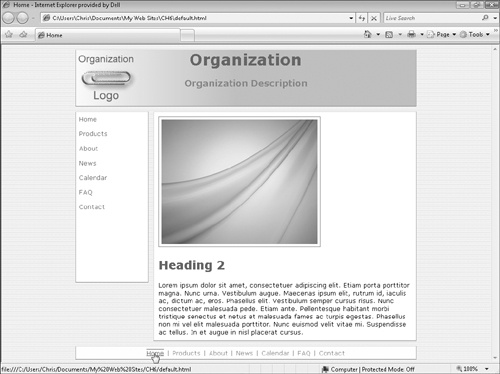
Preview the default.html page from the root folder in a browser, and review your work.
Notice the rollover effect on the lower navigation bar.
Now the links show no underline by default, and when you point to them, they show an underline and overline.