
In the following exercises, you will insert an Adobe Flash (.swf) file, a movie in the Windows Media Video (.wmv) format, and a new Silverlight 1.0 application technology into a site. You will also explore the properties dialog boxes available for these media types. The code that’s generated in these exercises will be used later in this chapter, in the topic "Using Layers and Behaviors
Note
USE the CH8 sample site you modified in the previous exercise.
OPEN the CH8 site if it’s not already open.
Tip
You can preview Flash .swf files in the Design view of a Web page in Microsoft Expression Web 2. To play or stop playing an .swf file, in Design view, right-click the .swf file, and then click Play Movie In Flash Format.
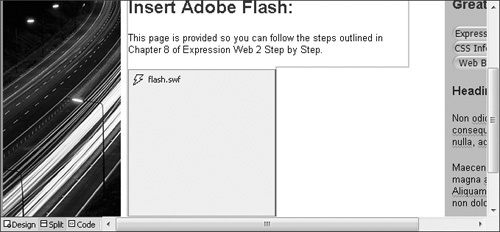
Double-click the file Flash-example.htm to open it for editing. Click in the sentence Insert Your Flash File Here, and on the quick tag selector bar, click the <p> tag that it’s contained within to select the tag and its contents.
On the Insert menu, point to Media, and then click Flash Movie.
The Select Media File dialog box opens.
Browse to the DocumentsMicrosoft PressExpression Web 2 SBSFiles folder, click the Flash.swf file, and then click Insert.
A Flash object is now visible in the page.
Save your page. In the Save Embedded Files dialog box, click Change Folder. In the Change Folder dialog box, double-click the media folder, and then click OK.
In the Save Embedded Files dialog box, click OK.
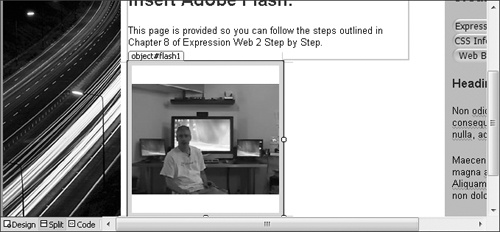
In the Design pane of Expression Web 2, right-click the Flash object, and then click Play Movie in Flash Format.
The Flash movie plays in the Design pane of Expression Web 2.
In the design surface, right-click the Flash object, and then click Flash SWF Properties.
The Flash SWF Properties dialog box opens.
In the Movie area, leave the defaults in place. In the Size area, clear the Keep aspect ratio check box, and then change the width to 240 pixels and the height to 180 pixels.
On the General tab, change Name to FlashExample, and leave the other default settings in place. Then click OK to close the Flash SWF Properties dialog box.
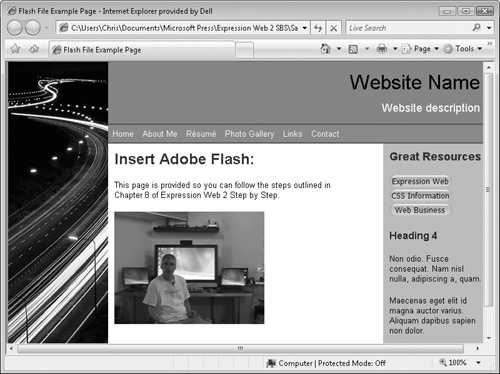
Save your page and preview it in a browser.


Notice that the Flash object matches the movie size exactly in both Design view and in the browser.
Note
BE SURE TO leave the CH8 site open for use in the next exercise.
CLOSE the Flash-example.htm file, and any other open pages in the sample site.
Tip
Although we’ve used the Flash SWF Properties dialog box to modify this page object, you can also select your Flash object in the design surface and then modify its properties by using the Tag Properties task pane.

Although this exercise simply guided you through placing a video in .swf format into your page, this capability in Expression Web 2 isn’t limited to video in a Flash file. In fact, any .swf file can be inserted and manipulated through the interface in Expression Web 2.
Note
USE the CH8 sample site you modified in the previous exercise.
OPEN the CH8 site if it’s not already open.
Double click the WindowsMedia-example.htm file to open it for editing within Expression Web 2. Click in the sentence Insert Your Windows Media File Here, and on the quick tag selector bar, click the <p> tag that it’s contained within to select the tag and its contents.
On the Insert menu point to Media, and then click Windows Media Player to open the Select Media File dialog box.
Browse to the DocumentsMicrosoft PressExpression Web 2 SBSFiles folder, click the WindowsMedia.wmv file, and then click Insert.
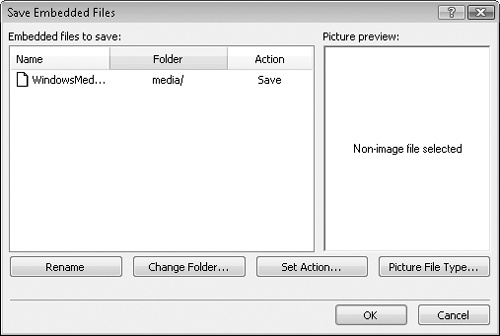
Save your page. In the Save Embedded Files dialog box, click Change Folder. In the Change Folder dialog box, double-click the media folder, and then click OK.
In the Save Embedded Files dialog box, click OK.
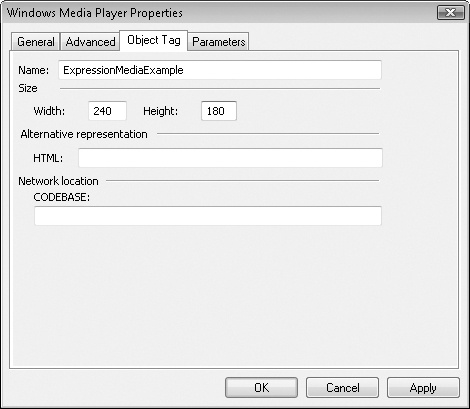
Right-click the Windows Media Player object in the Design pane of Expression Web 2, and then click ActiveX Control Properties. The Windows Media Player Properties dialog box opens.
On the Object Tag tab, in the Name box, enter ExpressionMediaExample. Under Size, change the width to 240 and the height to 180.
In the Windows Media Player Properties dialog box, click OK. Save your page and preview it in a browser.
Notice the player skin that Expression Web 2 added to your video. There are several skins (which give the player different appearances) that you can choose from in the Windows Media Player Properties dialog box.


Note
BE SURE TO leave the CH8 site open for use in the next exercise.
CLOSE the WindowsMedia-example.htm file.
Although this exercise simply guided you through placing a video in .wmv format into your page, this capability in Expression Web 2 is controlled through a feature-rich Properties dialog box. Take this opportunity to view detailed help regarding the Windows Media Player Properties dialog box in the Expression Web 2 Help manual by pressing F1.
Note
USE the CH8 sample site that you modified in the previous exericse.
OPEN the CH8 site if it isn’t already open.
Double-click the Silverlight-example.htm file to open it for editing in Expression Web 2. Click in the sentence Insert Your Silverlight Application Here, and on the quick tag selector bar, click the <p> tag that it’s contained within to select the tag and its contents.
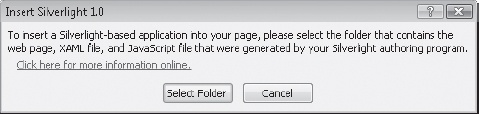
On the Insert menu, point to Media, and then click Silverlight.
The Insert Silverlight 1.0 dialog box opens.
Click Select Folder to open the Select Silverlight Folder dialog box. Browse to the DocumentsMicrosoft PressExpression Web 2 SBSFiles folder, click the silverlightsample folder, and then click Open.
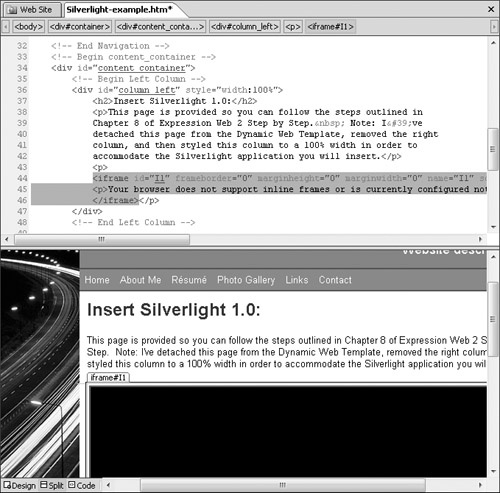
The Select Silverlight Folder dialog box closes, and an <iframe> is inserted into your page.
Save your page and preview it in a browser.
Explore the control set in the Silverlight player.
This video was made with and exported from Microsoft Expression Media Encoder 2.

Note
CLOSE any open pages, but leave the CH8 sample site open if you plan to continue on to the next exercise.
Microsoft Silverlight is a relatively new technology and it’s a big part of Microsoft Expression Studio. Interoperability between programs within the suite such as Expression Blend 2, Encoder 2, Media 2, and Web 2 offer a great opportunity to get into this technology quickly.