✓ | |
✓ | |
✓ | |
✓ | |
✓ | |
Microsoft Expression Web 2 is a new program that allows you to easily build standards-compliant and accessible Web sites. Expression Web 2 also has features that allow you to build components on your site that previously required significant hand coding or a code editing application such as Microsoft Visual Studio or Microsoft Visual Web Developer. Whether you’re simply interested in building a standards-based Web site or bringing your existing site up to current standards—that is, to follow the latest versions of XHTMLHTML, CSS, and accessibility standards as laid out by the World Wide Web Consortium (W3C)—Expression Web 2 is a great tool to choose. As a bonus, by using Expression Web 2, you are also creating a Web site that has valid code that is based on cascading style sheets.
Basing a site on current W3C standards aids in ease of long-term maintenance, cross-browser compatibility, and accessibility by both search engines and nonvisual browsers such as screen readers that are used by vision-impaired visitors.
Users of Microsoft Office FrontPage, Adobe Dreamweaver, or Adobe GoLive will find the transition to Expression Web 2 fairly easy. Though Expression Web 2 ignores most proprietary editor features, it allows the full capability of editing and managing sites that were originally created by using FrontPage or other HTML editors. The goal for Expression Web 2 is to make the transition to standards-compliant, modern Web sites as painless as possible.
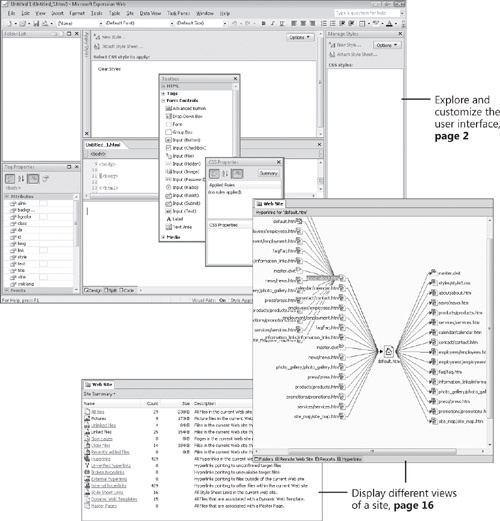
In this chapter, you will explore and customize the user interface and open an existing site. You will also use the views in Expression Web 2 to explore an individual Web page. Finally, you will learn some basic Expression Web 2 concepts.
Important
Before you can use the practice files in this chapter, you need to install them from the book’s companion CD to their default location. For more information about practice files, see "Features and Conventions of This Book" at the beginning of this book.
Troubleshooting
Graphics and operating system–related instructions in this book reflect the Windows Vista user interface. If your computer is running Windows XP and you experience trouble following the instructions as written, please refer to the "Introducing Expression Web 2" section at the beginning of this book.
To improve the readability of the graphics in this book, Expression Web 2 was set to use the Windows color scheme instead of the default Expression Studio 2 color scheme.
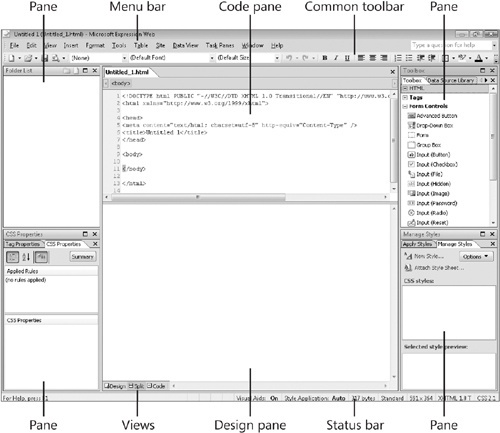
The user interface in Expression Web 2 closely matches the interfaces of the other applications in Expression Studio 2. Almost everything you might need to do within Expression Web 2 is available to you from the 12 menus on the menu bar. These menus are "intelligent," in that the items you use most often move up the list that appears when you open a menu, and items that you use less frequently are moved down. If an item can’t be used, that particular menu item will be unavailable and indicated by a grey color instead of black. In addition to the menu bar and toolbar, Expression Web 2 includes additional panes that are part of your workspace. You can resize, move, dock, and undock these panes.
In this exercise, you will start and exit Expression Web 2, familiarize yourself with the toolbar commands, and manipulate the panes that are available to you. There are no practice files for this exercise.
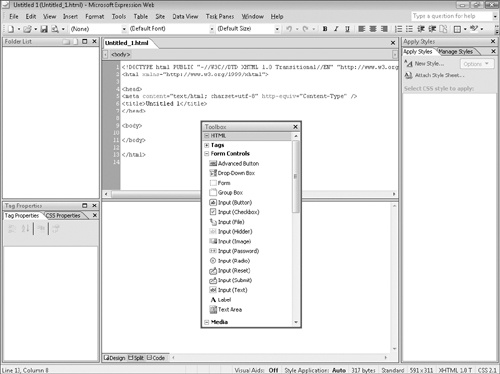
Click the Start button, point to All Programs, point to Microsoft Expression, and then click Microsoft Expression Web 2.
A page named Untitled_1.htm opens when you start Expression Web 2 for the first time. You may also be prompted as to whether you want to make Expression Web 2 your default HTML editor.
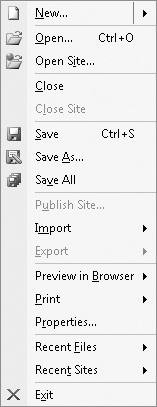
On the menu bar, click the File menu to reveal its contents.
On the File menu, point to New.
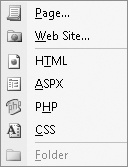
The New submenu displays commands for creating a new page; a Web site; an HTML, an ASPX, or a PHP file; or a cascading style sheet.
Continue to explore the commands on the File menu. Then explore the Edit, View, Insert, Format, Tools, Table, Site, Data View, Task Panes, Window, and Help menus.
There’s a large array of items available on these menus. Don’t let the number of items overwhelm you. The point of this exercise is not to learn each and every one of them, but to become familiar with the contents of the menus and to understand the logical groups in which items are arranged.
Tip
As you’re exploring, don’t forget to explore the menu items that have an arrow so that you can see what is available in their submenus.
Below the menu bar is the Common toolbar. This toolbar contains the most commonly used tools that you’ll need when designing pages.
Using the mouse pointer, point to each of the buttons on the Common toolbar to reveal its tooltip.
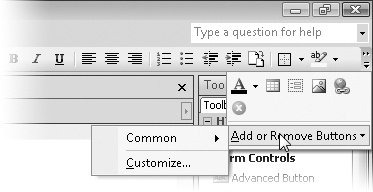
At the end of the toolbar is the Toolbar Options button, a downward-pointing arrow with a small horizontal line above it. Click this button to reveal the Add or Remove Buttons option.
Click Add or Remove Buttons to display two commands: Common and Customize.
By default, all buttons are present on the Common toolbar.
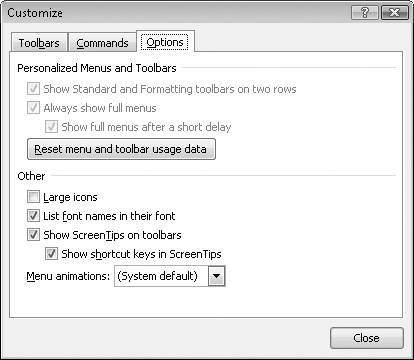
Click Customize to open the Customize dialog box. Then explore the three tabs of the dialog box—Toolbars, Commands, and Options—to find out what you can add and remove from the toolbars.
When the Customize dialog box is open, you can move toolbar buttons by dragging them to a new position on the toolbar, remove them by dragging them off the toolbar, and resize some of them by selecting them and then click-dragging their edges.
All the toolbars that are available in Expression Web 2 can be dragged over your workspace or docked against any side of the workspace.
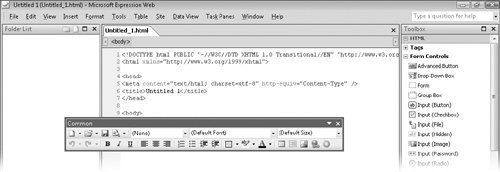
Drag the Common toolbar by the handle on its far-left side and drop it in the middle of your workspace.
This is called a floating toolbar.
Drag the toolbar again, to the right edge of your workspace.
Now the Common toolbar is docked to the right side of your workspace.
Drag the toolbar back to its original location.
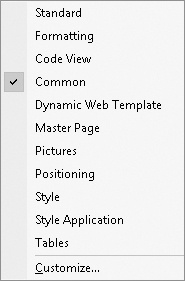
Right-click anywhere on or next to the Common toolbar to see a menu that shows the available toolbars.
You can click one of the toolbars in the menu to quickly make the toolbar available for an immediate task at hand, such as adding and managing content regions in a Microsoft .NET master page.
Tip
The whole idea of all these different toolbars, and the ability to add or remove buttons and customize them, is that Expression Web 2 is designed to enable you to lay out your workspace the way that works best for you. Every designer works differently, and every project has a slightly different work flow; so keep the flexibility of these toolbars and buttons in mind when you begin a new project. Spending 10 minutes customizing and arranging your toolbars can result in hours of time savings over the course of a sizable project. Trust me, the good folks at Microsoft didn’t spend all the time required to make these toolbars so flexible just to show you what they can do. They did it so that you could save yourself time and have a workspace that meets your needs.
Toolbars, no matter how flexible or well thought out, are limited by their very nature. What happens if you have some kind of functionality that requires a level of complexity that simply can’t be handled by a button? Enter the pane.
On the menu bar, click Task Panes.
A long list of available panes is displayed.
The groups of panes are separated by horizontal lines. Each group of panes between the horizontal lines will appear in the same pane area.
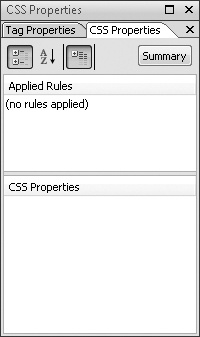
On the Task Panes menu, click CSS Properties.
The CSS Properties task pane opens in the lower-left corner of your workspace.
Open the Task Panes menu again.
The CSS Properties command has a check mark but the Tag Properties command doesn’t.
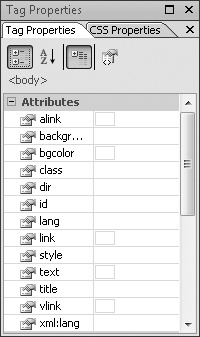
Click Tag Properties to reverse the check marks. The Tag Properties task pane is now active in your lower left workspace.
Manipulating which panel is visible within a task pane isn’t solely limited to the Task Panes menu. You can also click the tabs near the top of the task pane. If there are a number of tabs open, you can use the directional icon to scroll through the tabs.
These tabs represent the various panes that are available within that particular group.
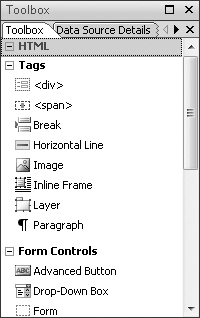
On the Task Panes menu, click Data Source Library, Data Source Details, and Conditional Formatting to add these task panes to the Toolbox task pane group. Examine each of these panes, and then click Toolbox on the Task Panes menu to bring that pane to the top of the group.
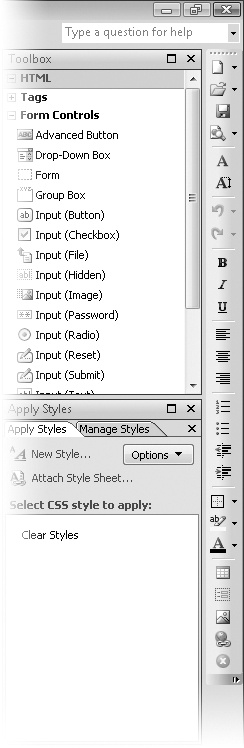
Look at the Toolbox task pane (located by default in the upper-right section of your workspace).
There are several tabs and buttons at the top of the pane. You can click the arrow next to the tab on the right to scroll through the different tabs within the pane. You can click the Maximize button to maximize the pane and click the Close button to close the pane.
Drag one of the tabs and release it over the center of your workspace so that it floats.
Drag the tab to any side of the workspace so that it is docked.
Repeat steps 19 and 20, using a few of the task panes. Give some thought to how you might like your workspace to be laid out.
On the Task Panes menu, click Reset Workspace Layout (at the bottom of the menu) to reset the panes to their original state.
On the File menu, click Close to close the Untitled_1.html file that was created when you opened Expression Web 2 in step 1 of this exercise.


You have now seen all of the options that are available to you in Expression Web 2 to modify the graphical user interface (GUI). Keep in mind that all of these available tools are there to help you to set up the workspace so that it suits your workflow or a specific task.
Tip
With all of the customizations and options in the toolbars alone, the choices can become overwhelming. When you add the pane groups and all the possible panes they can contain, the sheer volume of available tools can compound this issue. A third-party application that provides a greatly enhanced level of control over all of the panes in Expression Web 2 is available from www.panemanager.com.
Expression Web 2 contains two important additional methods for deeper customization: the Application Options and Page Editor Options dialog boxes.
To open the Application Options dialog box, on the Tools menu, click Application Options.
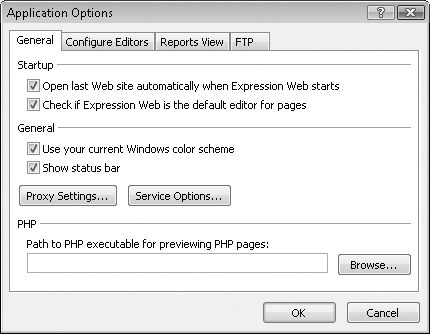
This dialog box contains four tabs in which you can set options for how the editor behaves on a global level. The options here are self explanatory and well documented in the application’s F1 Help manual.
To open the Page Editor Options dialog box, on the Tools menu, click Page Editor Options.
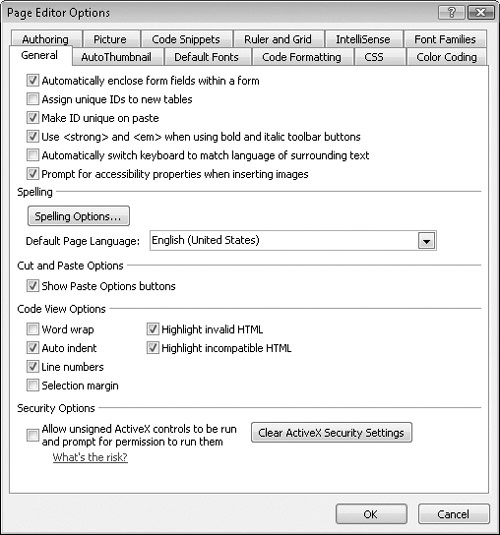
This dialog box contains 12 tabs in which you can set virtually limitless options. The options here offer much more fine-grained control of the editor’s specific behavior and preferences. You’ll find them well documented in the application’s F1 Help manual.