
All of the templates that are provided by Expression Web 2 use a Dynamic Web Template. There’s a reason: it’s virtually a necessity for today’s Web site designer to use some sort of templating system, whether it’s an ASP.NET master page arrangement, a Dynamic Web Template, or some other form of server-side template such as Smarty Template Engine (http://smarty.net) an open-source templating system for PHP files. Prior to the arrival of Expression Web 2, Web editing software used proprietary themes, shared borders, and all kinds of convoluted mechanisms to control page layout and presentation across a Web site. The Dynamic Web Template capabilities that are available through Expression Web 2 are still a "save time" feature, because the templating takes place on your local computer before your site is published to the server; so no proprietary server capabilities are required.
In this exercise, you will modify the Dynamic Web Template to reflect the navigational changes you made in the earlier exercises, you will add a link for the products page you created, and you will then add a logo to the top of the page.
Note
USE the CH6 site you modified in the previous exercise.
OPEN the CH6 site if it isn’t already open.
In the Folder List, double-click master.dwt in your site’s root folder to open it for editing within Expression Web 2.
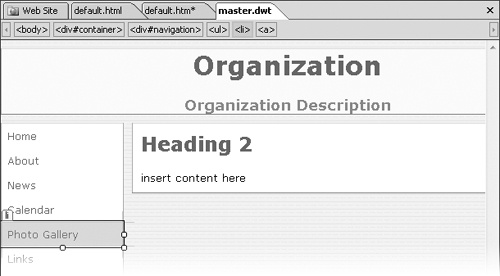
In Design view, in the left navigation section of the page, click Photo Gallery.
In the quick tag selector bar, notice that you’re inside not only an <a> tag, but you’re also inside an <li> list element because the navigation for this template is actually an unordered list.
In the quick tag selector bar, click <li> to select the <a> tag and the <li> tag that contains it. Press
 to remove the link.
Repeat steps 2 and 3 for the list item and the link for the page titled Links.
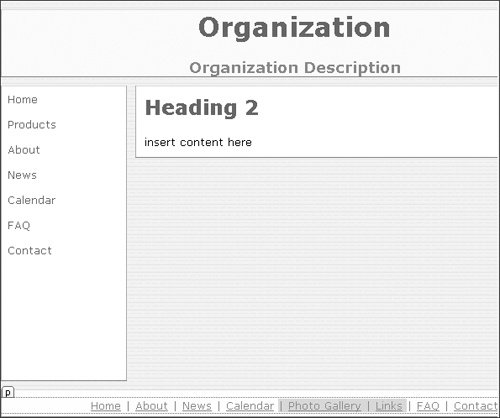
The two pages that you deleted are now removed from the navigation. Next, you will add a link for your new Products page.
In the Design pane, click just after the last letter in the word Home in the navigation section of the page, and then press
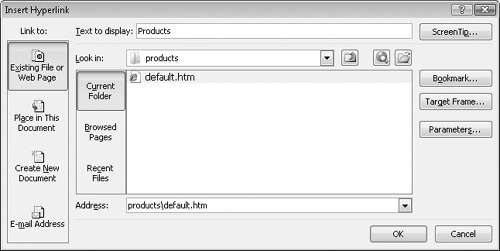
 to break to a new line and create a new <li> tag. Type Products, select the word you just typed, right-click, and then click Hyperlink. In the Insert Hyperlink dialog box, browse to the products folder, and then click the default.htm file.
Click OK in the Insert Hyperlink dialog box to close it and set the link.
In the Design pane, click the bottom of the page just before the pipe character (|) that follows the entry for Links. Select back to and including the pipe character that follows the entry for Calendar, and then press
to clear the removed pages from the lower link bar.Click just after the pipe character that follows the entry for Home, press
 , type Products, add another space, and then insert another pipe character (|) by pressing
  .
.Select the word Products, being careful not to also include any empty spaces, right-click Products, and then click Hyperlink. In the Insert Hyperlink dialog box, browse to the products folder, and then click the default.htm file.
Click OK to close the dialog box and set the link.
In the Folder List, click the images folder. On the File menu, point to Import, and then click File.
In the Import dialog box, click Add File. In the Add File to Import List dialog box, navigate to the DocumentsMicrosoft PressExpression Web 2 SBSFiles folder, select logo.jpg and BGlogo.jpg, and then click Open to add these images to the files list.
Click OK to import these images into your site’s images folder.
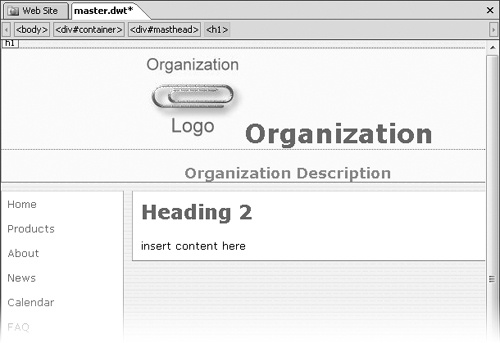
In Design view, click the very beginning of the H1 element that contains Organization. On the Insert menu, point to Picture, and then click From File.
In the Picture dialog box, locate the images folder, click logo.jpg, and then click Insert. When you are prompted, give the image some descriptive alternate text, and then click OK to close the dialog box and insert the image.
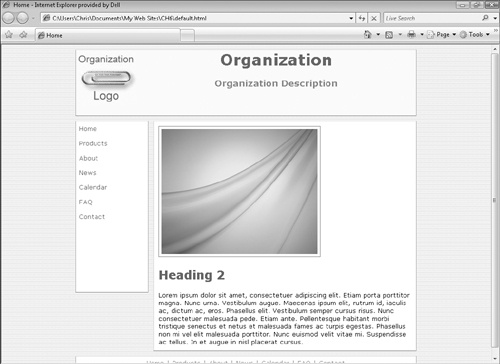
Notice that your logo image is centered, along with the H1 element that contains it.
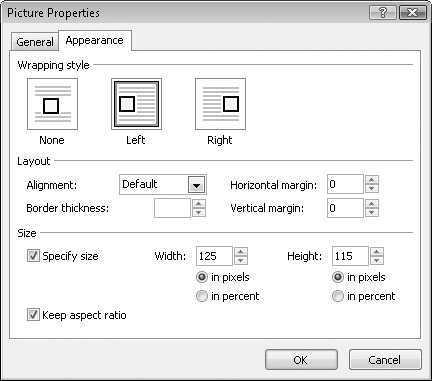
Right-click the image, and then click Picture Properties. On the Appearance tab, change the Wrapping Style to Left, and then click OK to close the dialog box.
Your logo image now floats to the left of the text elements within the top banner of your page.
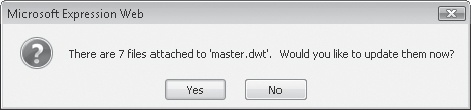
Save the page. In the message box that opens, asking if you want to update all the pages linked to the Dynamic Web Template, click Yes.
Open the default.html page from the root folder, and preview it in a browser. Check your links and layout to make sure that your changes to the Dynamic Web Template are present in the pages that the template is attached to.

Obviously, if this exercise were the actual creation of a site, you would be working on other elements such as changing the text of the headings in the top banner, possibly adding graphics or other elements to the left navigation area, and other modifications that would be necessary for a real Web site. You should now be comfortable with working in a Dynamic Web Template to the extent that you will continue with the tasks that are needed to design a professional-looking Web site.