
Printing the Screen
If you were around in the early days of computers with text screens, you might remember a time when you could print whatever was on the screen just by pressing the Print Screen key (perhaps abbreviated PrtScn, Prnt Scrn, or something like that). This was a so-called screen dump. It doesn’t work that way in Windows. You can’t print the screen directly to the printer. But you can capture the screen and print it from there.
With Windows 8, you have two ways to capture a screen using the Print Screen key. The first way is the easiest and quickest. When you are ready to capture something onscreen, press Windows+Print Screen. This automatically captures the screen, names it for you, gives it a PNG (Portable Network Graphic format) file extension, and saves it to the Picture folder.
Windows 8 names the file Screenshot.png. You can continue to do this as needed and Windows simply adds a new sequential number to each screen shot, such as Screenshot (2).png, Screenshot (3).png, and so on. Notice that your first screenshot will be named without a number. Just assume it is the first screenshot you captured. Using this method, Windows 8 captures everything on the screen. When you get ready to print the screen capture, open the file in a supporting graphics program (Windows Paint is free and it is on your computer by default) and choose the Print command.
Another way to capture a screenshot is to use the Print Screen key, which sends a copy of the screen capture to the Windows Clipboard, from which you can then paste the capture into a program. You can print the capture from there with the following steps:
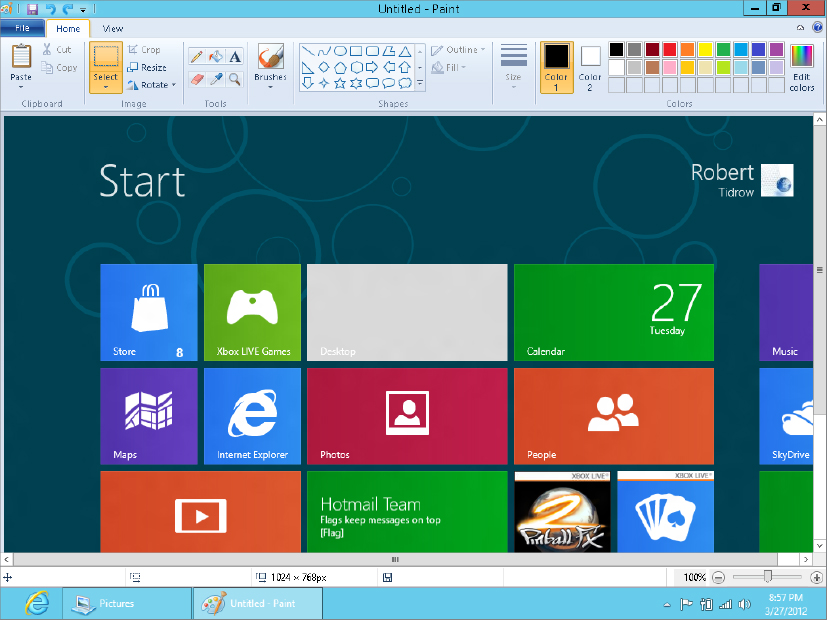
A snapshot of the screen or program window opens in your graphics program. If your graphics program allows it, zoom out to get a more complete view. For example, Figure 33.7 shows a screenshot in Paint.
FIGURE 33.7 Screenshot in a graphics program
Once the screenshot is in a graphics program, print it as you would any other open document, using any technique described earlier in this chapter. If you plan to use the screenshot as a picture in a web page, save it as a JPEG or PNG file (if possible), using the Save As Type option in the Save As dialog box.