
Adding a Logo
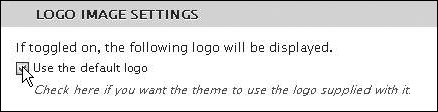
To add a logo, select the desired theme (or global settings), as discussed in the last section, and in the Logo Image Settings area, uncheck “Use the default logo”:
The window will expand, and you can click the Browse button to find an image for your logo (see Figure 7.10).
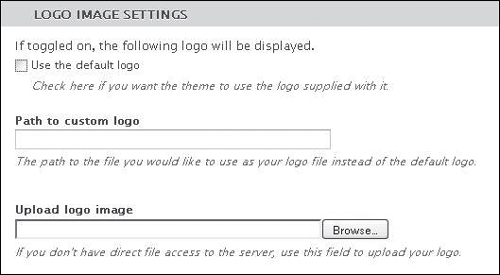
Then when you’re done, click Save configuration:
![]()
If you’re just beginning and want to make a logo, you can try using a free online image-editing tool, such as www.picnik.com. I also highly recommend the reasonably priced image-editing tool SnagIt, from TechSmith, which is probably between 50 and 60 dollars. It can allow you to do basic graphic image editing, and it has some handy tools (www.techsmith.com), or you might want to contact a graphic designer to design a logo for you (for example, www.alegraphics.com).
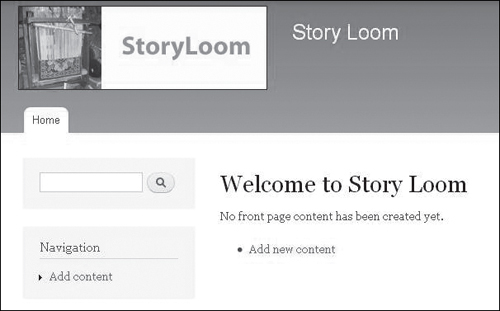
And then you can click the “Home” link to take a look:

And theoretically, you’ll see something like this, with the logo image on the left, and the Site Name text on the right (see Figure 7.11).
There aren’t any specific rules, but you might seek to size your logo image no larger than 200 pixels high and something like 100–600 pixels wide. Just try and see how you like it. Use picresize.com if you don’t have Photoshop. Or the free tool GIMP “graphics image manipulation program” (www.gimp.org).
If you incorporate the name of your site into your logo, you may want to disable the display of the site name, as mentioned earlier (see Figure 7.12).
Figure 7.12. Toggle display.
