
Modules to Make Your Life Easier: WYSIWYG, IMCE, CKEDITOR
There will be more than one way in Drupal 7 to accomplish “rich editing” and image upload. Perhaps in a future update there will be some basic capability built in, but until that day comes, these three modules seem to be a popular and common way to get things going.
WYSIWYG
The letters WYSIWYG stand for “what you see is what you get,” and this module provides Drupal with the ability to use various editors, such as CKEDITOR. To get a sense of what’s going on with this module, visit http://drupalmodules.com/module/wysiwyg.
To get started, visit http://drupal.org/project/wysiwyg. In some cases, drupalmodules. com can provide an easier-to-understand overview of a given module, but you’ll probably want to visit the drupal.org page because the versions there might be more recent.
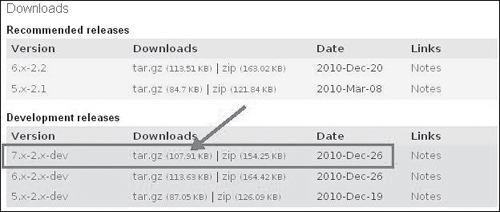
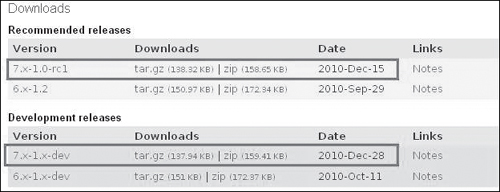
As with other modules, you should search for the most recent version of a module. By the time you read this, ideally there will be a “7.x” version in the “Recommended releases” section. This means they are production releases, and this would be preferable. Even if the date on a development release is more recent, if there are any recommended releases available for your version of Drupal, you’ll want to go with a recommended release. In this case, I’m downloading the tar.gz version of the module, as a development release:
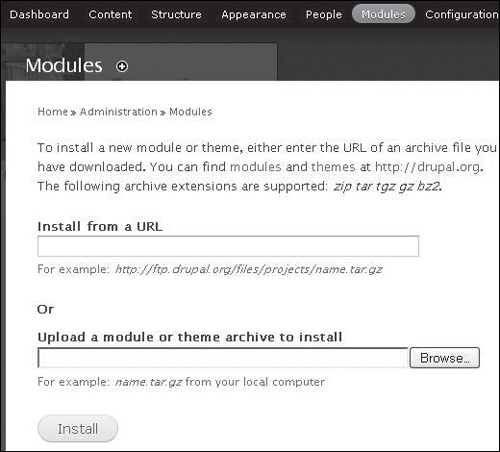
In your Drupal site, click Modules at the top, the “Install module” link, and then in the following window (see Figure 12.1), click Browse to locate your file.
Figure 12.1. The Module installation feature allows you to browse and locate a module file to upload.
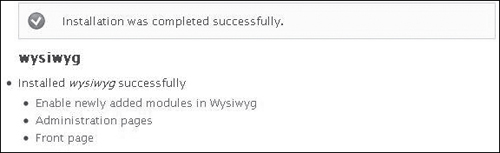
After the module is installed, you can click on the newly added modules link:
Click the Enabled checkbox:

Then click Save configuration:
![]()
Then a “Configure” link will appear for the module, which you can click on:

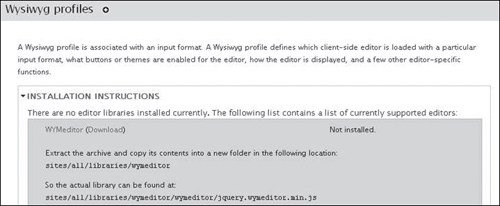
At first, you’ll get a message indicating that there are no editor libraries installed (see Figure 12.2); this will be our next module, CKEDITOR.
Figure 12.2. You may get this screen, which indicates that there are no editor libraries installed. This should be resolved when CKEDITOR is installed (see next section).
CKEDITOR
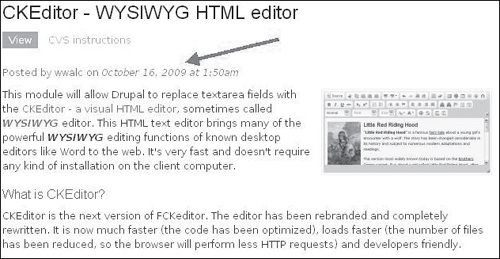
CKEDITOR is a method of having a rich editor, as per the visual below. To see it in action, you can visit this demo site: http://drupal.ckeditor.com/.
The first step is to visit the Drupal project page: http://drupal.org/project/ckeditor. Don’t be thrown off by dates on the Drupal site because in some cases they go back several years. This is just the date for the beginning of a project; it doesn’t mean that it is the most recent post:
So here is a typical open source question: You may be faced with a recommended release, and then a development release, and the development release might have a more recent date (for example, 12/28).
My general recommendation is, if there are any recommended releases, download and install those. And if you want to experiment with other releases, do so on a staging site. For example, use the push-button installer to create another site, which you can use to test things out. If you’re careful, you could install a version of Drupal at something like www.yoursite.com/staging (ask support how to do it), and then experiment at that site, whenever you are trying out adding new things. It’s up to you:
So download your module and install it using the Module page (see Figure 12.3).
Figure 12.3. Module installation feature allows you to browse and locate a module file to upload.

And when it is installed, click the “Enable newly added modules” link:
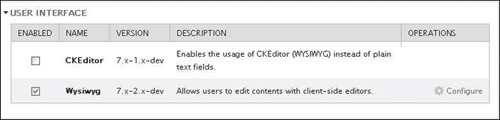
Click the “Enabled” checkbox next to CKEditor:
![]()
Then you can come back and click the “Configure” link:

And most likely you’ll get a message like this next image. Don’t panic, everything will be okay. We just need to get some more files. Think of it like an Easter egg hunt:

One of the missing pieces is the editor itself; the module we just downloaded is a “wrapper,” but we need to get the actual editor. At the present time, it’s necessary to upload this editor yourself, using some kind of FTP program, into the right folder on your Web server. We’re going to use Hostgator as an example, and it has a particular kind of Web-based FTP program. Most or all hosting companies have an equivalent, so it might not look exactly the same, but the general idea is we’re going to go and hunt down some files, and then instead of uploading them through Drupal, we’re just going to put them up on the server ourselves, using your Internet hosting company’s FTP program.
So visit http://ckeditor.com/download:
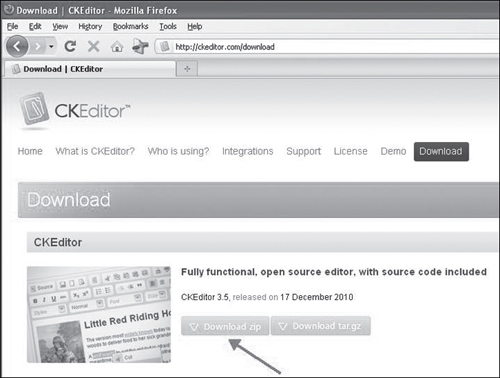
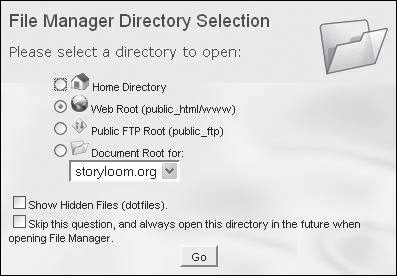
And click Download zip. Put the file somewhere where you can find it. Then log into the control panel for your Web hosting account:
And somewhere in your account, you’ll have a File Manager or Web-based FTP program. If you don’t, you may want to switch hosting companies (for example, Hostgator).
In Hostgator, click File Manager:

Then click Go. Don’t panic. If you’re feeling slightly nauseous, take some Dramamine:
Congratulations, we’re not in Kansas anymore. We’re logged into the server. What a Web-based FTP program or File Manager does is to give you an easy way to upload files to your Internet server. Basically, the way the Internet works is that there are computers hooked up to the Internet 24/7, without monitors or keyboard, and they have files on them, such as your website. Every website is sitting on a server somewhere. And when you’re accessing a website, you’re just downloading a set of files from a computer somewhere.
So when you work on a website, it’s the reverse. You have access to a specific server that’s connected to a specific address (for example, storyloom.org), and if you like, you can upload files. A CMS system like Drupal makes it easier, and ideally someday it’ll get to where you don’t have to “go in manually” like we are. But it’s not so bad, and it can be empowering, too—even for a beginner!
Perhaps the easiest way to think of it is as if you’re moving files around on your own computer. So theoretically, you’ll see something like this:
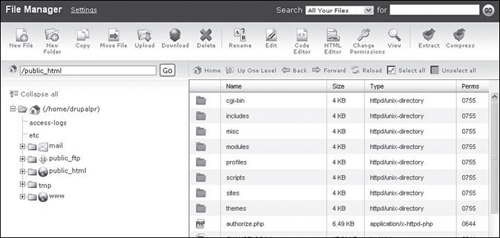
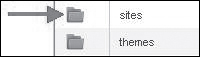
And in most systems, to get into a folder, you just double-click on the folder you want to get into. In this case, we want to go into “sites”:
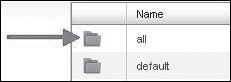
Then in the sites folder, we want to go into “all”:
We’re going to upload that file we downloaded earlier. To do so, click Upload:
Then click Browse to select a file:
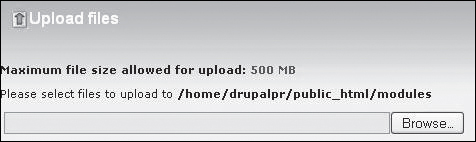
You might see something like the ckeditor zip file:

You might be treated to a progress window of some kind:
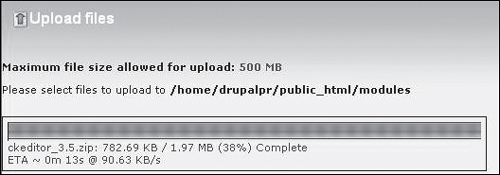
And then it will be complete:

In this File Manager, to get back, click on the “Back to” link, once you get a completed message:
![]()
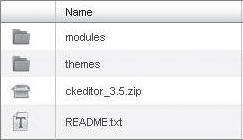
Now you’ll have a zip file (although you might need to scroll to see it):
Click to select it:
Then click the Extract button:

This is a slightly tricky part. Ultimately, you want to end up with a libraries folder.

So you may need to add this text to the end of the Directory field (the lower one): /libraries.
Follow the instructions on the image below, and click Extract Files:
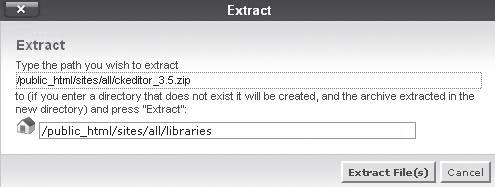
The files will extract, and you can click the Close button:
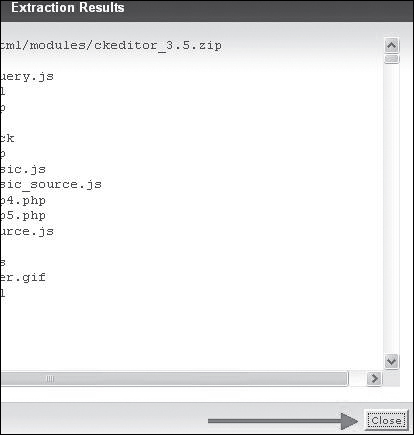
You might need to click a Reload or Refresh button:
![]()
Then you should see a libraries folder:

As you’re moving around, you can use functions like Up One Level and Back/Forward to get around the folders:
![]()
Generally speaking, what we’ve been seeking to do is to follow this message that we saw earlier:

We want to get to the point where there is a ckeditor.js file, located in the following location on the server: sites/all/modules/ckeditor/ckeditor/ckeditor.js. So if things don’t work, one of the things you can do is to ask for support to help you get the files in the right place.
Next, go back into Drupal into the Modules area:
![]()
And click the Configure link for CKEditor. Hopefully, at this point, you won’t get any red alarm messages:
To see how things work, if everything is working okay, go to Content in Drupal:
![]()
Click Add content:
![]()
Create an Article:

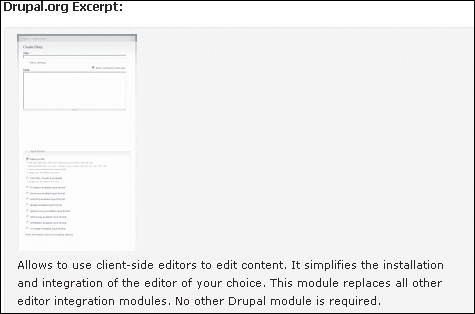
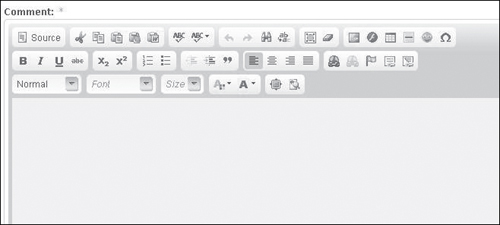
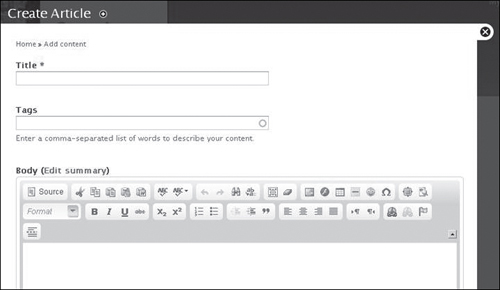
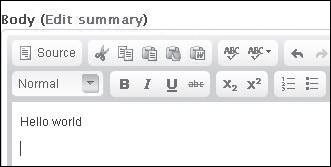
And ideally, you will see the “rich editor” below in the Body area (see Figure 12.4).
Figure 12.4. This is how the Create Article window looks when you have the additional modules installed that allow “rich formatting,” a standard user experience with all the little icons. Otherwise, until something changes, there would be no formatting options.
You can test it by typing some text:
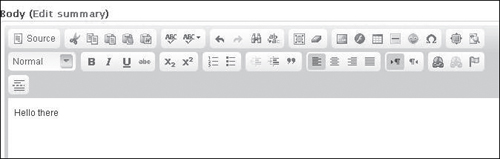
Select a bit:
![]()

Of the various features, one that is not in place yet is the image upload. If you click the little image icon, you’ll get a window that will allow you to indicate an address for an image, but it won’t allow uploads. To allow uploads, we need to install/configure IMCE:

IMCE
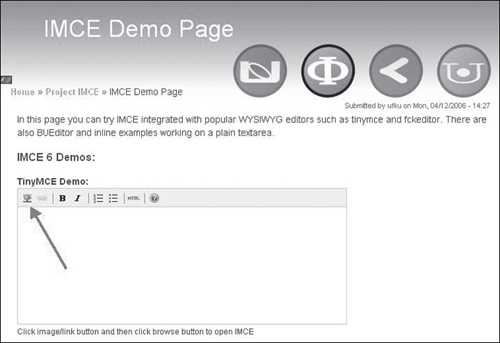
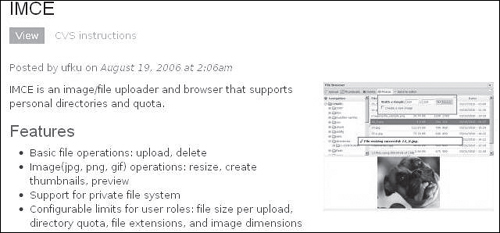
IMCE is a popular “image upload” utility. To see a demo, visit http://ufku.com/drupal/imce/demo. (You might need to wait patiently for it to load.)
So the demo page will show IMCE used with various editors. CKEDITOR is a sample editor, but there are many others. In the demo, you can try TinyMCE, for example. What IMCE is doing is enabling a better image upload capability.
So you’d better let things load and then click the little tree icon:
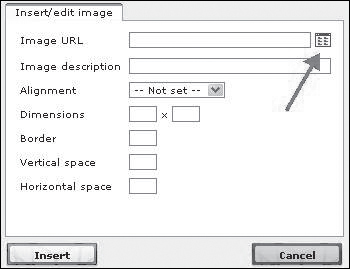
Instead of having to paste in an address for the image, you can click the icon at the right, for image upload:
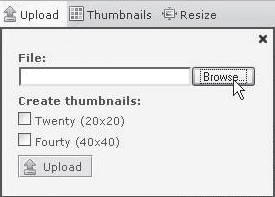
You’ll see some images that people have uploaded to the demo, and you can click the Upload button:
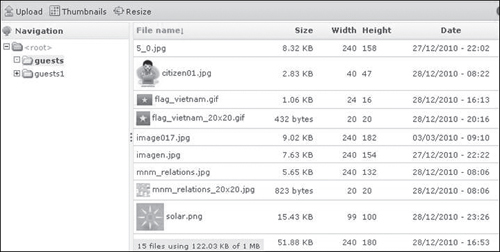
If everything is working right, you can click Browse and try loading an image:
There’s no “insert” because it’s just a demo of the upload capability. Now to actually install this feature, to allow you and your collaborators to upload and insert images, visit http://drupal.org/project/imce.
There are some notes; remain calm, we will proceed past these notes and exit the building safely:
Scroll down to the recommended releases and click the tar.gz version to download it. Make sure that you’re downloading the version for Drupal 7:

Then come back into Drupal into the Modules area:
![]()
Click Install new module:
![]()
Click Browse, locate the file you just downloaded, and click Install:

Then click on the “Enable newly added modules in IMCE” link:


Click Save configuration:
![]()
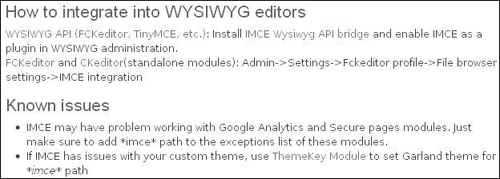
If you were paying attention as we sidled past the notes, there’s mention of “integration.” Basically, we just need to connect this module to some others:

So go into Modules:
![]()
Then click Configure on CKEditor:

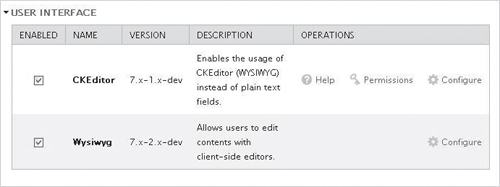
We’ll be clicking the edit link on both the Advanced and Full profiles. You might also be interested to take a look at the User Guide:
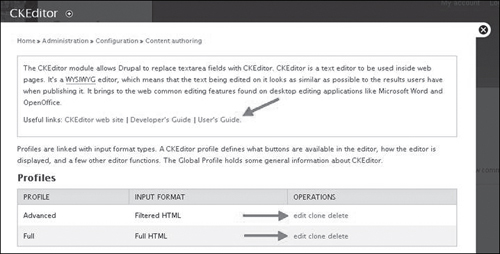
Make sure to perform the following steps on both the Advanced and Full profiles.
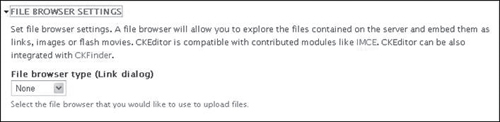
After clicking edit, click File Browser Settings:
![]()
Look for the “File browser type (link dialog)” drop-down menu:
Switch it to IMCE:
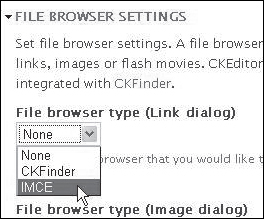
Then click Save:
![]()
If you did the Advanced profile first, now edit the Full profile, and do the same step. Basically, you’re connecting CKEDITOR and IMCE.
To try things out in Drupal, go to Content:
![]()
Click Add content:
![]()
Add an Article:
![]()
Type some text in:
At this point, I recommend “collapsing the drawer.” Otherwise, it might get in the way:

Then in the body area, where the rich editor is displaying, click the Image icon:

And hopefully, you’ll see something like this. If so, try clicking Browse Server:
Then try clicking the Upload button:
Click Browse to locate an image file:

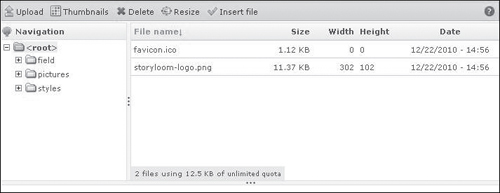
The file will show up in the list (see Figure 12.5).

And with that file selected, click the Insert file button:
![]()
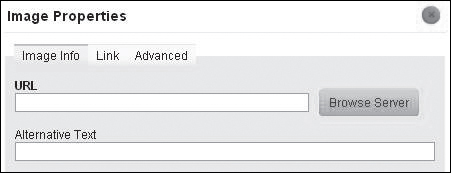
The Image Properties window will look something like Figure 12.6, and you can click OK.
Figure 12.6. The Image Properties window.

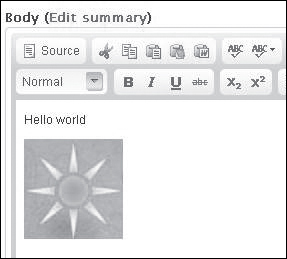
Hopefully, the Body field will show your image:
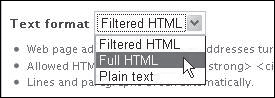
Save Yourself the Hassle
To save yourself a hassle, remember to click the Full HTML drop-down menu in your article/page; otherwise, your image might not appear.
You might want to click “Provide a menu” link:
![]()
Then click Save:
![]()
And ideally, your content will appear.