Starting a Google Analytics Account
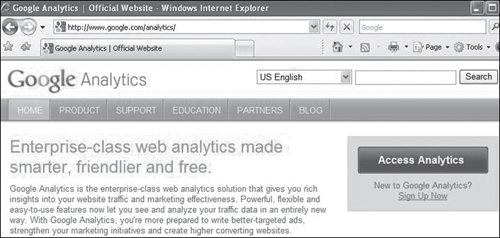
Google Analytics is a free tool from Google, and you’ll need to create an account, which is as easy as signing in with a Gmail address. You don’t have to create a Gmail address, but I recommend doing so (http://mail.google.com). It makes it easier to use various Google tools, and Gmail is a great email tool. You can forward Gmail to another account, or you can use it to check other email accounts. It has great search capability, and a number of integrated, free tools, such as Google Calendar, Google Documents (a free online equivalent to Microsoft Office), and more. To start a Google Analytics account, visit www.google.com/analytics and click Access Analytics (see Figure 9.1).
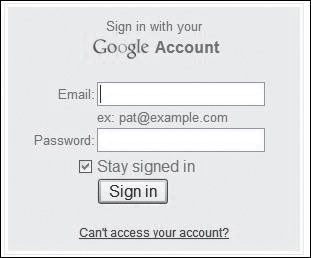
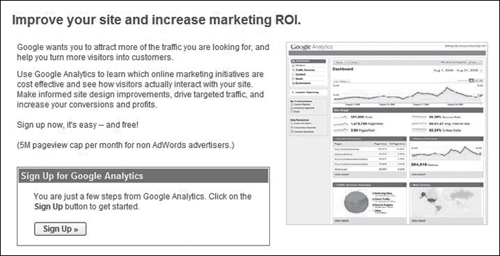
Then enter your email and password information, and click Sign in (see Figure 9.2). (It needs to be a Gmail address or a Google account.) A Google Analytics screen will come up; click the Sign Up button (see Figure 9.3). In the New Account Signup screen, enter the address of your website, give it a name, choose the country/time zone, and click the Continue button (see Figure 9.4).
Figure 9.2. I recommend creating a Gmail address at http://mail.google.com and using that.

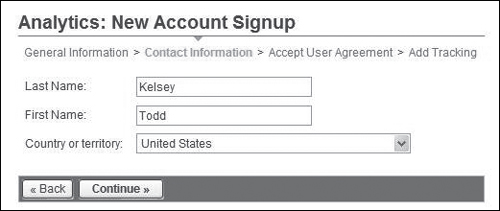
You can always add more/different websites after you create your initial account. Then enter your Last Name, First Name, Country, and click Continue (see Figure 9.5).
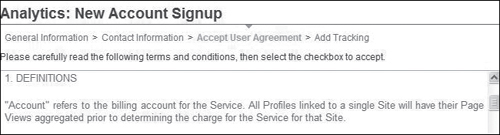
Read through the fine print if you like (see Figure 9.6).
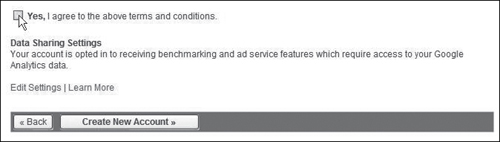
And down at the bottom, click Yes and then Create New Account (see Figure 9.7).
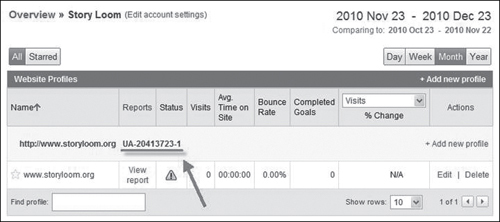
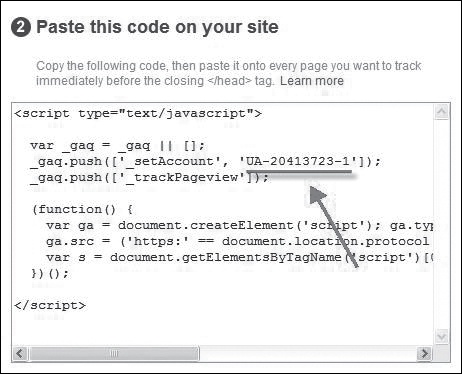
The next page will provide you with code. In some cases, what you do is paste a snippet of HTML code in a blog or Web page to place the tracking code there. Since we’re dealing with a specialized module, you don’t need to copy the code, but it’s helpful to be aware of the “property ID,” which is the way that Google Analytics identifies individual sites (see Figure 9.8).
Figure 9.8. This is the Web property ID, starting with UA, ending with—something.
So, for the moment, you can ignore this page. Just click Save and Finish:
![]()
On the next page, you will see the property ID again, and you’ll want to keep this window open so that you can copy and paste the ID from Google Analytics over into Drupal. You can also write it down, or copy and paste it into a text document.
This happens to be the “overview” page for Google Analytics. When tracking is set up on your site, this is how you’ll access reports (see Figure 9.9).
Figure 9.9. Here’s the Web property in Google Analytics. Make sure that your ID matches in both places.