Adding Content
To add content to your site, just click the Create Page button:
![]()
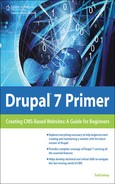
It will ask you to choose a page template. Templates represent various kinds of pages you can add. I recommend trying each kind out, and also getting in the habit of clicking on “Learn more” links when you see them.
But just to get started, you can leave it on Web Page (see Figure 2.12).
Then you’ll want to come up with a name for your page and click the Create Page button.
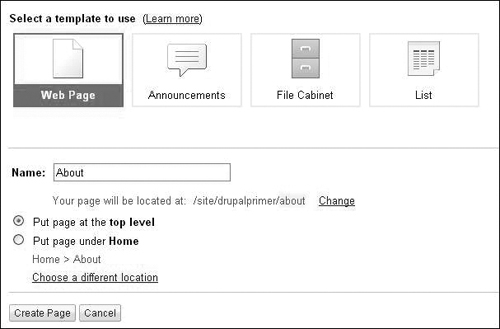
When you initially create a page, it will be in Edit mode. You’ll see the name of the page show up on the left, which is called the navigation and represents the way people get around your site (see Figure 2.13). It’s also known as the sidebar.
At the top of your page will be the title, which you can change. And then the middle area is where you can type text in, or insert images, and so on.
For example, you can click in the middle area and type something in (see Figure 2.14).
Figure 2.14. Enter in text for a page.
When you’re done, remember to click the Save button:
![]()
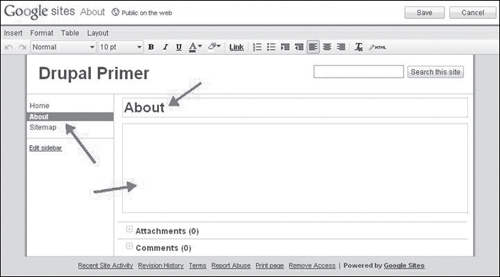
Then your page will appear something like this (see Figure 2.15).
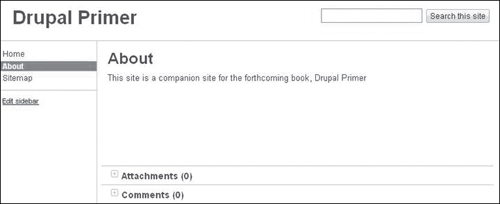
Congratulations! You’ve made a Web page.
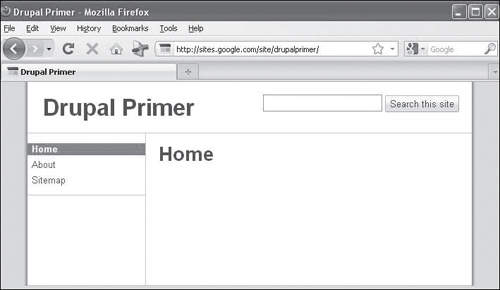
And this is what it will look like to other people (see Figure 2.16). (They won’t see all the buttons for managing the site—that’s only for you, when you’re logged in.)
Editing Content—Adding a Picture
One of the many things you can do in a CMS system is to add images. In Google Sites, start by logging in, going to a page you’d like to edit (for example, by clicking on the navigation on the left), and then clicking the Edit page button.
![]()
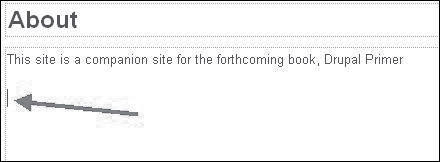
Click in the middle box to place the cursor where you’d like (press Enter a few times if you have to), as shown in Figure 2.17.
Figure 2.17. Place the cursor so you can insert an image.
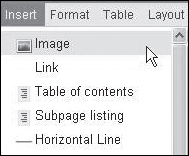
Then go to the Insert menu and choose the Image option (see Figure 2.18).
Figure 2.18. Insert > Image.
(And be sure to come back and try all the other options.)
Then, in the Add an Image window, click the Choose File button (see Figure 2.19).

After you locate an image to upload (and double-click it), it will load into the window, and you’ll see a smaller version of it.
Images
If you need images to upload, try going to www.publicdomainpictures.net, choose an image you like, and right-click (windows) or Ctrl-click (Mac) and choose the option for downloading the image to your computer (for example, Save image as, or Download to disk). Keep track of what the filename is and where you’re saving it (for example, desktop), and then come back and try uploading it to your site. You can also upload digital pictures.
Then after the image uploads, click the OK button (see Figure 2.20).
Figure 2.20. Add an image.

The image will appear on your page, and it might be larger than you’d like (see Figure 2.21).

Resizing Images
If you’re just learning about digital images, you might like visiting www.picresize.com or www.picnik.com—both sites provide an easy way to work with images. For example, if you have an image from a digital camera, it might be 2000 pixels wide. Typically, you probably don’t need an image to be any larger than 600 pixels wide on your website, so you can experiment with learning how to resize pictures.
Google Sites has a nice feature where you can click on pictures, and it brings up an Adjustment menu (see Figure 2.22).
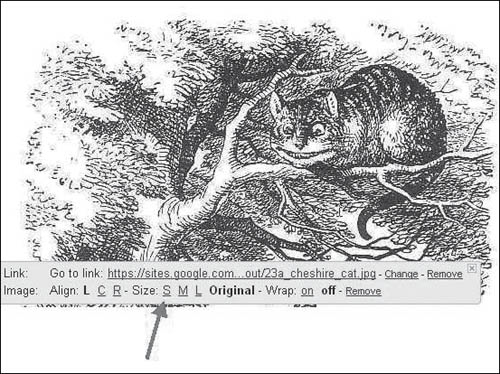
So you could try clicking on S, which allows you to make the picture smaller.
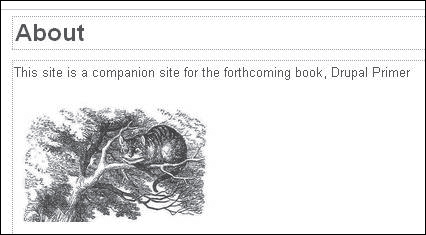
Ah, that’s better, now the picture is smaller (see Figure 2.23).
Figure 2.23. Resized image.
When you’re done, remember to click the Save button. Also notice that Google Sites automatically has been saving a draft of your site, to help protect your work.
![]()