
Another important feature found in the Property Inspector is called Layering. Located in the same row as Pos and Size, layering is depicted as a series of squares, representing the different states of layer positioning, as shown in the following screenshot:
To better understand layers, just think of them as stackable objects—one layer atop the other—kind of like a sandwich with all the fixings. To see layering in action, we are once again going to add an additional element to the video section.
Tip
The following examples refer to layering using the latest version of Balsamiq (2.1.19 as of this writing). If you are using an earlier version of Balsamiq, you will notice that the layering icons are arranged differently. I am not sure why it was changed with this latest version, but it is notable to point out nevertheless.
Perform the following steps:
- Return to the UI Library and locate the Webcam widget.
- Place it on top of the Video Player widget. Don't worry if it covers the text. We are going to fix that.
If you deleted the text, just grab any other widget from the UI Library and add it to your stack so that you have a total of three widgets.
To rearrange the layers, perform the following steps:
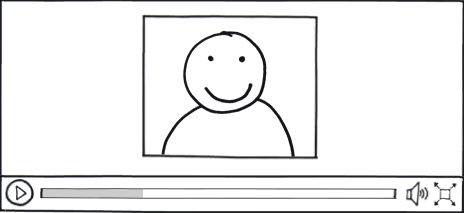
- Click on the Webcam widget to activate it. (That's the box with the smiley face).
- In the Property Inspector, click the Layering icon that is third from the left, as shown in the following screenshot:
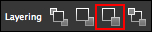
This tool is also known as the Send Backward button. If you are using an older version of Balsamiq, this icon is positioned second from the left.
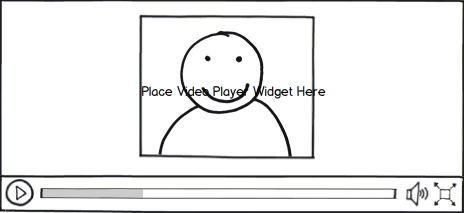
If successful, that line of text should now appear above the Video widget, as shown in the following screenshot:
For a closer look at layering, here is a description of the four tools, as per the order in which they appear in the Property Inspector, for Balsamiq v2.1.19:
- Bring to Front: The selected element is sent immediately to the top of the stack.
- Bring Forward: The selected element moves forward in the stack one layer at a time. The more you click, the higher up the element moves in the stack.
- Send Backward: The selected element moves one layer at a time down the layer stack until it hits the bottom.
- Send to Back: The selected element is sent immediately to the bottom of the stack.
You will find that it takes practice and some trial and error before you master layers. Keep at it though. Although there may be some frustration and/or confusion early on, it will all begin to make sense soon enough.