
You might think a prezi doesn't need a great look and feel, but learning is much more fun if it looks great. Also, well designed information tends to be understood and remembered more easily.
Until now, we used circle-shaped frames for our structure in Prezi. Although it looks good, the circle shape is not related to bees. We all know a honeycomb is made up of hexagons. Wouldn't it be a good idea if we could replace our circles with hexagons? We are lucky. Prezi just released a new template with hexagons in it. Yay!
Leave the prezi about bees that you already have open in your browser, go to the Your prezis tab, and click on New prezi. A new tab is opened with the new prezi.
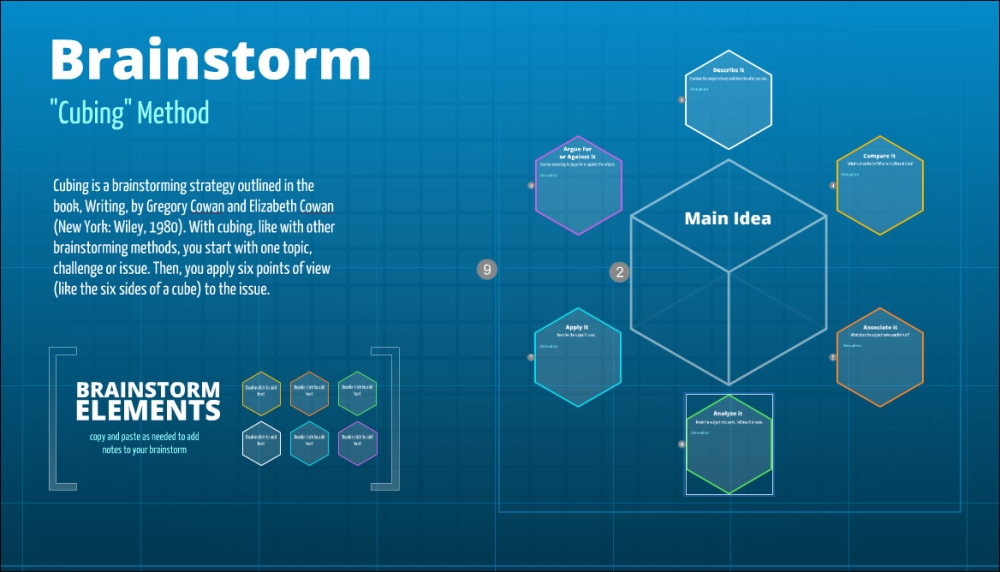
When you open the new prezi, first you have to choose a template. Choose the template Brainstorm with Cubes and click on Use template. This template contains hexagons, as shown in the following screenshot. At www.prezihotshot.com, you'll find the link to this template. We only need one hexagon for our prezi.
Select one of the hexagons (just click on it) and use the Ctrl/Cmd + C keys to copy it. Click on the tab with the prezi World of bees and paste the hexagon on the canvas. Make sure you place the hexagon on an empty spot of the prezi. If necessary, zoom out to create space.
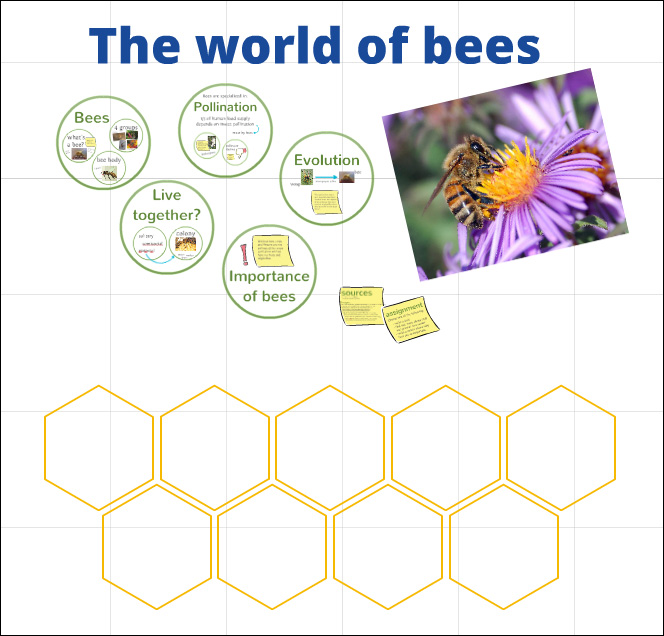
Now, let's create a sort of honeycomb. Select the hexagon (if it's not already selected) and use the Ctrl/Cmd + D keys to duplicate it several times. Make a image similar to what is shown in the next screenshot. If necessary, you can add more hexagons later.
Next, we'll use one of the pictures as a background image.
Copy and paste one of the pictures from your prezi (or insert another one) and make it really big. Select the picture, click the right mouse button, and select Send to Back to put it behind the honeycomb, as shown in the following screenshot:
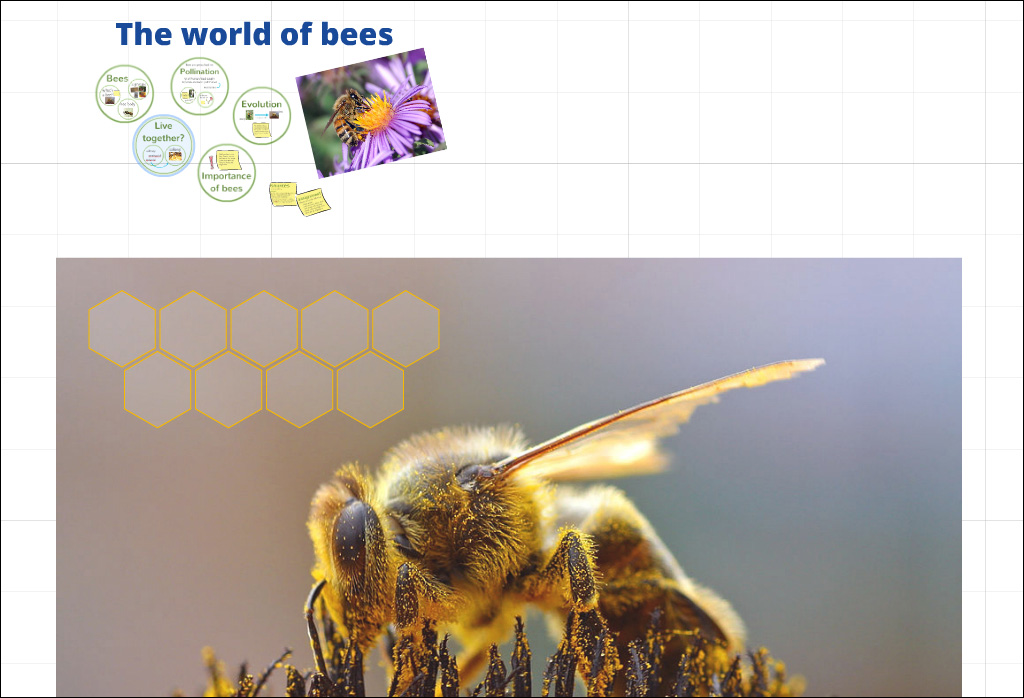
Now, fill the honeycomb with the content of your prezi. Maybe add or remove a few hexagons. Start with adding the title World of bees to the new prezi. Copy the title World of bees to the large image just above the hexagons. For this background, we have to change the color of the title.
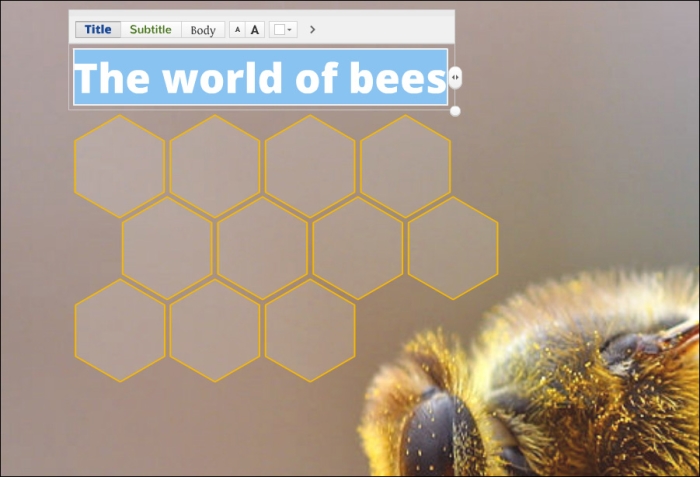
Click on the title, select Edit Text, select the whole text by clicking-and-dragging, and select the white color.
As you can see in the next screenshot, we also rearranged the hexagons a bit.
Now, let's move all the content to the hexagons. It's ok if a few hexagons are empty. However, first we'll make sure the content will be on top of the large image and the hexagons.
Hold down the Shift key and click on all the hexagons (you can also click-and-drag while holding down the Shift key). Then, right-click and select Send to Back. All hexagons will now disappear behind the large image.
Zoom out, deselect all hexagons, right-click on the large image, and select Send to Back again. The large image moves behind the hexagons and the hexagons will be visible again.
Now, when you move a content frame to the large image, you know for sure that the content will be on top of the hexagons. This is important so you have the ability to select all the different parts. Also this is better for presenting because now you can just click on a part of the content and Prezi zooms into it.
You are ready to move the content to the hexagons. Click-and-drag the first frame with content Bees over a hexagon. Because the frames group the content, you only have to drag the frame, the content will remain in the frame. This is shown in the following screenshot:
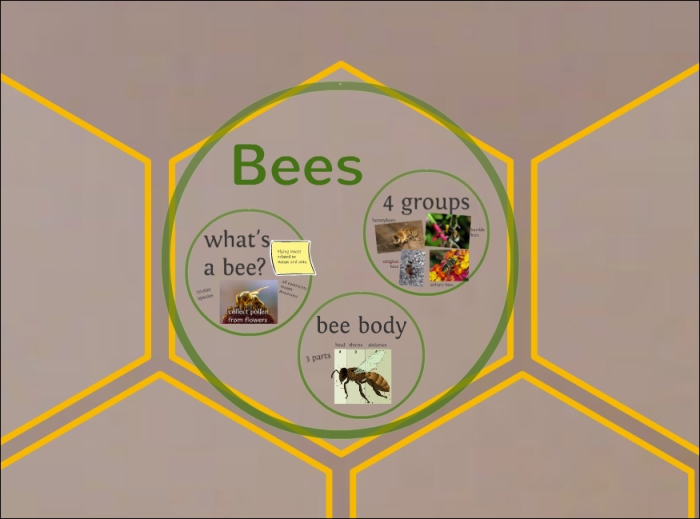
Click on the frame and choose Remove frame from the Frame menu options. This removes the frame without affecting the content. Let's also change the style a bit.
Navigate to Themes | Customize Current Theme and select white for the subtitle and orange for the circle frames. Navigate to Insert | Symbol & shapes... | Photographic and drag the yellow post-it to the canvas. Put it in place of the sketchy post-it. The new look is as follows:
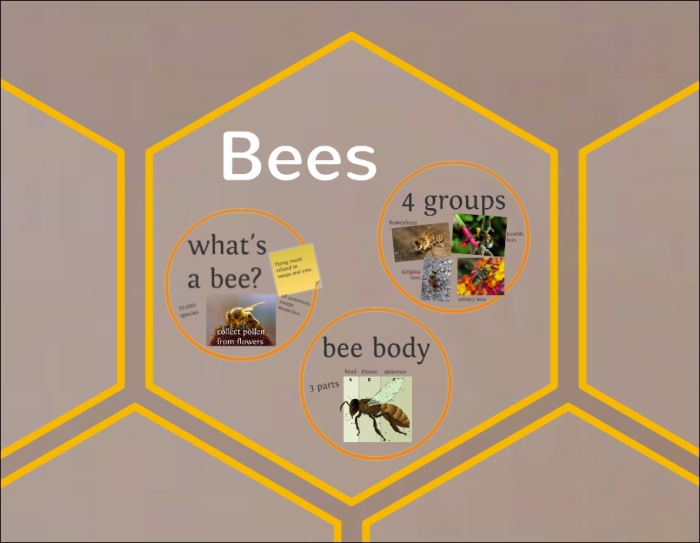
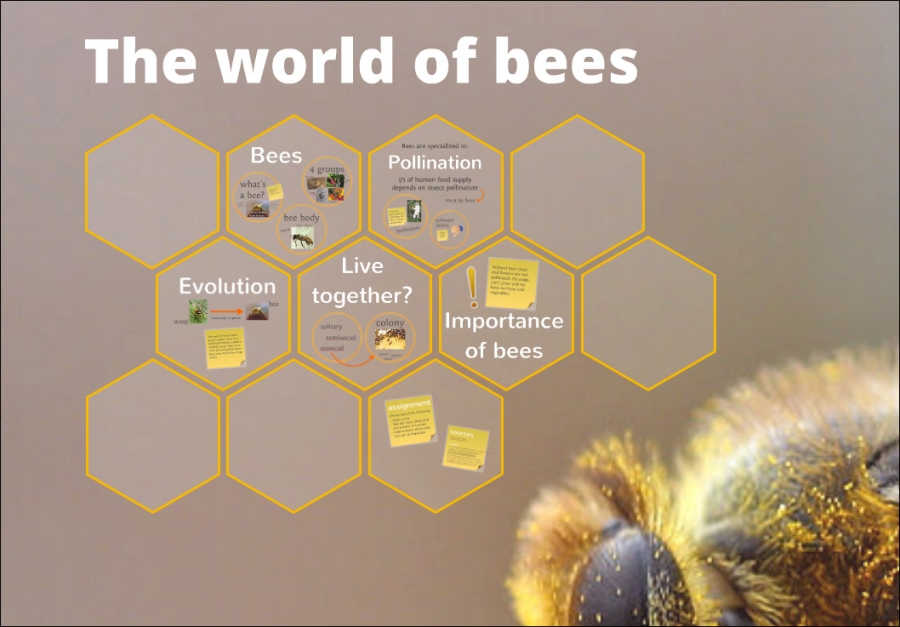
In the same way, you can move the rest of the content to the hexagons and change the post-its. We've got a whole new look now, as shown in the following screenshot:
The final step that you have to take is creating your path. We'll do that in the next task.
We changed our prezi to another design in this task. We used a very large image as the base for the new prezi. We also used a hexagon to build a honeycomb in our prezi and we put the content in it.
Finally, we also changed the look and a feel by choosing other colors for text and frames, and we replaced the sketchy post-its with more photographic post-its.
We put the large image on the canvas and positioned the hexagons on the images. For a whole different effect, try putting the image in the prezi as a 3D background. This can be done by performing the following steps:
- Delete the large image from the canvas.
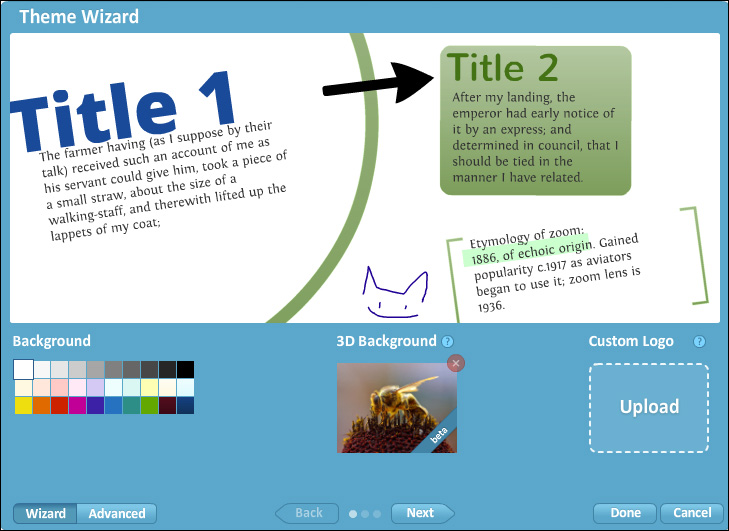
- Select Customize Current Theme under Themes.
- Click on the Upload button under 3D Background and select the image. Then, click on Done. The final result is shown in the following screenshot:
We repositioned the content, but we don't have full control over the position of the content due to the 3D Background. Zoom in and out a bit and watch the effect. You'll see the background is moving differently than the content. This depends on the zoom status.
At www.prezihotshot.com, you'll find our prezi with the large image of the bee as the 3D background. Play with it and watch the effect.