
In this task, I will explain how I created the prezi and how I made the other design decisions. Now that I had the basic idea for the prezi, I had to create this and find out if my concept was working. From experience, I know that if you start working on your concept in Prezi, other great ideas pop up because you get into a creative mode.
Creating a prezi doesn't always go in a logical order. While you are working, you'll get new ideas, and sometimes, it's such a good idea that you want to try it out right away.
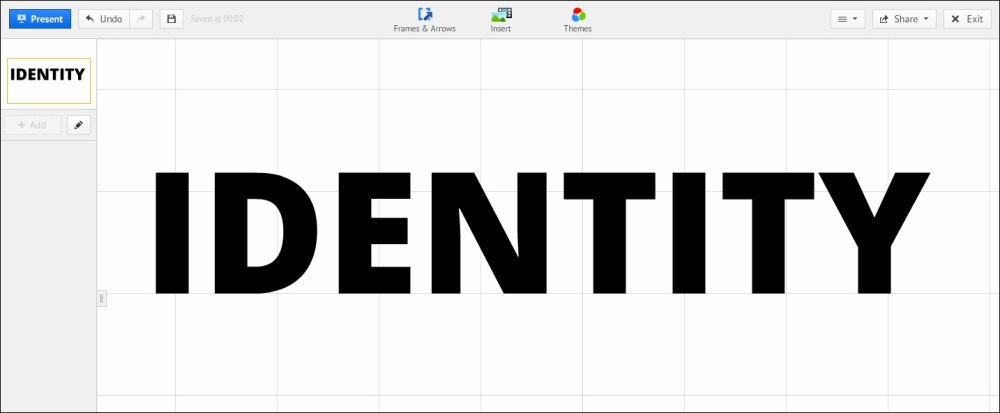
The very first thing I did was to put the word IDENTITY in it. I used a very bold font for it, Open Sans Bold, as shown in the following screenshot:
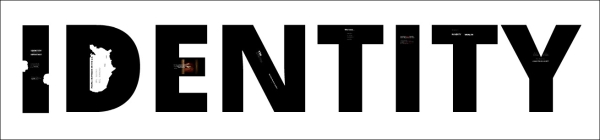
Then, I started filling the letters. The following screenshot shows the filled word:
I will show and explain each letter.
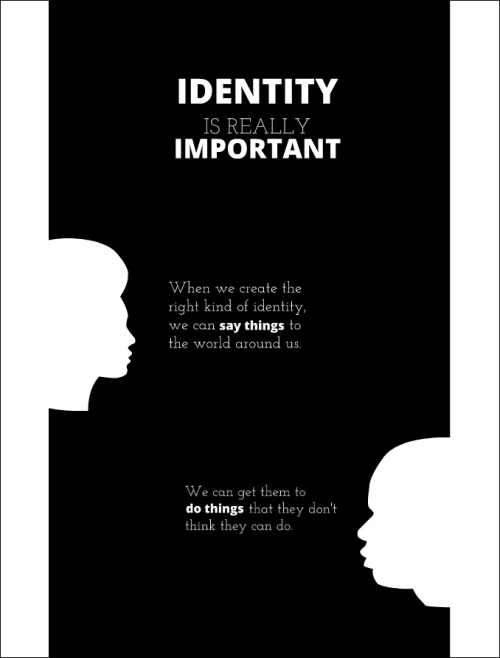
The letter I contains the text IDENTITY IS REALLY IMPORTANT, two silhouettes with accompanying text and two voice-overs. The silhouettes are actually holes in the letter I. You can't do that with fonts, so the text in the prezi is DENTITY and the I letter (with silhouettes) is an Illustrator file. As the silhouettes are holes, you can see the background through the letter. Refer to the following screenshot:
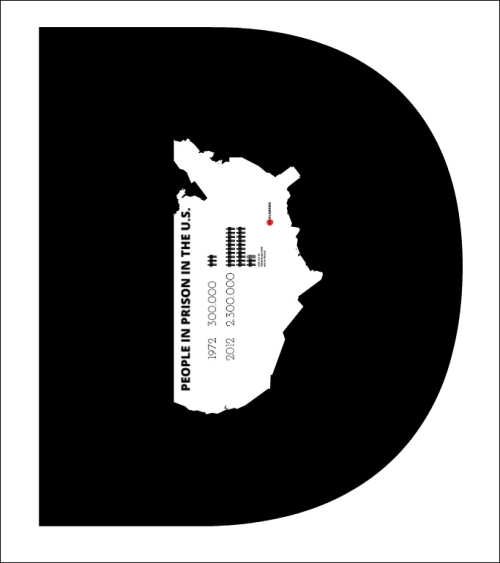
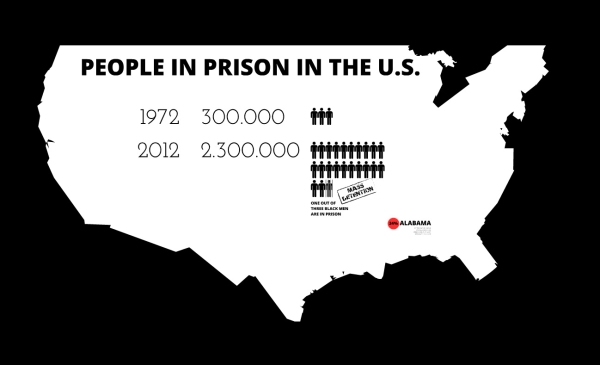
The letter D contains facts about the black people in prison in the United States. The facts are about the United States, and putting these facts in a map of the United States is a great way to visualize it. It looked like a coincidence to me that the map of the United States fits perfectly in the letter D by turning it ninety degrees to the left. The result looks really nice. As I wanted to show some facts here; I used the infographic style for this. The information isn't displayed at once, but in a few steps and a few zooms.
The map of the United States was created in Adobe Illustrator as a completely white map on black background, and it was put in Prezi as a SWF file. It was amazing to see how the map fit in the letter D! Refer to the following screenshot:
The following screenshot shows a close-up of the map:
In the letter E, I created a video with an infinite loop. I will explain in the next project how I created that video. On the top of the video, I inserted the text. As the video never stops and the text is on the top of it, it gives a very special effect. I got many questions about it. The video was of a man behind bars, who is looking at the viewer. This had a strong impact on the audience. Refer to the following screenshot:
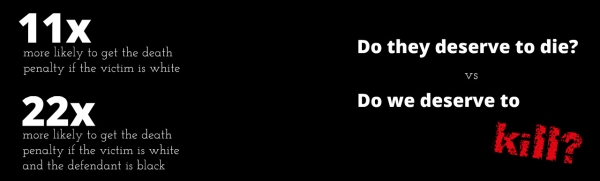
The letter N contains text and a Flash animation. I created a Flash animation from the text kill? to give the word even more impact.
I will not explain the Flash animation, because Project 8, Let's Animate Your Prezi, contains many examples of Flash animations. Refer to the following screenshot:
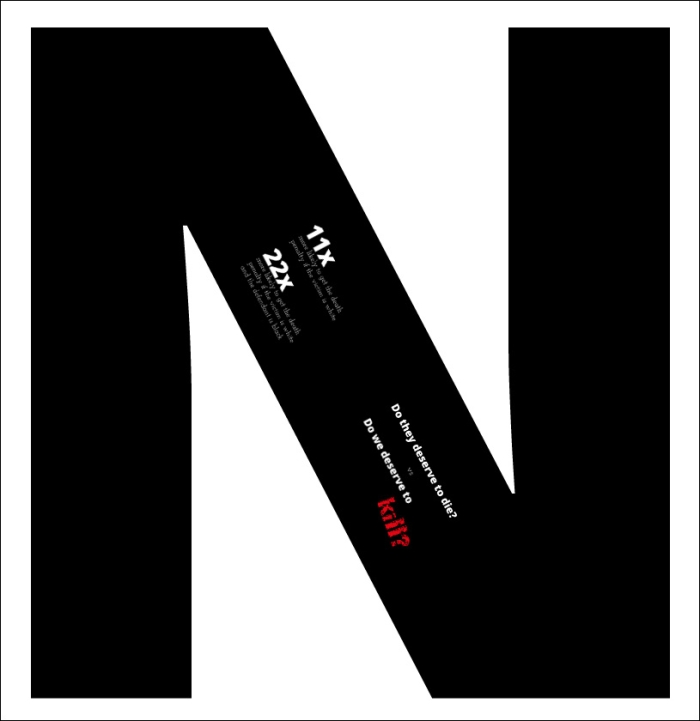
The following screenshot shows a close-up of the letter content of the letter N:
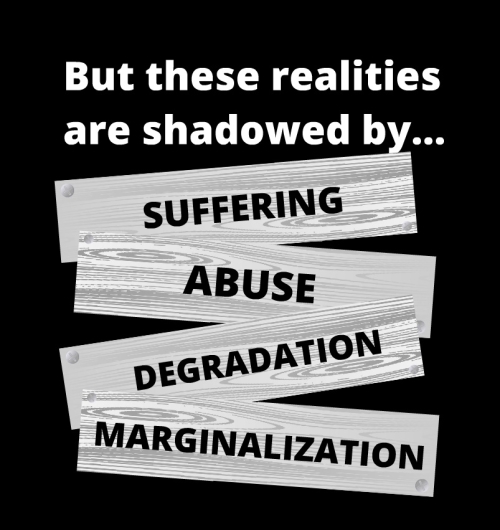
The letter T consists of two parts. The first part starts with We love…, and on the top of this the text, But these realities are shadowed by…. It's done by Prezi's Fade-in animation. Refer to the following screenshot:
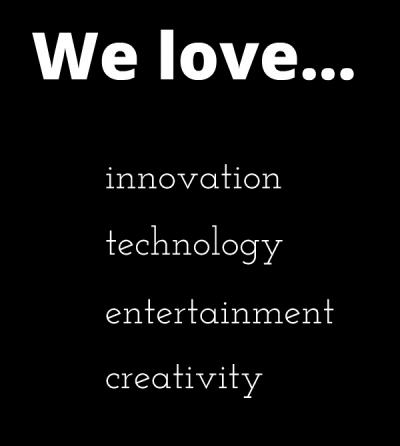
In the following screenshot, you can see the images that are put on the top of the words innovation, technology, entertainment, and creativity:
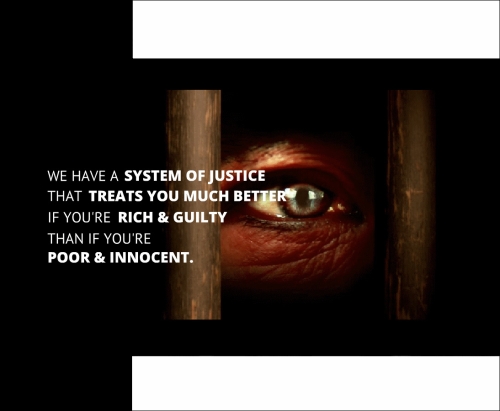
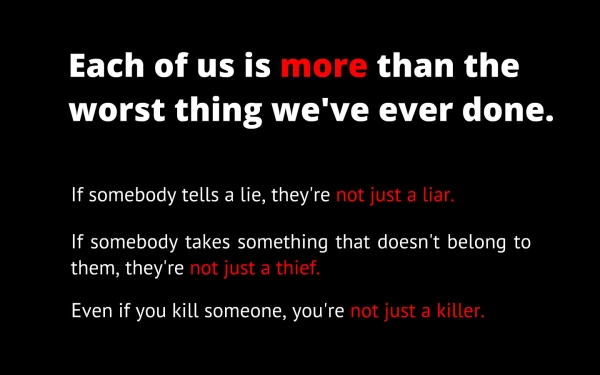
The second letter I is just a text with voice-overs. However. for me, this was a very important quote of Bryan Stevenson. I think these sentences are very powerful and every time I hear Bryan Stevenson say these sentences, I get goosebumps. Take a look at the following screenshot:
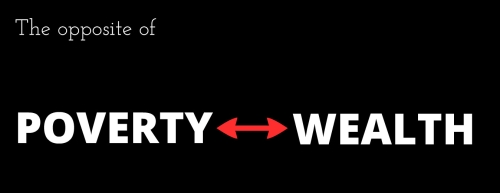
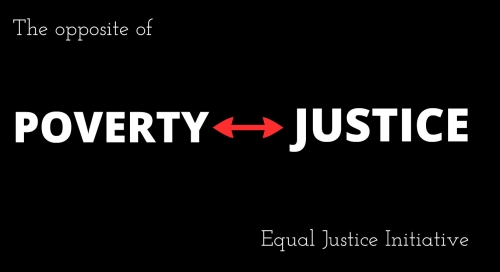
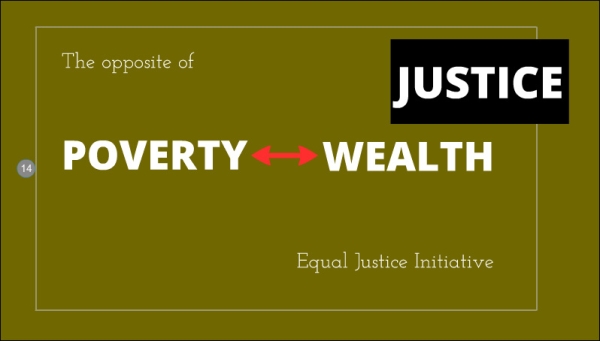
The second T shows another Fade-in animation. It seems that the word WEALTH changes into JUSTICE, but actually, it's put on the top of it. The secret is that the word JUSTICE is put in a black rectangle that completely covers the word WEALTH if it becomes visible.
The following screenshot shows the first phase of the Fade-in animation:
The following screenshot shows the second phase:
In the following screenshot, I moved the rectangle with the word JUSTICE a bit to the upper-right corner so that you can see how it was done. In Prezi, the words are exactly on top of each other, so it seems that the first word changes to the second word.
The last letter contains text and a voice-over. Though the content is special, there's nothing special about this letter. Refer to the following screenshot:
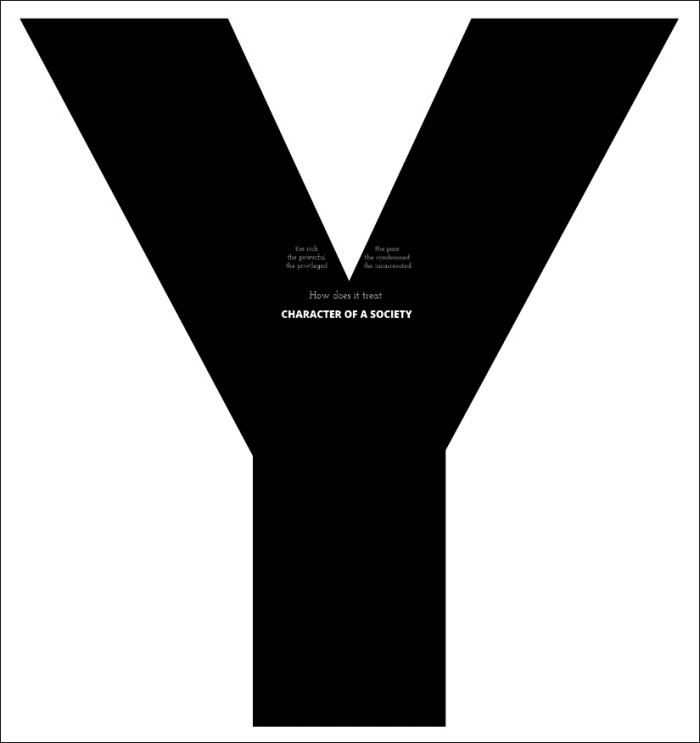
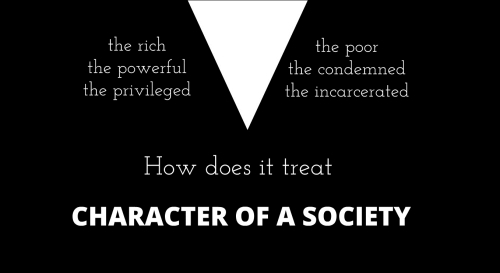
The following screenshot shows a close-up of the letter Y:
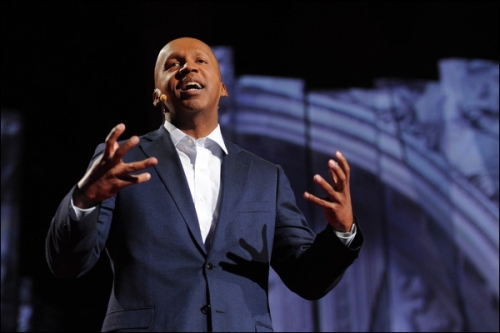
After moving through all the letters with the content, I created a big zoom-out slide that reveals my tribute to Bryan Stevenson, a picture of him on the stage giving his incredible TED Talk. It was not only the picture that is my tribute to him, but I also put the last words of his speech as voice-over in the prezi, including the big applause he received. Take a look at the following screenshot:
In this task, I explained the most important design decisions and how they were made in Prezi. I did not explain every small step. IDENTITY was the basis for the prezi and all of the content was in the letters of IDENTITY. After going through the letters, there's a big zoom-out slide with a tribute to Bryan Stevenson.
In the next task, I'll explain the special effects of the prezi.