
Before we can use our drawings in Prezi, we have to scan the drawings. All scanned drawings consist of pixels (squares). An image made of pixels is called a raster image or a bitmap. We could use them directly in Prezi, but the pixelated images won't look very nice. It's much nicer to vectorize our drawings.
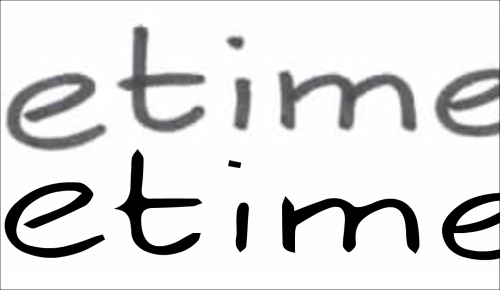
Especially when you zoom in, you can clearly see the difference between a raster image and a vector image. It is shown in the following diagram:
First, we have to vectorize our scanned image. We will use Adobe Illustrator for This. Vector images are saved as an AI or EPS extension. However, we can't use these formats in Prezi. We need to convert the image to SWF. This is Flash's document format and, as Prezi was designed in Flash, this is the right format for vector images to use in Prezi.
Before you can use your drawings digitally, you have to scan the drawings and save them as PDF, JPG, or PNG.
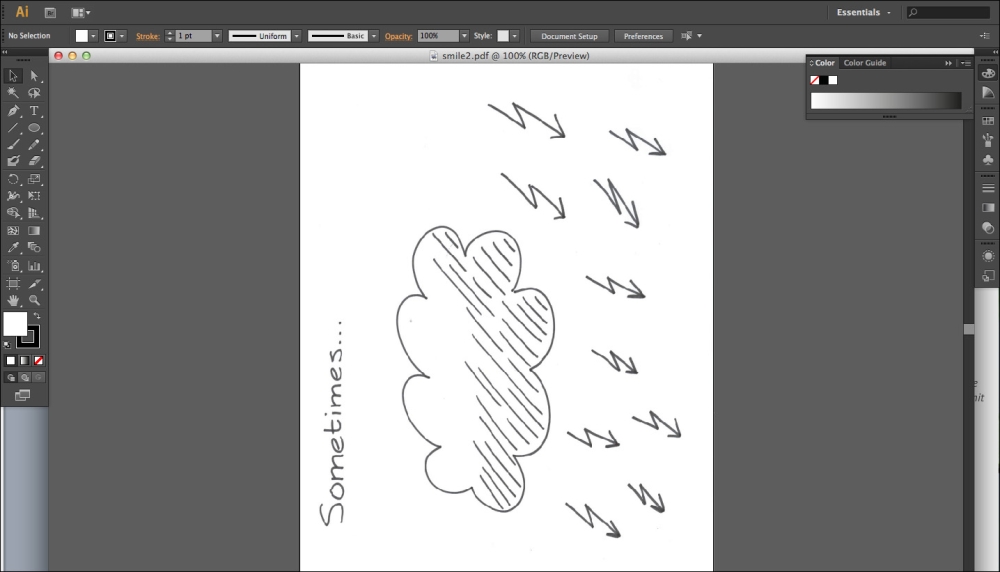
- Open one of your drawings in Adobe Illustrator as shown in the following screenshot:
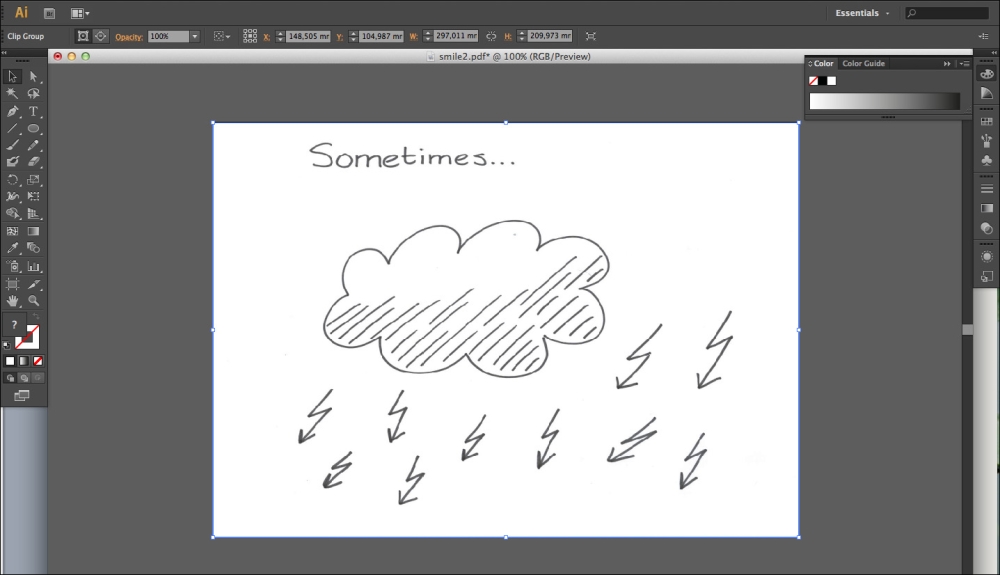
- Your drawing should be rotated first.
- Make sure the image is selected (just click on it) and navigate to Object | Transform | Rotate. Type in
270degrees (in our case) and click on OK. - Navigate to Object | Artboards | Fit to Artwork Bounds to fit the image on the canvas, as shown in the following screenshot:
Now, the cool part starts. Let's vectorize!
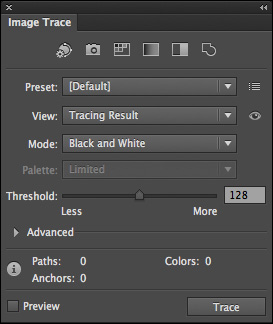
- Select Image Trace under Window.
- If the options in the Image Trace dialog are grayed out, click once or double-click on the image one or more times.
- There are a lot of options available, but we need to use only one important option. Make sure the Mode is set to Black and White and then click on Trace, as shown in the next screenshot:
- Now, click on Expand after navigating to Object | Image Trace and you are ready to use the vectorized image. This is shown in the following screenshot:

We need to create separate images for our prezi. This gives us more flexibility because we can position and scale the separate images and easily fit them in our design.
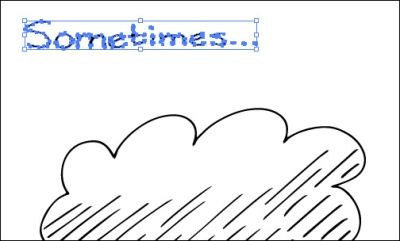
- Select the Lasso Tool from Toolbox. You can also use the shortcut key Q. Drag a lasso around the word Sometimes... as shown in the following screenshot:

- As you can see, only the word Sometimes... will be selected now as shown in the following screenshot:
- Press the Ctrl/Command + C keys to copy. Open a new image with Ctrl/Command + N or by clicking on New under File and then clicking on OK in the dialog. Paste the image on the canvas using the Ctrl/Command + V keys. Select Fit to Artwork Bounds under Object | Artboards to fit the image precisely on the canvas, as shown in the following screenshot:

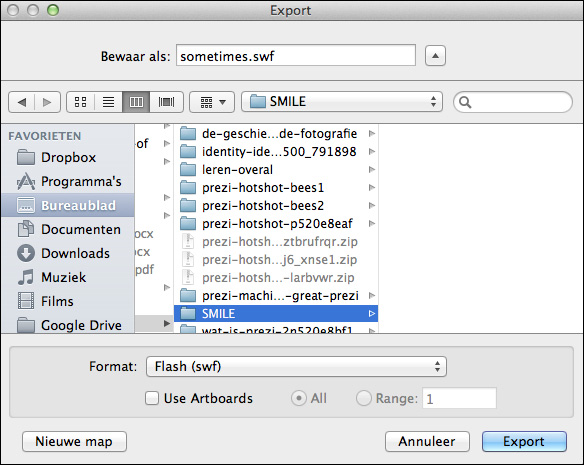
We're almost finished. Now, let's export the file to SWF format.
- First save the file as AI format, as you might need it later. Click on Save as under File, give the file a name, and click on Save. Click on OK in the next dialog box.
- Now, select Export under File. Select the Flash (swf) format, give the file a name, and click on Export. Click on OK in the next dialog box. Usually, the default settings are fine.
Do the same for the cloud and export it as a separate SWF file. If you drew more than one lightning arrow just like us, you can choose the best one and export that arrow as a SWF file. In Prezi, you can duplicate it for multiple uses.
Now, repeat this for the other drawings and save them all as separate SWF files. We separated the drawing with the five ideas into eleven images: the head, five arrows and the five ideas.
In this task, we vectorized our drawings. First, we scanned our drawings and then used Adobe Illustrator to convert our pixelated drawings into nice vectors. The Trace Image feature did the job for us. We isolated the separate images and exported them to SWF. Now, let's put everything in Prezi and create our presentation.