We have the illustrations and the animations ready. Now, we can put everything together in Prezi.
We are going to perform the following steps:
- Open a new prezi.
- Insert all the illustrations and animations and put them in the right place.
- Add texts in Prezi.
- Add a path.
Open a new prezi, choose the blank template, and delete all the objects on the canvas. Make sure your canvas is completely empty.
- Navigate to Insert | From file and insert
pipes.swfon the canvas. - Insert
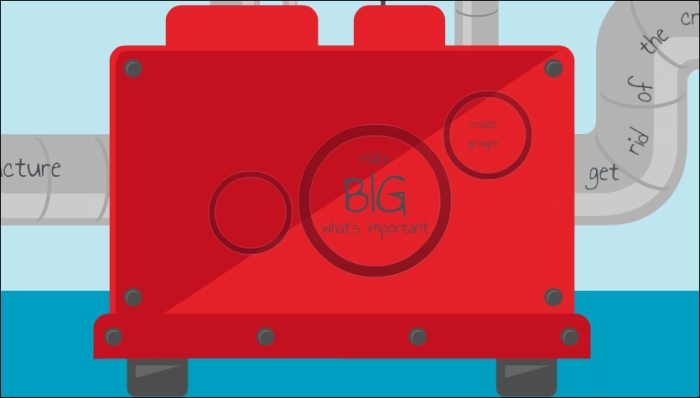
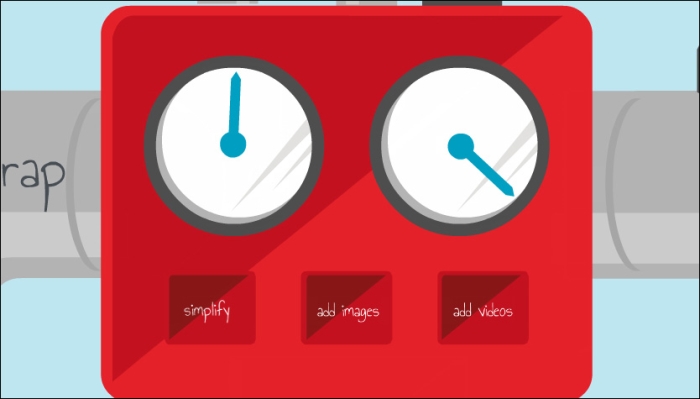
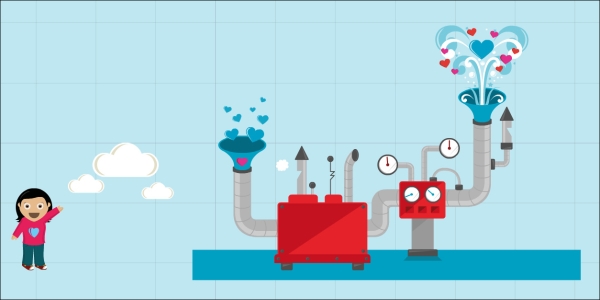
machine.swf,machine-gauges.swf,gauge3.swf, andgauge4.swf. Then, scale them to the right format and put everything at the right location, as shown in the following screenshot: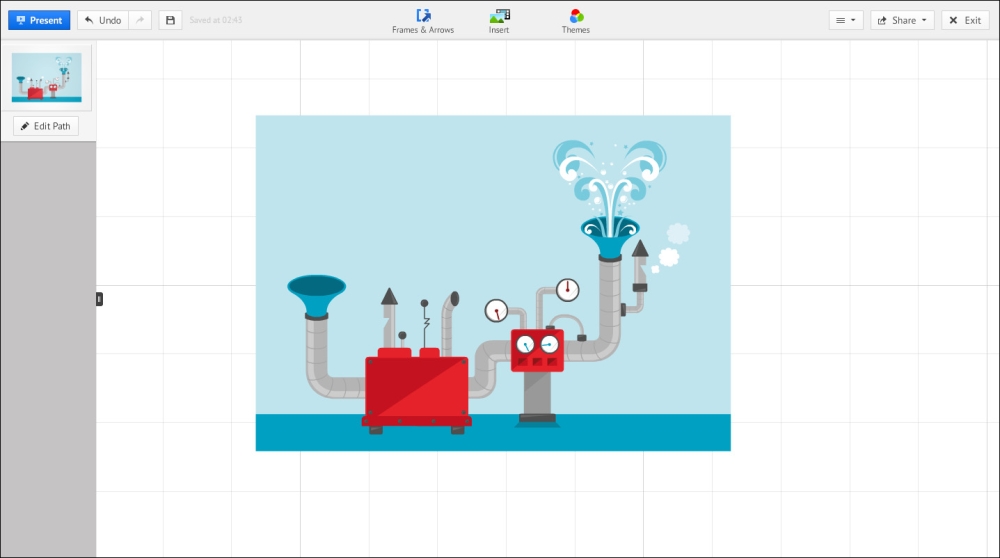
Now, let's change the background color. The light blue color of our illustration is 191, 231, and 241 in RGB colors.
- Navigate to Themes | Customize Current Theme, choose Advanced, and fill in
191,231,241for Background Color, as shown in the following screenshot: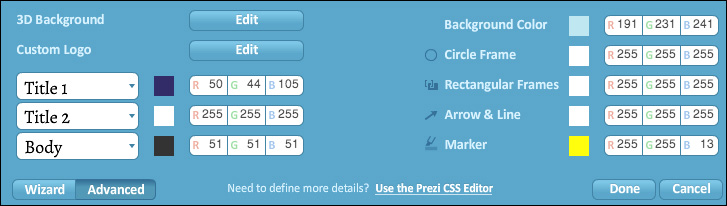
Maybe the light blue color you can see is not the exact color of the background of the illustration. It's better to remove the color from pipes.swf by performing the following steps:
- Open
pipes.flain Adobe Flash Professional again. Click on the light blue background and press Delete. You can also choose a different background color. - Save the file and press Ctrl/Cmd + Enter to regenerate the
.swffile. - Return to Prezi, remove
pipes.swf, and insert the newpipes.swffile. - Right-click on the new
pipes.swffile and choose Send to Back to put in to the background.
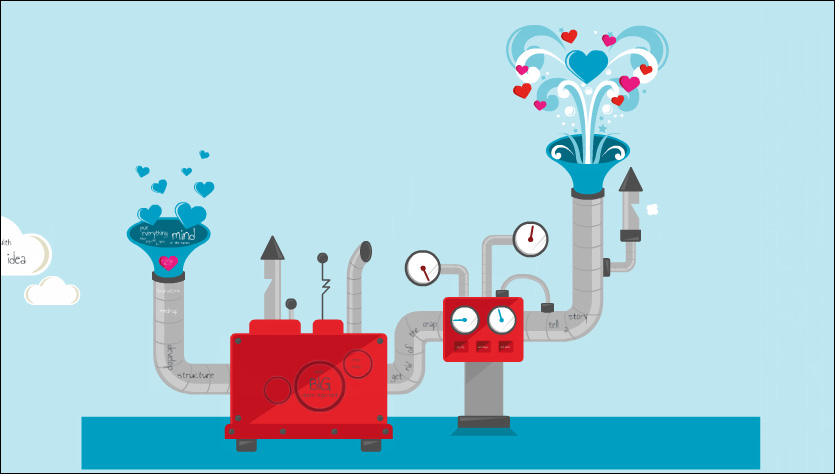
Maybe you have to rearrange a few objects. Now, add all the other illustrations and put them on the canvas. Copy and paste the hearts, scale them, and put as many in your prezi as you like.
Your prezi could now look similar to the following screenshot:
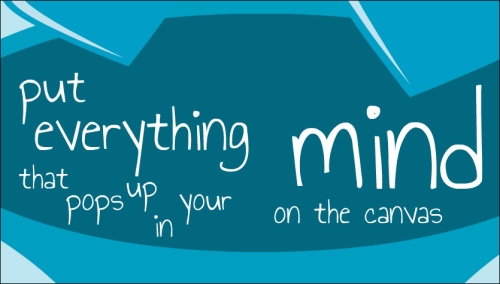
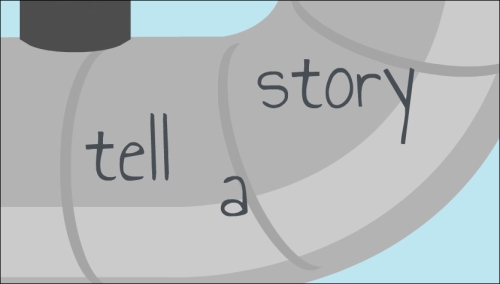
The next step is to add the text. All text is added in prezi to make it as flexible as possible.
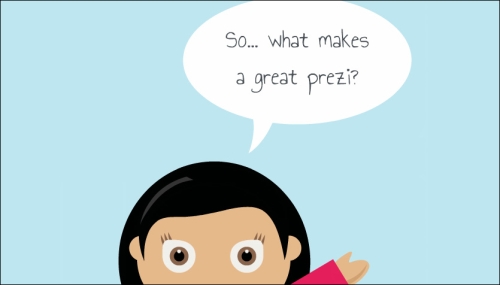
We wrote down our story in the first task of this project. Use these texts in your prezi. Of course, choose a nice font for your texts.
The last step to create this prezi is creating the path. Make a nice flow and don't forget to zoom out in the last path step. Use invisible frames.