
To create a Device layout, first click on the Device Preview button on a Dashboard to open the Device layout toolbar:

On this toolbar, you need to do the following:
- Select the type of Device
- Select a specific or generic model
- Select the orientation of the Device
When you're done, click on the last button to add the layout and start personalizing it. You can add three different layouts: Desktop, Tablet, and Phone. If you only specify a layout for Phone, Tableau uses the Default layout for the other types of devices.
When you add a new layout, you can see it in the Dashboard pane on the left. You can click on the different layouts to switch from one to the other. On a Device layout, you have a few more options. You can specify the fit (usually Fit width for Phone because it's easy to scroll down) and the height of the Dashboard. You can also see the different items and choose to keep or remove them (they are only removed from the selected layout and not from the other layouts). Here's an example of a Phone Layout configuration:

Since Tableau 2018.2, Tableau automatically rearranges the layout for Phone and Tablet, so they are ready to use. In the previous versions, you had to reorder them yourself to make them pleasant.
Let's build a new Dashboard with a device layout for Phones in the World Indicators Workbook that we published in the Publishing and modifying Contents section. If you didn't keep it, no worries, just open the World Indicators sample Workbooks and skip the two first points.
Follow these steps:
- Open Tableau Desktop, go to the Server menu, and click on Open Workbook (you may have to sign in).
- In the window that opens, open the World Indicators Workbooks, as shown in the following screenshot:

- In the Workbook, create a new Dashboard, and name it Device Layout Test. Start by adding the Population Worksheet, then Care Spend below, and ,finally, Health Indicators on the right of Care Spend (don't bother with Containers here, it's just a quick example). Your Dashboard should look like this:

- Click on Device Preview, select Phone as the Device type, and click on the Add Phone Layout button.
- Tableau automatically chooses Fit width and rearranges the items. However, as you can see, the map is not very readable, so we can remove it:

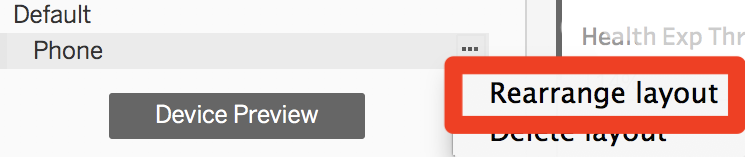
- You can click on Rearrange layout among the Phone Layout options to automatically change the height (only from Tableau 2018.2) . The option is highlighted in the following screenshot:
- You now have two different layouts, one for Phone and the Default one for other devices.
- To finish, go to the Server menu and click on Publish your Workbook. Be sure to replace the old Workbook by checking the following warning:

Now that your Workbook is published, you can test the rendering of your Device layout on Tableau Server.