
Data (even from reputable sources) can contain geometry errors. These can often be tiny geometry errors that are not obvious, but which prevent geoprocessing tools from running or producing valid results. QGIS has tools that help you identify such errors.
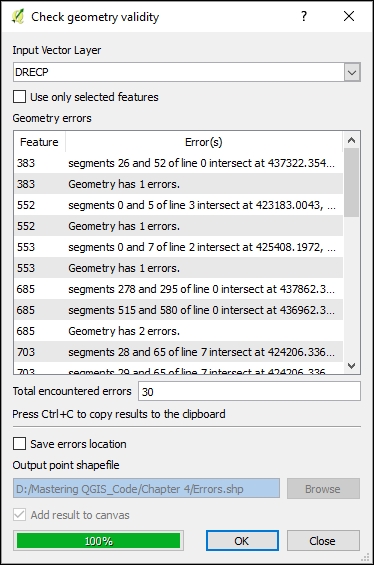
The Check geometry validity tool (which can be found by navigating to Vector | Geometry Tools | Check Geometry Validity) takes an input vector layer that is loaded in the canvas, and scans the data for errors, such as geometric intersections. The errors can be displayed in a window, or the tool can output the results to a point layer. The resulting point layer will have an attribute describing the error. In the following screenshot, you can see that the tool has been run using the DRECP.shp sample dataset. This data is one portion of five alternatives for the Desert Renewable Energy Conservation Plan (DRECP) for Southern California. The tool found 30 errors, as shown in the following screenshot. The errors still need to be repaired, but at least you now know where they are!
With QGIS version 2.12 came another tool for both detecting and repairing geometry errors, the Check Geometries plugin. It is useful to know about both options, as you may need to try each to troubleshoot a particular error on a difficult dataset. Once this plugin is enabled, it appears under the Vector | Geometry Tools menu. This tool is quite a bit more robust than the Check Geometry Validity tool. It allows you to set numerous parameters for the check geometries operation (see the following screenshot). In the following example, the tool is being run on the same DRECP.shp dataset but is set up to only find self-intersections:

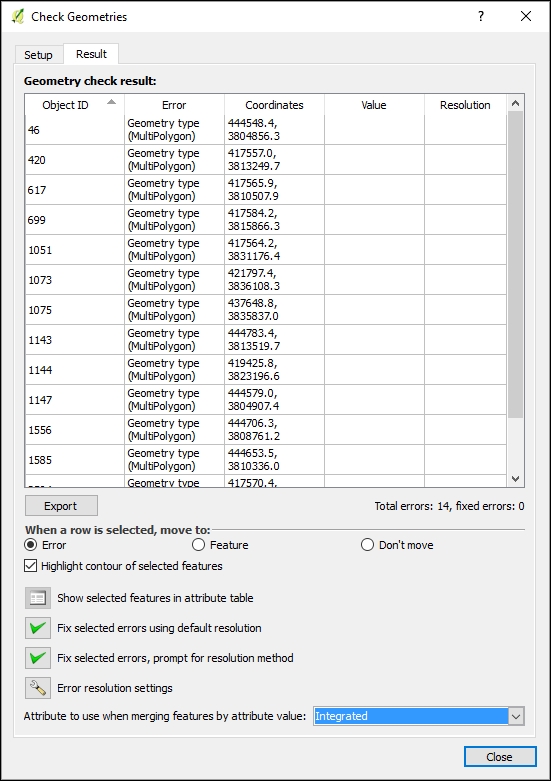
When done, the tool switches to the Result tab. Here you can select individual errors and browse both the involved features and attribute table records. Once highlighted, you can choose to fix the errors and choose the method and resolution of the correction. In this example, the result will be written out to a new shapefile. You can also opt to write corrections to the original input layer:
When opting to fix an error, a summary window opens, giving you details on the error correction. Dismissing this window takes you back to the Result to continue error correcting. Once corrected, the individual error records will be highlighted in green in the Result tab, with information appearing in the Resolution column:

Another method that can be used to fix geometry errors for polygon data is buffering the polygons using a tiny distance value, or even a value of zero.
Note
If you have a layer with hundreds or thousands of errors, another potential solution is to use the GRASS GIS plugin to import them into a GRASS database. GRASS uses a topological vector data model. When importing, you can set a snapping tolerance below which vertices will be snapped together. This will likely clean up the majority of the errors. For the remainder, you can use the v.clean GRASS tool. Once the errors have been cleaned up, the data can be exported out of GRASS into the vector format that you require.