
As you learned earlier in this chapter, Office Live Small Business gives you 100 e-mail accounts—for free—when you first create your account. These e-mail accounts are advertising-supported, which means that you will see ads displayed as you are creating, sending, and organizing your mail.
Tip
If you’d rather have the e-mail accounts without the display ads, you can upgrade your e-mail to a premium account for $9.95 per month.
To create and set up e-mail accounts so that others in your business will have their own business-branded e-mail accounts, follow these steps:
On the Office Live Small Business Home page, click Account Settings.
Click E-Mail Accounts. The E-mail Accounts window shows you the e-mail accounts currently configured for your account (see Figure 3-13).
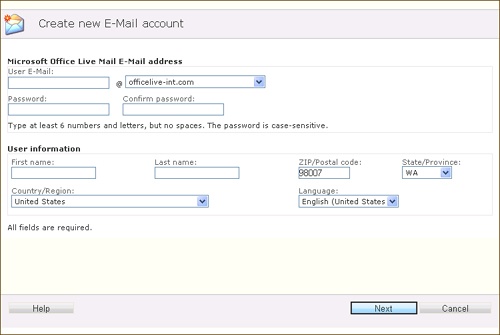
Click Create New E-Mail account. The dialog box shown in Figure 3-14 appears.
Enter the user e-mail you want to use for the account and press Tab.
Type a password for the account (and retype it to confirm).
Enter a first name and last name for the user account.
Click Next. Office Live Small Business creates the account.
Click Finish.
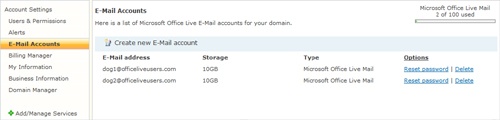
Figure 3-13. The E-Mail Accounts page shows you the e-mail accounts currently set up for your account.
See Also
For more about working with e-mail, including using spam filters, adding calendar items, and using instant messaging, see Chapter 7.