
Just because Office Live Small Business is a simple way to create professional-looking Web sites, you don’t have to be a beginning-level Web designer to use it. The latest version of Office Live Small Business includes an advanced mode that makes it possible for you to use the tools you’re familiar with from other Web design applications to build, customize, and manage their Web pages. After you customize your pages, you can create new page templates based on those pages so that others can create pages for your Office Live Small Business site as well.
You can use the advanced Web features to do the following:
Use cascading style sheet (CSS) styles in your site.
Tailor your site header, footer, and navigation bar.
Create pages that are used for forms and lists on your site.
Include a site information module that displays information about your site anywhere on the page.
Save a page as a template.
Tip
Although the advanced features aren’t rocket science, they also aren’t for everyone. If you are comfortable with Web technologies and like to try new things (and have the time), the advanced features can add a level of customization to your site that can make updating, managing, and leveraging your work more efficient than ever.
Activating advanced Web features involves turning on options that are not automatically enabled when you begin working with your Office Live Small Business site. To activate the advanced features, follow these steps:
Click Web Site.
In the Page Manager, click the Site Actions arrow.
Click Activate Advanced Design Features (see Figure 5-27).
When prompted, click OK to activate advanced design features.

One of the biggest features in the advanced design toolkit is the ability to apply and work with style sheets for your Office Live Small Business pages. After you activate the advanced tools, the Style Sheet tool becomes available in Advanced group of the Site Designer. Here’s how to use it:
In the Page Manager, click the Edit link of the page you want to change.
Click the Site Designer tab. Notice the Style Sheet tool in the Advanced group (see Figure 5-28).
Click Style Sheet. The Style Sheet dialog box appears (see Figure 5-29).
Tip
If you aren’t too familiar with CSS, it’s a good idea to click the View Default CSS link in the Style Sheet dialog box so that you can see what the CSS style sheet used to format your Web pages look like. Reviewing the existing styles also helps you avoid overwriting any of the existing styles when you add your own.
Click the Apply Custom CSS Code To My Web Site check box.
You can type or paste CSS styles directly into the box in the Style Sheet dialog box. Any styles you add overwrite existing styles in the CSS being used behind the scenes to format your page.
Click OK to save the style sheet.
Note
If you are using CSS styles for the first time, make a copy of a page to practice with instead of modifying the styles on live pages.
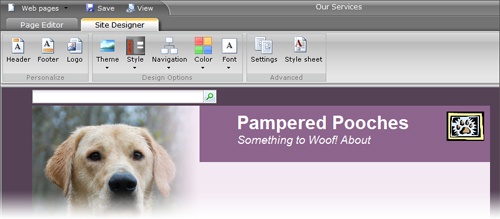
Figure 5-28. The Style Sheet tool is added to the Advanced group when advanced design features are enabled.
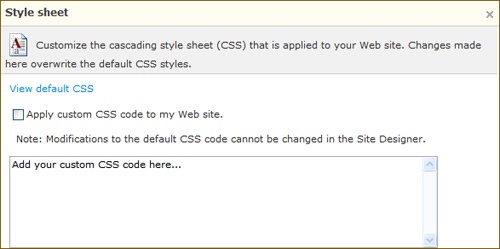
Figure 5-29. You can type your own CSS styles directly into the custom CSS code area or copy and paste styles from another Web design program.
Tip
Want to learn more about CSS? There are a number of great resources available online if you want to do a little exploring. One creative and easy-to-use site designed early on to show CSS users and developers the dramatic way a page can be changed through the magic of style sheets is csszengarden.com. Other sites you might want to visit include the W3 School (www.w3schools.com/css/default.asp) and CSS Tutorial (www.csstutorial.net/).
You will notice that as soon as you activate the advanced design features, a new feature is added to the options in the Page Manager. Now you can save a page you’ve created as a template for other pages. To save a page as a template, follow these steps:
In the Page Manager, click the Save As Template link for the page you want to use as a template for other new pages. The Save As Template dialog box appears (see Figure 5-30).
Change the template title and file name for the template, if you like.
Add an optional description to help those who might be creating a new page know which page elements or modules are included in the template.
Click OK to save the template.
After you save a page as a template, the page will be available in the Template Gallery on the Web Site page so that others can use the template for new pages on your site.
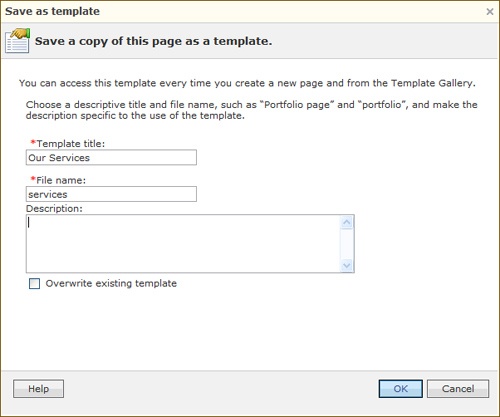
Figure 5-30. Using the advanced design tools, you can save a page as a template and use it as the basis for new pages you create in the future.
Your Business Online: Q&A Interview


Jay Harper, District Manager and VP of Operations (GMI)
The GMI Group: www.thegmigroup.com
Q | What are your favorite features in Office Live Small Business? |
A | For typical business success, everyone must be prepared for change and feel comfortable with each and every course correction and deviation. Without Office Live, we lived with an 800-pound gorilla (Network Solutions) and had very little success with our stale Web site. Changing over to Office Live has given us a tremendous boost and helped us to relaunch ourselves far beyond our expectations. Why? Because we are not held down by a host who is inflexible, unresponsive, and difficult to work with. Office Live has been super to work with, and has given us smart changes that have improved our performance and look. We now embrace change and love seeing ourselves in real, living color, instead of the gray, near-colorless world we operated in before Office Live came into our lives. |
Q | How does having a Web site help your business? |
A | The response has been overwhelming from our client base and the industry. We have experienced "instant credibility" by having a site that gives greater insight to our commitments and services. |
Q | How do you use the marketing and management features in Office Live Small Business? |
A | adManager has improved our search engine responses with Google, Yahoo, Excite, and many others. Best of all was that it did not cost a whole lot. Just a simple ad account set at a certain amount per month, and it is that simple. Management of the site is extremely easy and adaptable. |
Q | What do you want to do next with your site? |
A | We are working on a video for the Home page, and we will start a section for e-work orders. I am eager to see the new changes coming from Office Live Small Business. |