
In this recipe, we'll go through the process of creating a new entity, look at how to configure such an entity, and in the end, how to clean up an entity that's not required in our solution package.
All customizations in this book are created as part of a solution. As such, we will be reusing the previously created solution.
In order to proceed, log in to your existing Dynamics CRM 2011 instance and navigate to the solution we created previously.
In the created solution package, we will be adding a new entity to store a list of all countries. We want this listing to be manageable by a user with proper permissions, so that it can be updated as they do business with new countries.
- Open the solution, and navigate to the Entities tab.
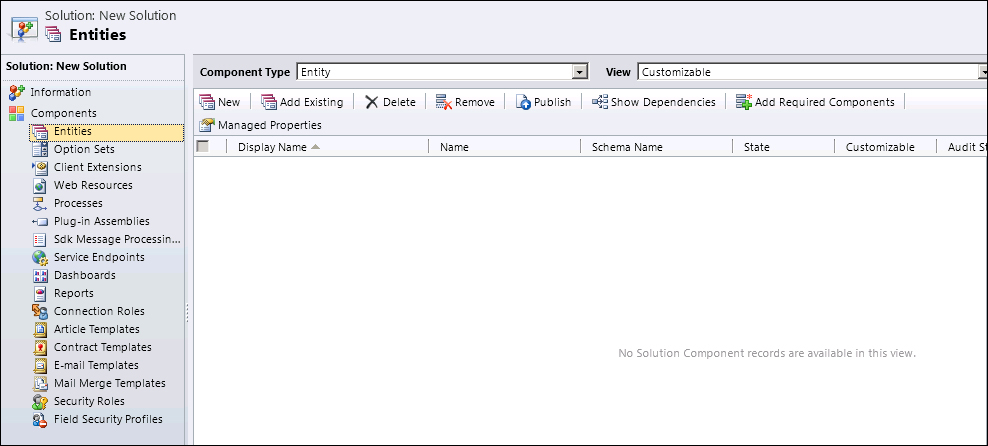
- Click on New to add a new entity to the solution.
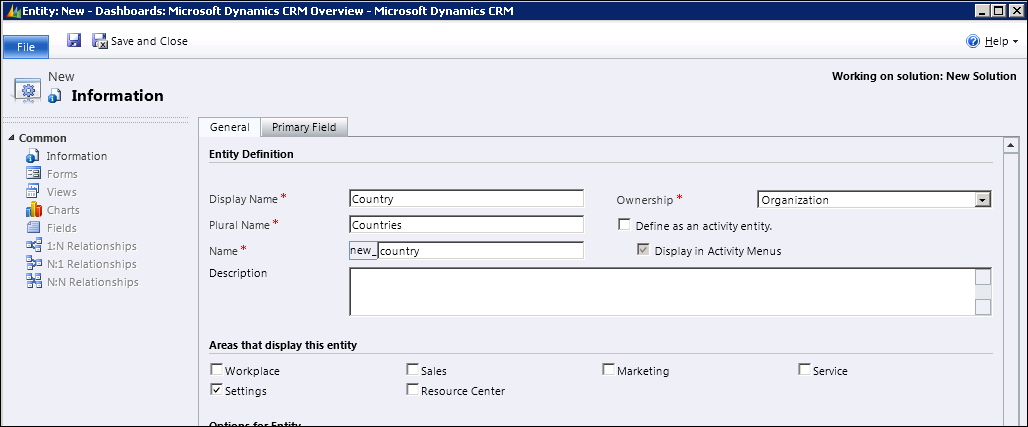
- Fill in the mandatory fields, and define where this entity will be visible. In our case, we will make this entity visible only in the Settings area. We are setting the Ownership of this entity to Organization, thus making it available across the environment.
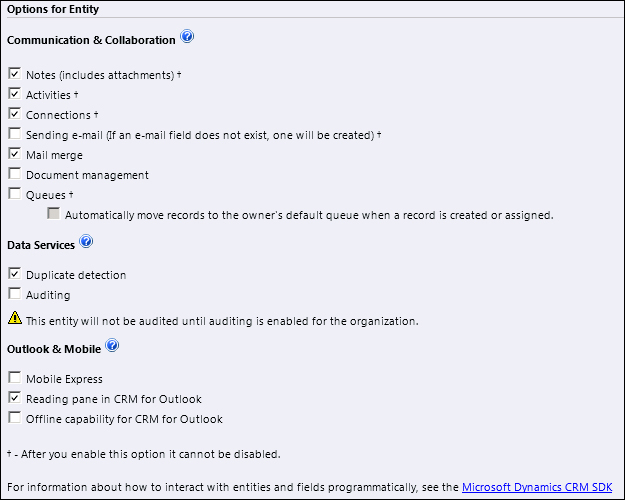
- Additionally, the Options for Entity section allows you to define some of the standard elements and behaviors that can be included with the entity. These are comprised of behavioral settings, data settings, and configurations for mobile and Outlook. These settings give you a granular access to configure how an entity can interact with the system and other entities, what processes can be run against this entity, and storage options for related files.
- Before clicking on the Save icon, direct your attention to the second tab named Primary Field. All entities will need to have a primary field, and we can define the properties of such fields on this tab. We will define the display name as
Country, leave the Requirement Level with the default value Business Required, and the Type as Single Line of Text.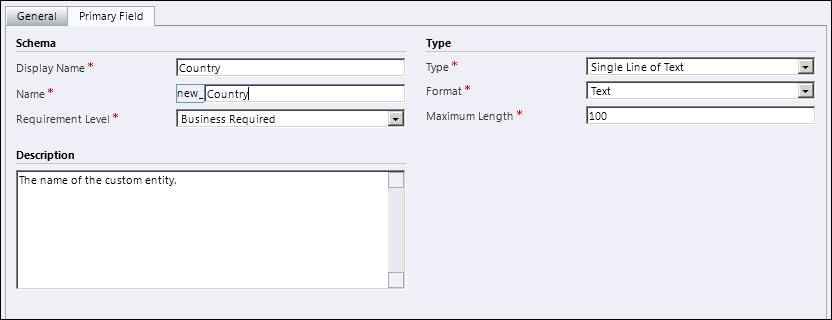
- Now we click on Save.
- Once the entity is created, additional options to edit Forms, Views, Fields, and Relationships become available.
- Great job! Now we have the entity created and we can start working with it.
Removing an entity that is not being used by our customization is again a relatively simple task.
- In our solution package, select the entity.
- Click on the Delete button.
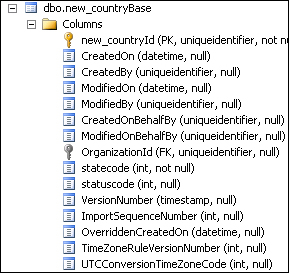
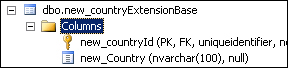
Each entity is stored in the database as a set of two tables. The first one stores the base entity, while the second one stores the customizations to the entity. Creating a new entity in fact creates this set of tables, one that stores the entity generic properties, and another that stores each data fields defined. So, in our case, we will have a table called new_countryBase, and another called new_countryExtensionBase, as seen in the following two images:
The extended table has the following definition:
This information is only available while working On-Premise. With a Dynamics CRM 2011 Online instance, there is no direct access to the database.
Making modifications directly to the database in Dynamics CRM 2011 is not supported. This can cause various issues. All data access should go through web services. When creating custom reports, use the views. They also present the trimmed data security.
- Additional information related to entities can be found on TechNet at http://technet.microsoft.com/en-us/library/gg309396.aspx.