
In this recipe, we will be retrieving information from the Phone field of a Contact entity. We can work in the same fashion with any other default text fields on any entity form, or with custom fields.
If you have a solution created from the previous chapter, open that solution. If not, create a new solution package. We will be saving all configurations as part of a solution package.
In order to associate our script with a field on the Contact form, we will follow these steps:
- Navigate to Settings | Solutions.
- Open the previously created solution package or create a new one.
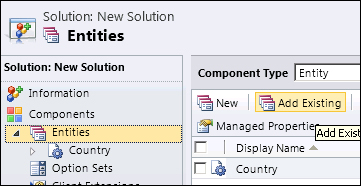
- Select Entities, and click on Add Existing to add the Contact entity, as shown in the following screenshot:
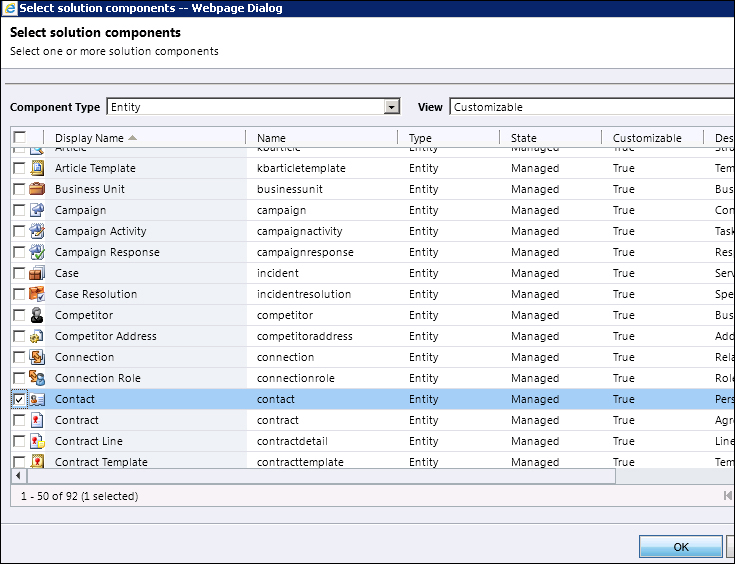
- Scroll down until you find Contact and select it. Then, click on OK, as shown in the following screenshot:
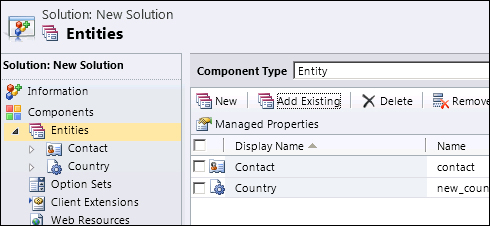
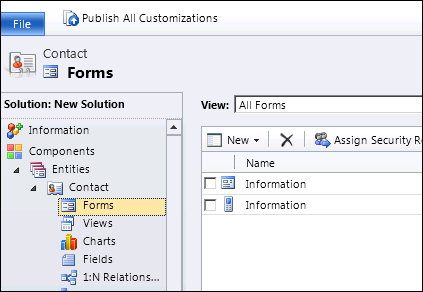
- Now your solution will include customization options for Contact:
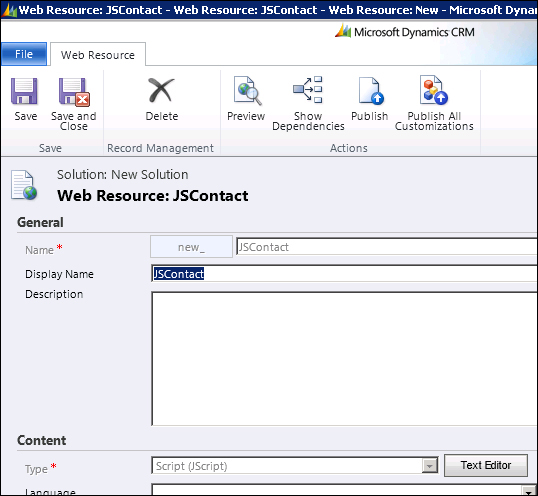
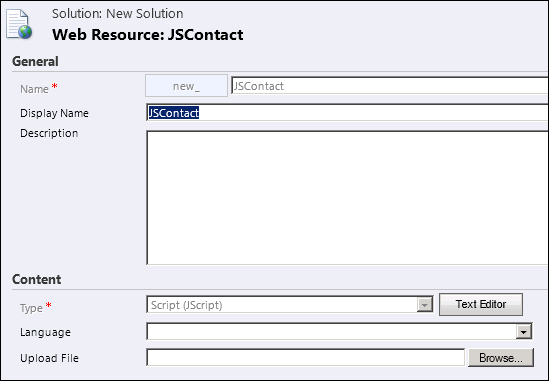
- Click on Web Resources and add a new JScript resource. We will name it JSContact, as shown in the following screenshot:
- Save and publish, then close the window.
- Expand Contact and select Forms. Open the default Information main form by double-clicking on it.
- Double-click on the business phone field. We will be adding a script to the
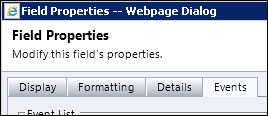
OnChangeevent of this field. The script will execute when the focus is moved off this field. This functionality is similar to capturing theOnBlurstandard JavaScript form event. - On the Field Properties window, select the Events tab at the top.
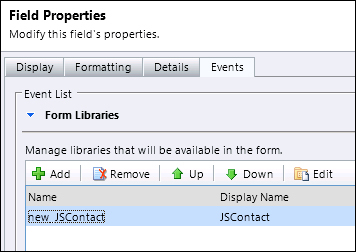
- In the Event List section, expand Form Libraries, and add the previously added JavaScript resource, as shown in the following screenshot:
- In the Event Handlers section, make sure the selected event is
OnChange, and add a new function named ReadBusinessPhone. Make sure the enabled checkbox is selected, then click on OK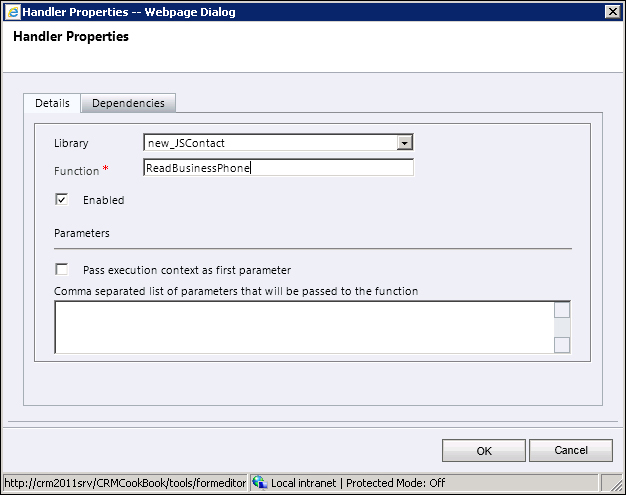
- Click on OK again to close the Field Properties window.
- Save and publish the Contact form, and then close it.
- Before we can test this, we have to add the JavaScript function that will be executed to our web resource we have referenced. Let's go back to our solution package, to Web Resource, and double-click on the JSContact resource.
- In the window that opens, click on the Text Editor button. Alternatively, if we have created the JavaScript resource in another text editor, we can just browse to it and load it. It will override the existing file, so be careful not override other functions in the same resource.
- Add the following code to your resource. Pay close attention to the casing, as JavaScript is case sensitive.
function ReadBusinessPhone() { var myBusinessPhone; myBusinessPhone = Xrm.Page.getAttribute("telephone1").getValue(); alert("You have entered: " + myBusinessPhone); } - Save and publish your resource, then close the Edit Content window.
- Save the solution, and then close it.
- Now you can test your script. The end result should be similar to the following screenshot:
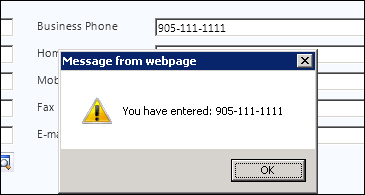
While our sample script does not really do much other than retrieve the input and return it in a pop-up window, from here on you can do more complex things, such as formatting and validation. Those are standard JavaScript string operations in most cases.
Once you have the value of the text field captured in your script, you can do more interesting processing. The following examples describe some of the common actions I use on regular basis.
Looking at the Field properties, as described in step 10, if we open the Details tab, the Name field holds the actual field name we have to use in JavaScript:

One common formatting I implement on all phone number fields is the formatting of the number. In order to make it readable and user friendly, we can check to make sure the length is either 10 or 11 characters, and then format it for North America in the following way:
+1-XXX-XXX-XXXX
Remove "-" before the count to make sure you are getting the correct length, and also check that all input is numeric.
Another common validation that can be implemented is the validation of Country/Region versus State/Province. Out of the box, the State/Province field comes before the Country/Region field, so we can read the value in State/Province, and based on that prepopulate the Country value.
Once we have processed the value retrieved from the text field, we can write it back to the same or another text field. The line of code to do so is as follows:
Xrm.Page.getAttribute("telephone1").setValue(myBusinessPhone);This assumes that we will be writing the information to a field named telephone1, and the variable that stores the processed string is named myBusinessPhone.