
In this recipe, we will be looking at a simple way to allow users to add an account picture. We will create the form elements, and will load the picture from an attachment to the Account in the Notes area. For the purpose of this recipe, we will be expecting the logo to be named account_logo.jpg.
For this recipe, we can either create a new solution, or reuse one of the existing ones. Make sure you have the proper permissions to customize the system you work on. Add the Account entity to your solution.
- Open the main Account form for editing.
- Add a new Web Resource element to your form. Name it
WebResource_AccountLogo. Add a label ofAccount Logo. - In the Web resource lookup, point to a generic image loaded as a web resource. This can be a generic default logo image.
- The final screen should look like the following screenshot:
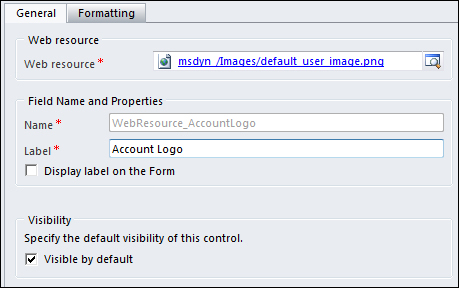
- On the Formatting tab, set its properties such that it has one column, two rows, a vertical alignment of top, horizontal alignment of right, and of the original size. If you select original size, make sure that you parse the logos you are loading through an application that resizes them to a standard maximum width or height.
- Save and Publish the form.
- Create a new web resource within the solution, of type JScript.
- Add the following functions:
function ShowContactPicture() { var _contactId = Xrm.Page.data.entity.getId(); if(_contactId) { var _pictureControl = Xrm.Page.getControl("WebResource_AccountLogo"); var _query = getServerUrl() + "/XRMServices/2011/OrganizationData.svc/" + "AnnotationSet?$top=1&$select=AnnotationId,DocumentBody,MimeType&" + "$orderby=ModifiedOn desc&$filter=ObjectId/Id eq guid'" + _contactId + "' and IsDocument eq true and Subject eq 'Logo'" + " and startswith(MimeType,'image/') "; $.ajax({ type: "GET", contentType: "application/json; charset=utf-8", datatype: "json", url: _query, beforeSend: function (request) { request.setRequestHeader("Accept", "application/json"); }, success: function (data, textStatus, request) { if (data.d.results.length > 0) { var mimeType = data.d.results[0].MimeType; var body = data.d.results[0].DocumentBody; _pictureControl.setSrc("data:" + mimeType + ";base64," + body); } }, error: function (request, status, exception) { } }); } } function getServerUrl() { var serverUrl = Xrm.Page.context.getServerUrl(); return serverUrl.replace(//*$/, ""); } - Associate the
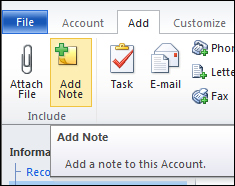
ShowContactPicture()function to the formOnLoadevent. - Open a new account, and add a new note by navigating to Add and then clicking on Add Note.
- In the window that opens, fill in the title as
Logo, and browse to a logo file.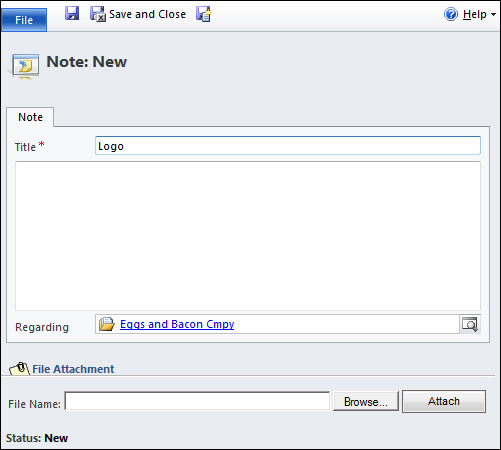
- Click on Attach.
- Click on Save and Close.
- Now your logo file will be added to the account in the Notes area.
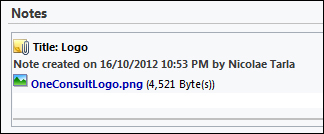
- Refresh the page to force the script to execute. You should see something similar to the following screenshot:

The function presented first retrieves the ID of the current account. Once a valid non-null value is retrieved, it takes a reference to the picture control, it queries Notes for a note with the Title of Logo, and it retrieves the image field attached. It then parses the image and associates it to the web resource control we have already added to the page, thus making it render on the form.
There is a large variety of sources you can use for images. You can either store the image in Notes as this example demonstrates, or you can store images as web resources if the users maintaining accounts have permission to add new web resources. Alternatively, you can use any of the public online photo services, and link to the images at those locations. There is also the option of leveraging any of the current social networking services, but we will look at that in a later chapter.
- This recipe has shown you code that leverages two very popular libraries: jQuery and JSON (
json2.js). Chapter 9, Extending CRM Using Community JavaScript Libraries, will delve deeper into this topic, but for now, you can find the libraries at the following URLs: