
In this recipe, we will be looking at presenting the status of a record in a pleasant and visual way. We are looking to provide instant feedback on the record based on a calculated or form-defined value. You could be using such an approach when marking accounts based on annual revenue or any other type of status. You could also use a more complex formula to determine an account worth and display that in a rating gauge on the Account form.
For this recipe, we can either reuse the previously created solution in the first two recipes of this chapter, or create a new one. Make sure you have the system customizer or system administrator permissions to the environment.
Let's follow these steps to add a rating gauge to the Account form:
- Create three images. Depending on your graphics skills, you could go with something really complex, or just a simple colored dot, like I did in this example.
- Load your three images as web resources in your solution. I have called them
red,yellow, andgreen, all in the PNG format. Make a note of the URL.https://<ServerUrl>/WebResources/new_red https://<ServerUrl>/WebResources/new_yellow https://<ServerUrl>/WebResources/new_green
- Open the main Account form for editing.
- Select a location where you want the image displayed. You might want to move form elements around the page so that your image aligns nicely with the rest of the fields.
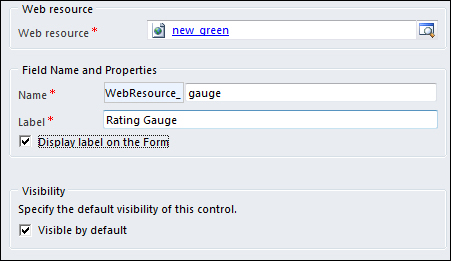
- Insert a web resource on the form. On the Add Web Resource form, in the Web resource field, look-up the new_green image we have loaded previously. Your settings should look like the following screenshot:
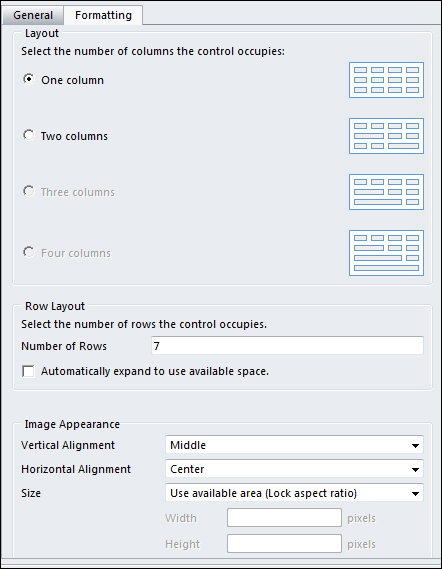
- On the Formatting tab, in the Row Layout area, select the number of rows you want the image will occupy. I will change the default value to 7. Leave the remaining settings as they are.
- Add a new form field of type Option Set with three values of
Red,Yellow, andGreen. Name this fieldnew_ratinggaugesource. Set the default value toGreen. - Add the following script to your form, and attach it to the
OnChangeevent of thenew_ratinggaugesourcefield:function RatingGaugeUpdate() { var _selectedOption = ""; try { _selectedOption = Xrm.Page.getAttribute("new_ratinggaugesource").getSelectedOption().text; } catch(err) {} switch (_selectedOption) { case "Red": Xrm.Page.getControl("WebResource_gauge").setSrc (Xrm.Page.context.getServerUrl() + "/WebResources/new_red"); break; case "Yellow": Xrm.Page.getControl("WebResource_gauge").setSrc Xrm.Page.context.getServerUrl() + "/WebResources/new_yellow"); break; case "Green": Xrm.Page.getControl("WebResource_gauge").setSrc Xrm.Page.context.getServerUrl() + "/WebResources/new_green"); break; } } - Save and Publish the solution.
- Test your customization by opening a new account and changing the option set to any of the three values provided. Then try the others. The end result should be similar to the following screenshot:
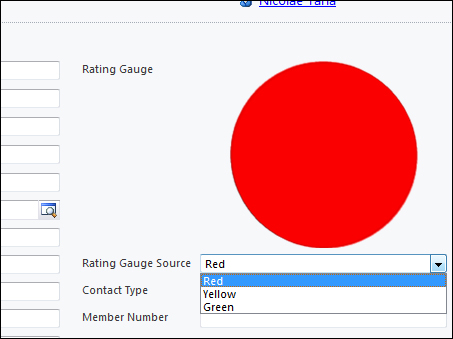
The previous example shows us two important things. First off, we can add images to forms if the images are stored as a web resource. This will be helpful when we need a few status indicators. Next, it shows us how to replace that default image using JavaScript. For the purpose of this example, we only take the user-selected value of a form option set and change the image according to the selection. One of the following recipes will demonstrate how we can extend this functionality to pull images dynamically from other external sources.