
Once we have an entity ready to work with, whether it's a new custom entity or an existing out-of-the-box entity, we can start managing the information to be captured.
In this recipe, we will be building on the custom Country entity we created in the previous recipe. Open the created solution and navigate to the created Country entity. We will be adding two more fields to capture the country code and display sequence.
In order to add the additional fields to capture information, we will follow these steps:
- Expand the Entities section in the solution, and expand the Country custom entity that we created:
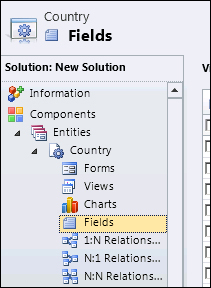
- Select the Forms option, and look at the view of forms associated with this entity.
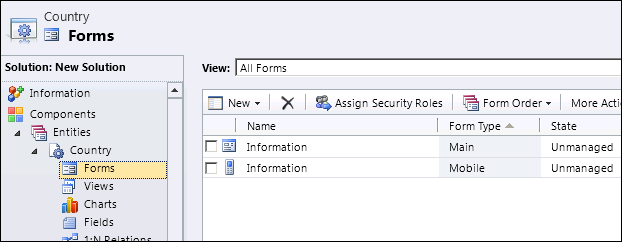
- By default, we will be presented with two views, one that we will customize, and another mobile form. We will open the first form, of type Main.
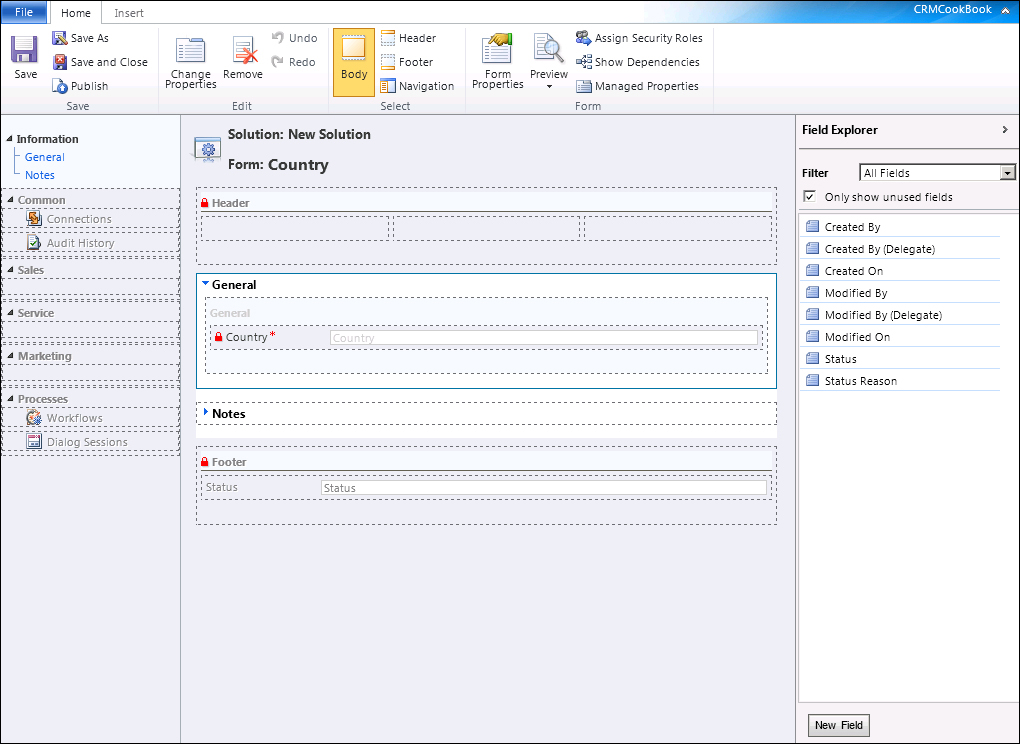
- From the bottom-right of the screen, we will click on the New Field button.
- We will create a field with the display name of
Country Code, no requirements constraint, and of type text, single line, with a maximum length of3. We will be using this field to capture country codes such as CA, USA, and UK.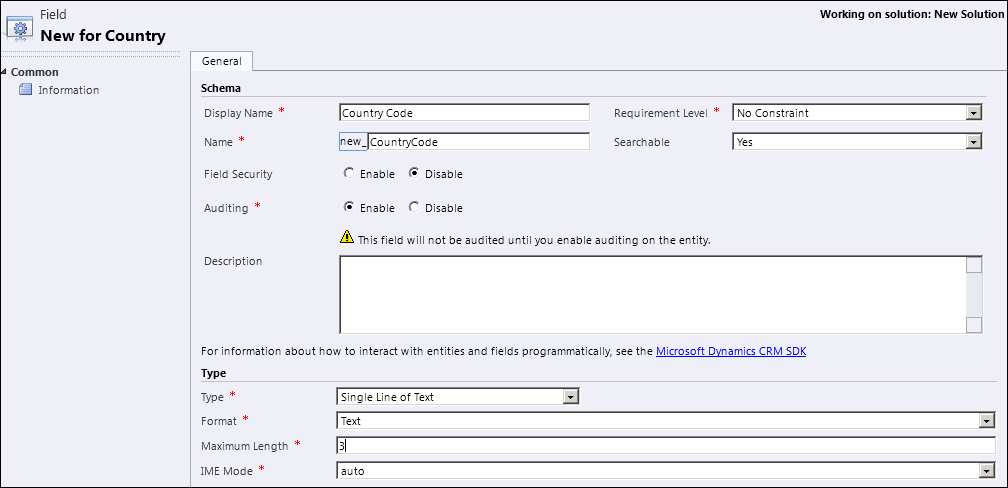
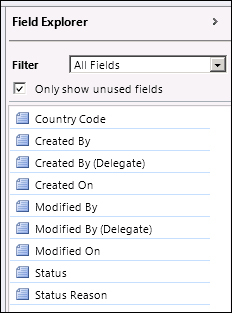
- Once complete, we'll click on Save and Close. The new field will show in the listing of All Fields in Field Explorer.
- Now we can simply drag this field on the form, under our Country field.

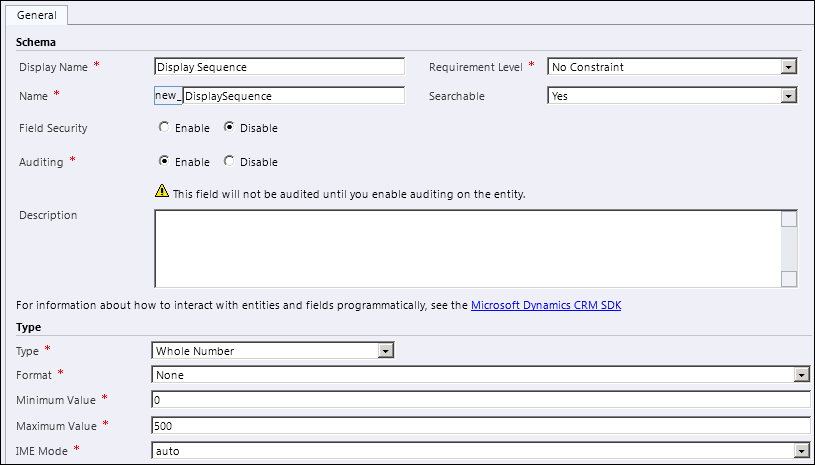
- With this field already added to the form, we can add a new field called Display Sequence, of type Whole Number, as described by the following screenshot:
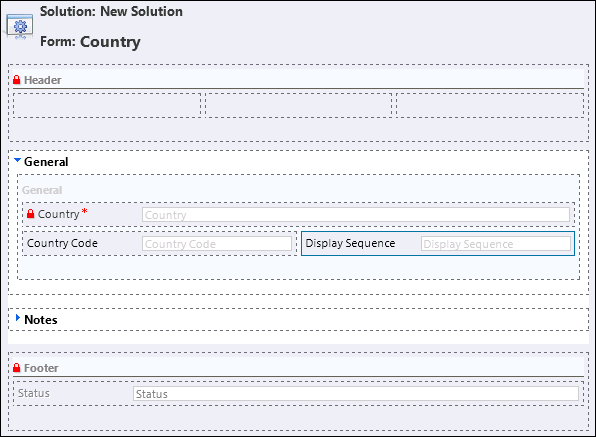
- We will be adding this field to the same form. This entity will be used in the next recipe. The end result should look like the following image:
- Now we can click Save on the form screen, and then Publish. All customizations must be published before they are visible to all users.
- Once all customizations are published, we can verify the form by navigating to the Settings area, and looking under Extensions. We will find our custom Countries entity there.

- Clicking on Countries will show us a view of all Active Countries (default view). We can click on New to see how the customized form will look.
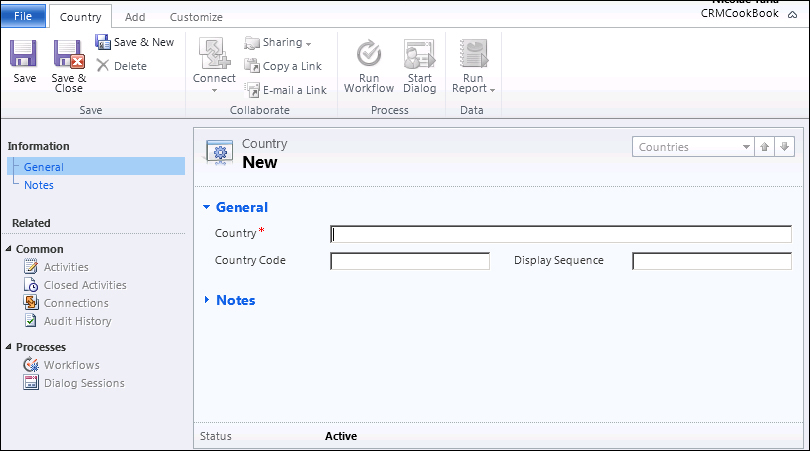
- If we are not satisfied with the way the form looks, we can go back to the solution and tweak the look of it again, or else we can proceed further.
Because we have configured the new entity to be visible only in the Settings section, we will have to navigate to Settings to get access to the listing of countries we will be adding to the system. We have customized it as such so that when we build a more complex solution later in the book, we can make sure that only authorized users will be able to see and modify the listing of all countries in such a way.
Dynamics CRM 2011 allows us to define a large number of field types. We have only covered two simple examples here, one of text and one of whole numbers. Additional field types will be described in the following recipes, when we start looking at how to script these fields.
- For additional information on creating fields and adding them to forms, see the TechNet documentation at http://technet.microsoft.com/en-us/library/gg334527.