
Inserting Slides from Other Presentations
As an alternative to creating a custom show, you can insert slides from another presentation into your current presentation. This helps save time and redundancy as well.
Note
A major difference between custom shows and inserting slides is that inserting makes a copy of the slide and, if you change the original, the copy isn't affected. Custom shows “link” to the slides, so they are stored only once.
To insert slides, follow these steps:
Select the slide after which you want to start inserting other slides and choose Insert, Slides from Files to open the Slide Finder dialog box, shown in Figure 9.9.
Figure 9.9. The Slide Finder helps you add slides from other presentations.

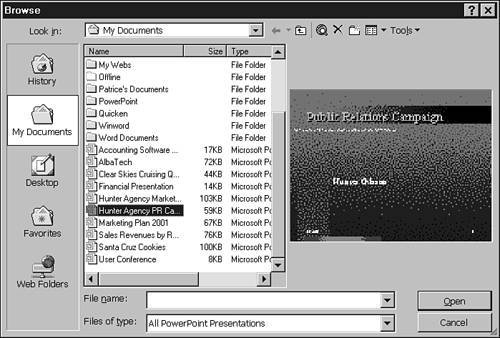
From the Find Presentation tab, click the Browse button to open the Browse dialog box (see Figure 9.10). You can also enter the filename and path directly in the File field in the Slide Finder.
Figure 9.10. Browse to find your source presentation.
Locate your desired file and click Open. The Browse dialog box closes, and the slides appear in the Select Slides section of the Slide Finder, as shown in Figure 9.11.
Figure 9.11. Display the presentation in the lower portion of the dialog box.

The Slide Sorter button is selected by default, and displays visual images of three slides across the Select Slides area. If you prefer, you can display a text-based outline of your slides with one visual at a time. To do so, click the Outline button to the far right of the Select Slides area. Figure 9.12 illustrates this view.
Figure 9.12. Use an outline to find the slide you want to insert.

Select the slide you want to add and click Insert, or click the Insert All button to insert all slides in the current presentation.
Continue selecting and inserting slides until you finish. The slides are inserted in the order you select them, following the active slide in the current presentation.
Click the Close button to exit the dialog box.
If you frequently insert slides from the same presentation, you can add them to a favorites list. Click the Add to Favorites button to do so. The next time you want to insert slides from this presentation, you can go to the List of Favorites tab in the Slide Finder dialog box (see Figure 9.13) to locate them.
Note
In addition to inserting slides, you can also hide them. To hide a selected slide or slides, choose Slide Show, Hide Slide. This doesn't delete the slide; it simply prevents it from appearing in the show.
Figure 9.13. Using the List of Favorites tab makes it easier to find commonly used slides.
