
If you want your player to partially see through an object, you'll need a transparent or semi-transparent material. Plastic film, cutouts, and grids are some of the artifacts you can produce with transparent texture maps.
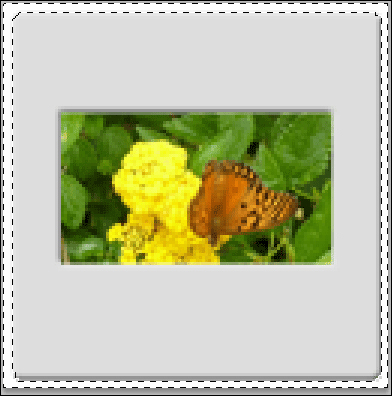
For this recipe, we will create a material simulating a slide film. The main reason behind this choice is because this material will allows us to use full transparency to make rounded borders of the frame, and also use semi-transparency to illustrate the film itself. For the rest of this recipe, it is assumed you are capable of creating, using your image editor, an image like the one intended (basically, a beveled round-cornered rectangle containing a picture within). If not, please feel free to use the one included inside the 0423_03_04 folder.
To create a transparent material, follow these steps:
- Create a new material named
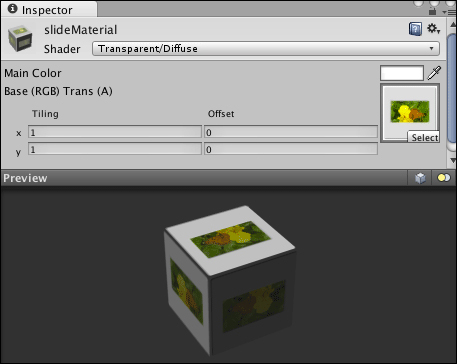
slideMaterial. - Select your material. In the Inspector view, under the material's name, use the drop-down menu to change its Shader value to Transparent/Diffuse.
- Open the base texture in your image editor (we'll use Adobe Photoshop to illustrate the next steps).
- Select the empty pixels around the rounded rectangle (this can be done with the Magic Wand tool with Anti-alias turned on and a Tolerance level of 0).
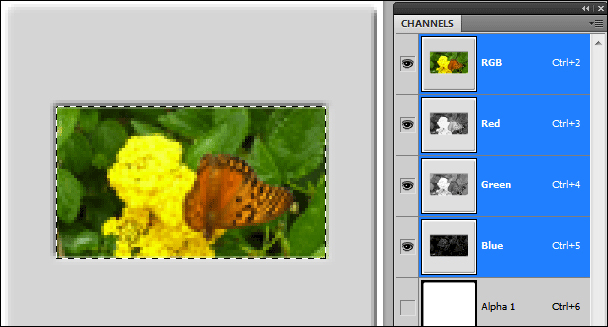
- Open the Channels window (in Photoshop this can be done by going to Window | Channels).
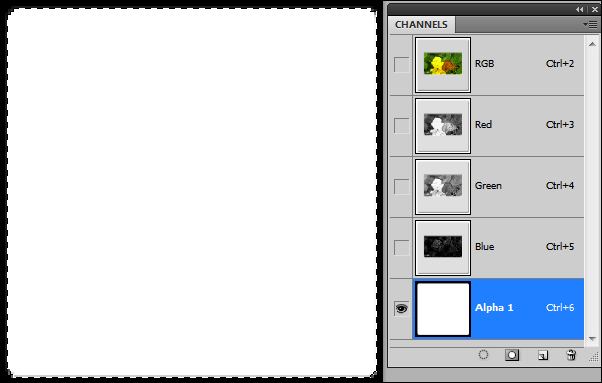
- There should be three channels: Red, Green, and Blue. Create a new channel. This will be the Alpha channel that controls the level of transparency, where darker levels are more transparent than brighter levels.
- In the Channels window, select the Alpha channel and invert your selection (Ctrl + Shift + I for Windows and Command + Shift + I for Mac OS).
- Using the Paint Bucket tool, paint the selection area white:
- Reset your selection area (using Ctrl + D/Command + D). Now, create a rectangular selection around the actual photo:
- Go back to the Alpha channel and fill the selected rectangle light gray (R, G, and B value around
170, for instance):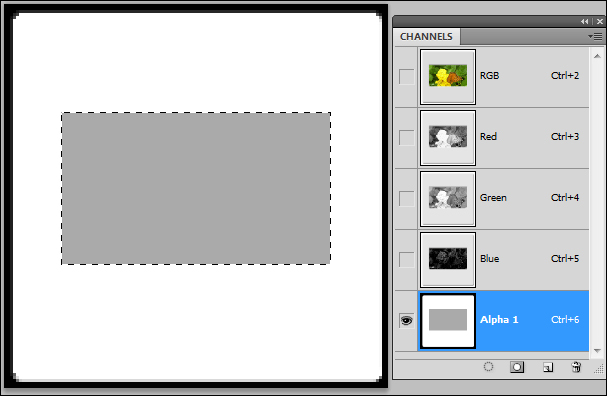
- Save your file (
.psdor.tgaformats are good options, as they keep the alpha channel). - Inside the Unity Editor, import your image file access by navigating to Assets | Import New Asset....
- In the Project view, choose slideMaterial. Then, select the image file you created as a Base map (by either clicking on the Select button or dragging it from the Project view to the material slots). Your transparent material is ready:
Unity is able to read four channels of a texture map: R (red), G (green), B (blue), and A (alpha). Transparent shaders use RGB channels as the base texture (often called diffuse texture), while using the Alpha to set the transparency of the material according to each pixel's brightness level. Transparent shaders in the Cutout subgroup will not render semi-transparency; they just allow texture pixels to be invisible or fully opaque.
Unity has a range of transparent shaders that can be used to achieve different results.