
Create a new Single View App. Name this application Photorama, as shown in Figure 20.2.
Let’s knock out the basic UI before focusing on web services. Open ViewController.swift. Control-click on ViewController and select Refactor → Rename.... Change the class name to PhotosViewController and click Rename. When you are done, add an imageView outlet to this class.
Listing 20.1 Adding an image view (PhotosViewController.swift)
import Foundationimport UIKit class PhotosViewController: UIViewController { @IBOutlet private var imageView: UIImageView! }
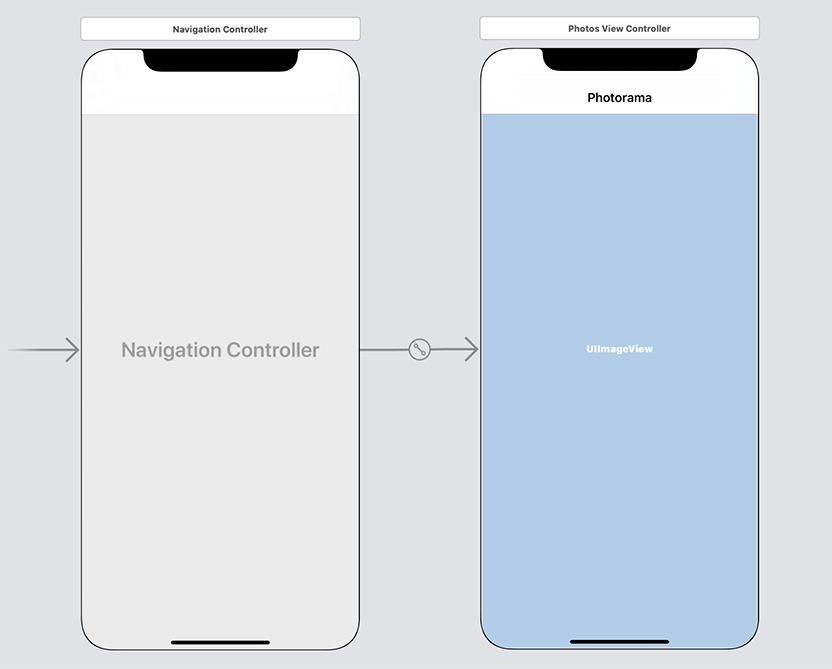
Open Main.storyboard and select the Photos View Controller. Select the Editor menu and choose Embed In → Navigation Controller.
Drag an Image View onto the canvas for PhotosViewController and add constraints to pin it to all edges of the superview. Connect the image view to the imageView outlet on PhotosViewController. Open the attributes inspector for the image view and change the Content Mode to Aspect Fill.
Finally, double-click on the center of the navigation bar for the Photos View Controller and give it a title of Photorama. Your interface will look like Figure 20.3.
Build and run the application to make sure there are no errors.