Next you are going to create a custom UICollectionViewCell subclass to display the photos. While the image data is downloading, the collection view cell will display a spinning activity indicator using the UIActivityIndicatorView class.
Create a new Swift file named PhotoCollectionViewCell and define PhotoCollectionViewCell as a subclass of UICollectionViewCell. Then add outlets to reference the image view and the activity indicator view.
Listing 21.7 Creating the PhotoCollectionViewCell class (PhotoCollectionViewCell.swift)
import Foundationimport UIKit class PhotoCollectionViewCell: UICollectionViewCell { @IBOutlet var imageView: UIImageView! @IBOutlet var spinner: UIActivityIndicatorView! }
The activity indicator view should only spin when the cell is not displaying an image. Instead of always updating the spinner when the imageView is updated, or vice versa, you will write a helper method to take care of it for you.
Create this helper method in PhotoCollectionViewCell.swift.
Listing 21.8 Updating the cell contents (PhotoCollectionViewCell.swift)
func update(displaying image: UIImage?) {
    if let imageToDisplay = image {
        spinner.stopAnimating()
        imageView.image = imageToDisplay
    } else {
        spinner.startAnimating()
        imageView.image = nil
    }
}
You will use a prototype cell to set up the interface for the collection view cell in the storyboard, just as you did in Chapter 10 for ItemCell. If you recall, each prototype cell corresponds to a visually unique cell with a unique reuse identifier. Most of the time, the prototype cells will be associated with different UICollectionViewCell subclasses to provide behavior specific to that kind of cell.
In the collection view’s attributes inspector, you can adjust the number of Items that the collection view displays, and each item corresponds to a prototype cell in the canvas. For Photorama, you only need one kind of cell: the PhotoCollectionViewCell that displays a photo.
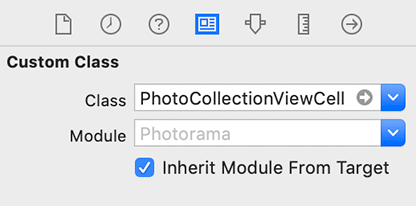
Open Main.storyboard and select the collection view cell. In the identity inspector, change the Class to PhotoCollectionViewCell (Figure 21.7).
Drag an image view onto the Photo Collection View Cell. Add constraints to pin the image view to the edges of the cell. Open the attributes inspector for the image view and set the Content Mode to Aspect Fill. This will cut off parts of the photos, but it will allow the photos to completely fill in the collection view cell.
Next, drag an activity indicator view on top of the image view. Add constraints to center the activity indicator view both horizontally and vertically with the image view. Open its attributes inspector and configure it as shown in Figure 21.8.
Select the collection view cell again. This can be a bit tricky to do on the canvas, because the newly added subviews completely cover the cell itself. A helpful Interface Builder tip is to hold Control and Shift together and then click on top of the view you want to select. You will be presented with a list of all the views and controllers under the point you clicked on (Figure 21.9).
With the cell selected, open the connections inspector and connect the imageView and spinner properties to the image view and activity indicator view on the canvas (Figure 21.10).
Next, open PhotoDataSource.swift and update the data source method to use PhotoCollectionViewCell.
Listing 21.9 Dequeuing PhotoCollectionViewCell instances (PhotoDataSource.swift)
func collectionView(_ collectionView: UICollectionView,
                    cellForItemAt indexPath: IndexPath) -> UICollectionViewCell {

    let identifier = "PhotoCollectionViewCell"
    let cell =
        collectionView.dequeueReusableCell(withReuseIdentifier: identifier,
                                           for: indexPath) as! PhotoCollectionViewCell
    cell.update(displaying: nil)

    return cell
}
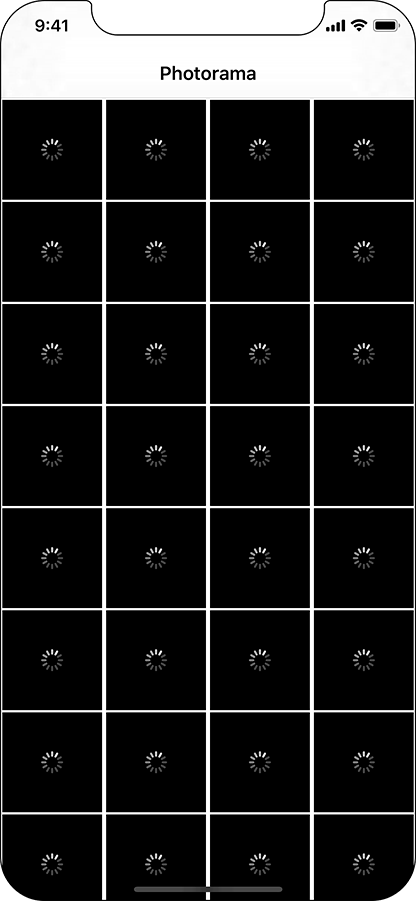
Build and run the application. When the interesting photos request completes, you will see the activity indicator views all spinning (Figure 21.11).


