
You will use a simple project to guide you through your exploration of the Xcode debugger. Open Xcode and create a new project for an iOS single view application. Name the project Buggy and confirm the other options match Figure 8.1. Click Next.

As you write this application’s code, keep in mind that it is a buggy project. You may be asked to type code you know is incorrect. Do not fix it as you type it in; those errors will help you learn about debugging techniques.
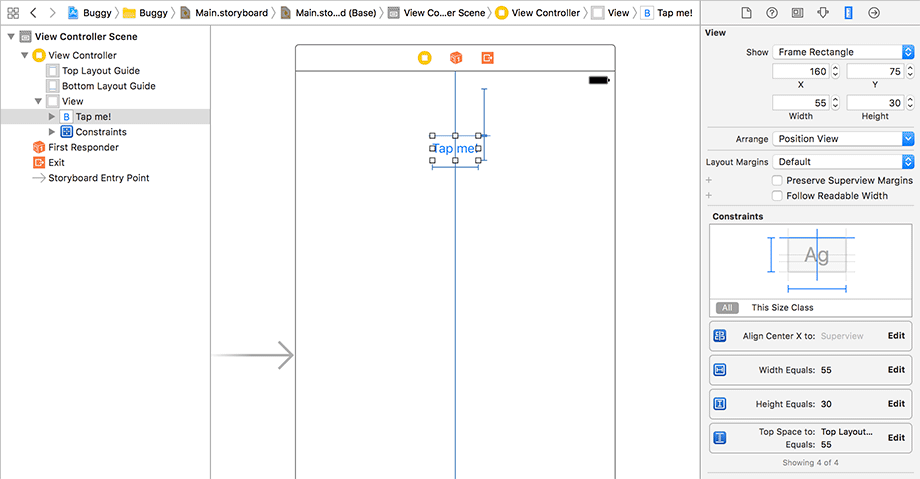
To get started, open Main.storyboard and drag a UIButton onto the View Controller Scene. Double-click the new button and change its title to Tap me!. With the button still selected, open the Auto Layout Align menu. Check Horizontally in Container and click Add 1 Constraint. Next, open the Add New Constraints menu. Pin the distance to the top of the container, check the Width and Height checkboxes, and click Add 3 Constraints.
Your results should look something like Figure 8.2, but do not worry if your actual dimensions and spacing are a bit different.
Now you need to implement a method for this button to trigger and then connect it to the button in the storyboard.
Open ViewController.swift and implement an action method for the button to trigger.
@IBAction func buttonTapped(_ sender: UIButton) {
    print("Called buttonTapped(_:)")
}
Now go back to Main.storyboard. Control-drag from the button to the View Controller and connect it to the buttonTapped: option.
Build and run the application. Make sure the button is correctly displayed on the screen. Tap the button and confirm that the print statement shows up in the console.