
Ok, now it's time to start Solr for the first time.
- If we execute the following command from the terminal (from Windows, Linux, or Mac):
>> cd %SOLR_DIST% (windows)
>> cd $SOLR_DIST (mac, linux)
- We change the directory to
/example, and then we finally start Solr using the following command:>> java -jar start.jar - We should obtain an output similar to the one seen in the following screenshot:

- You will quickly become familiar with the line highlighted in this output as it is easily recognizable (it ends in
0.0.0.0:8983). If we have not noticed any errors before it in the output, our Solr instance is running correctly. When Solr is running, you can leave the terminal window open and minimized in order to be able to see what happened when you need, in particular if there were errors as and when you need. This can be avoided on production systems where we will have scripts to automate start and stop Solr, but it's useful for our testing. - When you wish to stop Solr, simply press the Ctrl + C combination in the terminal window.
The solr.jar launcher is a small Java library that starts an embedded Jetty container to run the Solr application. By default, this application will be running on port 8983. Jetty is a lightweight container that has been adopted for distributing Solr for its simplicity and small memory footprint. While Solr is distributed as a standard Java web application (you can find a solr.war under the /example/webapps folder), and then its WAR file can be deployed to any application server (such as Tomcat, JBoss, and others), the standard preferable way to use it is with the embedded Jetty instance. Then, we will start with the local Jetty instance bundled with Solr in order to let you familiarize yourself with the platform and its services, using a standard installation where you can also follow the tutorials on your own.
Tip
Note that in our example we need to change the current directory to /example, which is included in the folder that is unzipped from the standard distribution archive. The start.jar tool is designed to start the local jetty instance by accepting parameters for changing the Solr configurations. If it does not receive any particular option (as in our case), it searches the Solr configurations from the default examples. So, it needs to be started from that specific directory. In a similar way, the post.jar tool can be started from every directory containing the data to be sent to Solr.
If you want to change the default port value for Jetty (for example, if the default port results is occupied by other programs), you should look at the jetty.xml file in the [SOLR_DIST]/examples/etc directory where I wrote [SOLR_DIST] in place of the Windows, Mac, and Linux versions of the same environment variable. If you also want some control over the logging inside the terminal (sometimes it could become very annoying to find errors inside a huge quantity of lines running fast), please look for the logging.properties file in the same directory.
Now that the server is running, we are curious about how the Solr web application will look in our browser, so let's copy and paste this URL into the browser: http://localhost:8983/solr/#/. We will obtain the default home screen for the Solr web application, as shown in the following screenshot:

Note that since the default installation does not provide automatic redirection from the base root to the path seen before, a very common error is pointing to http://localhost:8983/ and obtaining the error shown in the following screenshot:
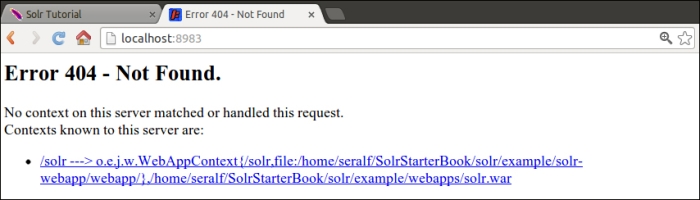
We can easily ignore this error for our purposes; so remember to check if you are using the correct address when you obtain this type of error.
We can execute our first query in the default admin screen on the default collection1 core: http://localhost:8983/solr/#/collection1/query. (In the next chapter, we will introduce the concept of core. So please be patient if there are things not well documented.)
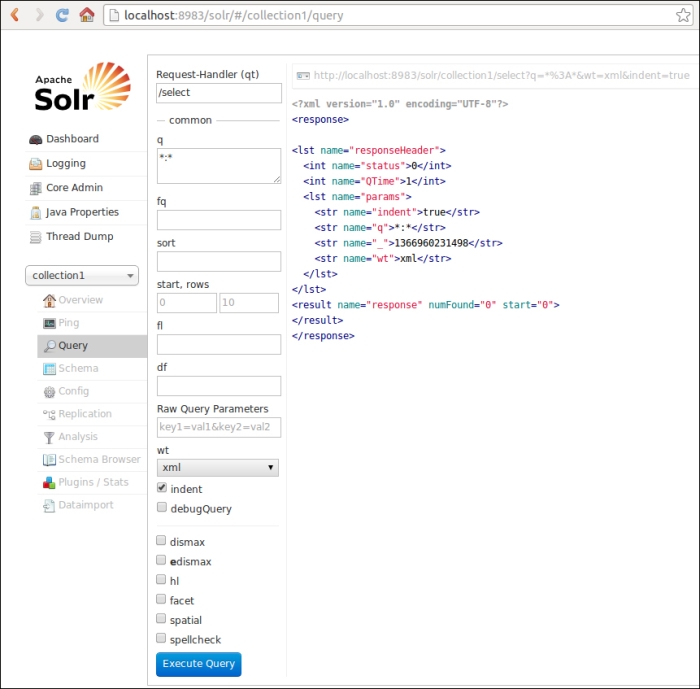
We will obtain some XML results that clearly contain no data, as expected. In fact, we have not yet indexed any data.