
After writing our first core definition, we are ready to check if everything is working as expected, starting Solr with this core and trying to index some data. At the moment we are using Solr from the default distribution, so the simplest way we have is to start it from there. Steps for starting the new core are as follows:
- If we have defined an environment variable called
SOLR_DIST(pointed to the absolute path where you unzipped the standard Solr distribution on your system), we can easily move to theSOLR_DIST/example/directory:>> cd $SOLR_DIST/example - If you are on a Unix system (Linux or Mac) or on Windows:
>> cd %SOLR_DIST%example - Then start Solr with a command-line like the following:
>> java -Dsolr.solr.home=path/to/your/core -jar start.jar - For example, on my system this will be as shown in the following command:
>> java -Dsolr.solr.home=/home/seralf/SolrStarterBook/solr-app/chp02 -jar start.jar - To stop the Solr instance, simply use Ctrl + C on the terminal where you started, or close the active terminal window opened by double-clicking the start scripts (if you used them).
This command-line start is really simple, but if you have problems with it, put small start scripts such as start.sh or start.bat, depending on your system under the path /SolrStarterBook/test/. This adds some more parameters and can be used to easily start a specific multicore home. For example:
>> ./start.sh chp02
The command is used to load the cores in the /chp02/ folder, used for this chapter.
The -Dsolr.solr.home=/solr/home/path attribute is used for passing it to the Java interpreter context, an environment variable containing the path to our Solr Home.
Another way of starting Solr is defining it as a service in order to have it always running and available on your machine. This is generally used for server installations in real-world scenarios, but we don't need to see it at this time as it does not change our configurations.
If everything goes fine you should navigate to your core with the browser at http://localhost:8983/solr/#/simple. There you will see the following default admin interface:
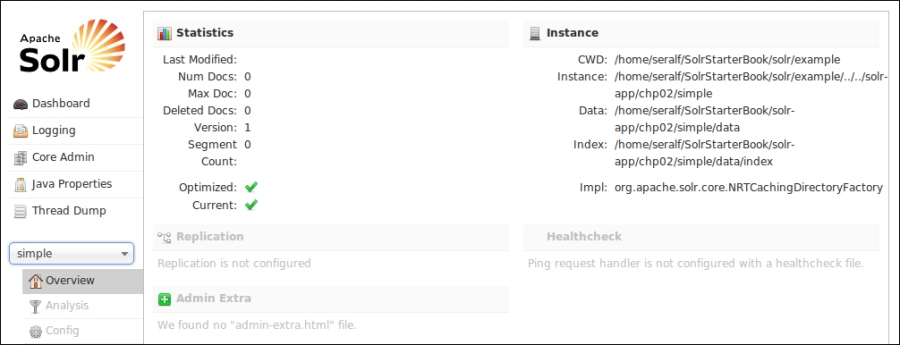
As shown in the preceding screenshot, this page contains some general information and statistics that may prove useful during development.