
STEP BY STEP PHOTOSHOP—FINISHING A COMPUTER GENERATED IMAGE (CGI)
The following three sequences created by Ian Henderson demonstrate techniques for manipulating CGI images, creating shadows, and color-correcting images in Photoshop.
1
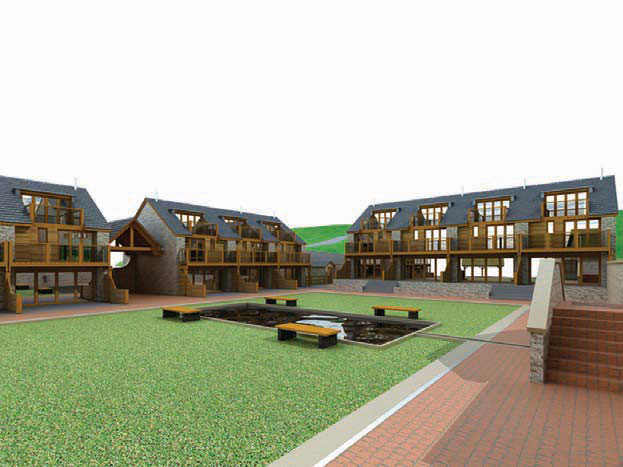
Clay model render is used to check composition of view, lighting, and model accuracy.

2
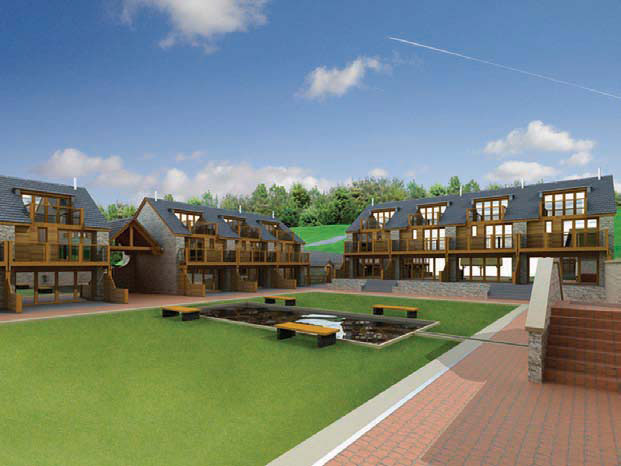
The model is textured and rendered in a 3D application. The render is saved as either a .tiff or a .png file to preserve transparent areas of the scene.

3
Double clicking on the Background layer releases it in order for it to function like a standard layer. Rename the layer. Drag the sky image into the working document and place it behind the Buildings layer.

To lift buildings from the sky, create a new layer and position it between the Buildings and Sky layers. To create the haze, the Gradient tool is used. The gradient is from white to transparent and the layer is given 50% opacity.

5
Trees are added on a new layer and positioned with the Move tool. The Trees layer is placed behind the Buildings layer in the background but above the Sky and Haze layers.

6
Create two new layers, one for Tree Highlights and one for Tree Shadows. Select the trees by Ctrl-left-clicking on the Trees layer (Ctrl-left-clicking on a layer will select everything on that layer). With the selection still active select the Tree Highlights layer and, using a soft brush, paint the tops of the trees white where the highlights would appear. With the selection still active, select the Tree Shadows layer and, using a soft brush, paint the bottoms of the trees black where the shadows would appear.

7
Soft Light layer blend is applied to both the Tree Highlights and the Tree Shadows layers with 75% opacity.

Grass texture is dragged into the working document using the Move tool (holding down Shift while using the Move tool will centralize the imported image to best fit the receiving document). With the Grass layer selected create a duplicate layer (Ctrl-J). With the Move tool position the Duplicate layer adjacent to the original Grass layer. Merge down the Duplicate layer with the Grass layer.
Repeat the duplication of the Grass layer until it is at least twice the size of the foreground grass.
Apply perspective to the Grass layer to match the grass in the image using the Perspective and Distort functions of the Transform tool (Ctrl-T activates the Transform tool. While it is active, right click to access the different transform functions).
Select the foreground grass using the Polygon Lasso tool. (Holding down shift when using the Polygon Lasso tool will constrain the lasso horizontally, vertically and at 45 degrees. While using the Polygon Lasso tool, Backspace will undo the last click. The spacebar will permit panning around the image during the Polygon Lasso tool’s use.)
With the selection still active and the Grass layer selected, create a layer mask to hide unwanted areas of the Grass layer. (If a selection is made and a layer mask is created it will adopt the selection as the mask. Layer masks allow parts of the layer to be hidden or revealed by painting with white, black, or gray. White equates to 100% opaque, black equates to 0% opaque, and the shades of gray in between equate to varying levels of opacity.)
9
Various layers are created and named to form shadows and highlights on the grass. Black is used for shadows and white is used for the highlights. Each layer is given a different opacity and layer blend depending upon the result required.

10
Create an alpha channel by rendering a black and white image of the scene from the 3D application. The white isolates a particular material (in this case the stonework) and the black indicates the rest of the model. Drag the alpha channel into the working document and place it at the top of the layer stack. Load the alpha channel as a selection (Ctrl-left-click on Layer).
On the Channels tab save the selection as Stone alpha channel.
11
From the Channels tab load the saved Stone alpha channel as a selection. Create a new layer and rename it. Fill the selection with white using the Fill tool (Ctrl-backspace will fill a selection with the background color and Alt-backspace will fill the selection with the foreground color).

With the new White layer selected apply a Soft Light layer blend and set the opacity to 25% in order to lighten the stonework.

13
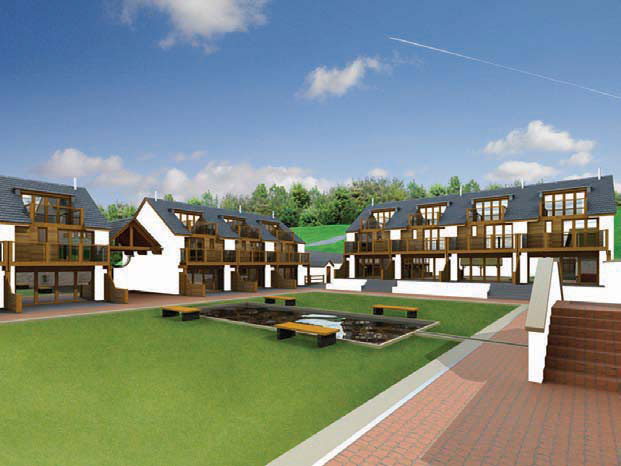
To change the color of the stonework select the required color and create and name a new layer. From the Channels tab load the saved Stone alpha channel as a selection. Fill the selection with the required color. Apply a Darken layer blend and set the opacity to 20%.

14
Load the Grass alpha channel from the Channels tab as a selection. Remove the part of the selection that covers the foreground grass leaving only the background grass area selected. Create and name new layers as required to colorize the grass and provide shadows and highlights using the techniques described above.

15
Create a new group in the Layers tab and rename. Drag, drop, and position trees as required into the new group within the working document.


16
From the Channels tab load the Sky alpha channel as a selection. With the Trees group selected, create a layer mask (this will put a layer mask on the group, and therefore the layer mask will affect all the layers within the group). Left click on the layer mask to make sure it is selected and refine the layer mask by painting with black and white to make sure the trees are revealed in the correct areas ("x" will toggle between the foreground and background colors, which helps speed up the editing process. To view the layer mask, Alt-left-click on the layer mask and repeat Alt-left-click to return to view layer. Layer masks can be edited or refined in both Layer mask view and Layer view).

17
Create a new group in the Layers tab and rename. Drag, drop, and position elements to be reflected in the windows (ie sky, trees, bushes, people and so on) into the new group within the working document. From the Channels tab load the Reflection alpha channel as a selection. From selection create a layer mask on the Reflection group. Refine the reflected elements using the techniques described above.

18
Drag, drop, and position foreground vegetation. Manipulate vegetation to adhere to perspective and scale using the Transform tool set. Use layer masks as required.

Create a new group in the Layers tab and rename. Drag, drop, and position people. Manipulate people to adhere to perspective and scale using the Transform tool set. Note the direction of the lighting on the people and make sure that it corresponds to the lighting in the scene. Make sure that people sit well in the scene by color-correcting using image adjustments and/or layer adjustments (levels, curves, hue/ saturation, photo filter, and so on). Create shadows for people, making sure that they are cast in the correct direction with regard to the lighting in the scene.

20
To encourage the eye toward the center of the image, create a new layer and rename it. With a large soft brush, paint a black border (when using the Brush tool, hold down Shift to draw a straight line between two points).

21
To finalize the image, apply a Soft Light layer blend to the black border and set the opacity to 25%.