
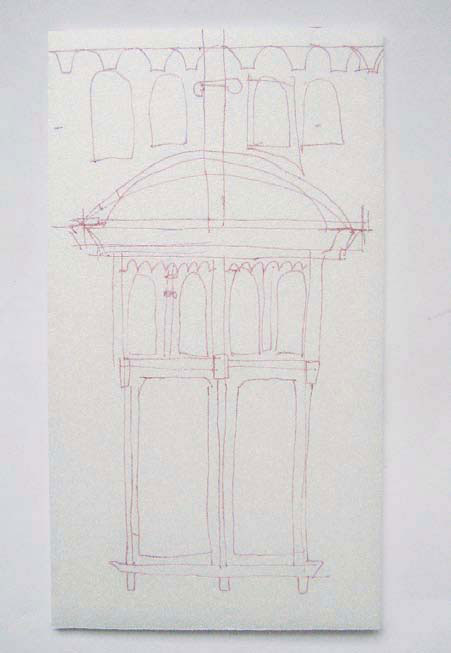
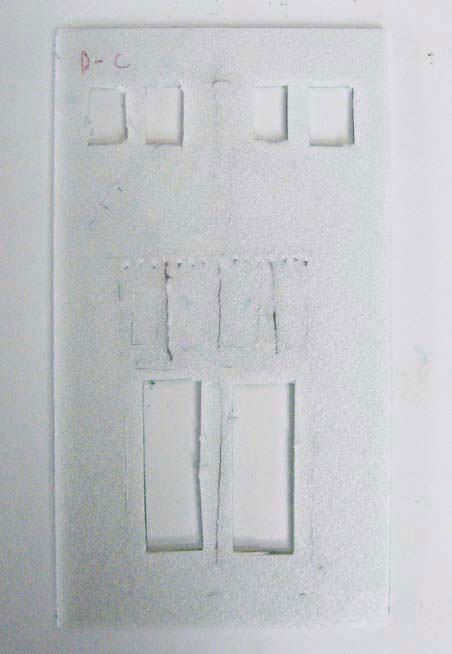
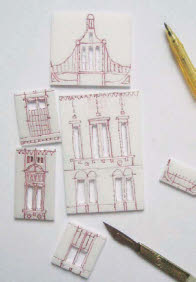
1
Draw the image onto the press print styrofoam tile, making sure not to apply too much pressure.
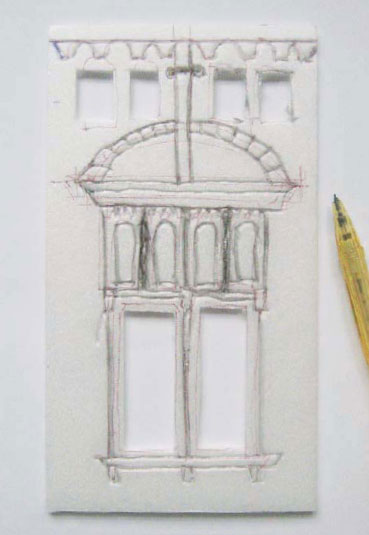
2
Using a ballpoint pen, draw back over the design, making an impression on the styrofoam. Experiment with different tools to make different marks on the tile. A sharp knife can also be used to cut away bits of the tile.
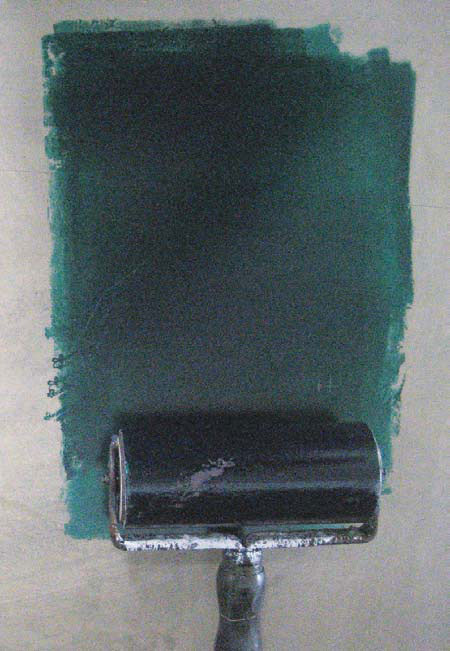
3
Roll the ink out onto a flat surface until you hear a sticky, tacky sound.
4
When the ink is making the tacky sound, it’s ready to roll onto the tile. Roll it thinly and evenly, making sure you cover the whole tile..
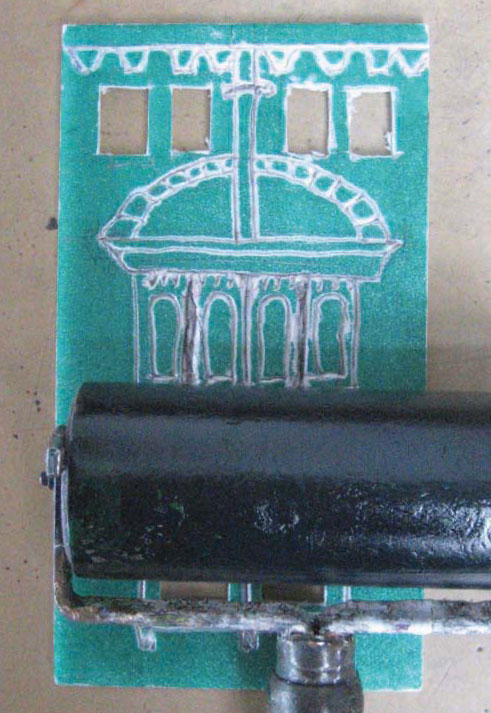
5
Place the tile face-down onto your paper and roll over it with a clean roller.
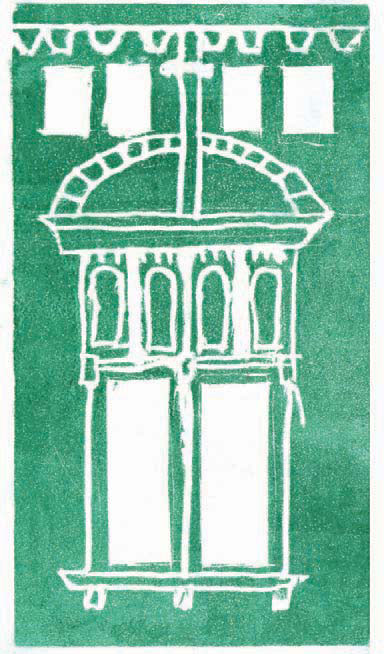
6
Even the subtle marks made on the styrofoam will be picked up by the print.


7
Experiment with repeated patterns and different colored inks. The great thing about press printing is that it is very quick and immediate as the tile takes little time to prepare, but the styrofoam won’t last long if it is being repeatedly inked and cleaned.